Table of content
Soy milk, a staple in many diets worldwide, is celebrated for its rich nutritional profile, creamy texture, and versatility in both sweet and savory dishes. Whether you’re a vegan, lactose-intolerant, or simply someone who enjoys plant-based alternatives, mastering the art of homemade soy milk begins with understanding the foundational step: soaking beans. The duration for which you soak soybeans profoundly impacts the final product’s taste, texture, and nutritional value. This article delves into the science and practicality of soaking beans for soy milk, exploring factors that influence soaking time, recommended durations, and tips to elevate your homemade soy milk game.
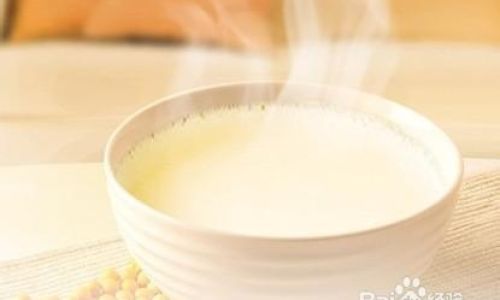
Why Soaking Beans Matters
Soaking beans before cooking or blending is not merely a culinary tradition—it’s a biochemical process with tangible benefits. Soybeans, like other legumes, contain complex carbohydrates, enzymes, and anti-nutritional factors such as phytic acid and trypsin inhibitors. These compounds can interfere with nutrient absorption and cause digestive discomfort if not properly managed. Soaking initiates several key changes:
- Enzyme Activation: Soaking hydrates the beans, activating enzymes that begin breaking down starches and proteins.
- Phytic Acid Reduction: Soaking in water (especially when combined with methods like fermentation or adding a pinch of baking soda) reduces phytic acid, enhancing mineral bioavailability.
- Improved Texture: Properly soaked beans cook faster and blend smoother, yielding a velvety soy milk with minimal grit.
- Digestibility: Soaking neutralizes trypsin inhibitors, which can otherwise hinder protein digestion.
Factors Influencing Soaking Time
The ideal soaking duration for soybeans varies based on several variables. Understanding these factors ensures consistency and quality in your soy milk:
Bean Age and Storage
Fresh, recently harvested soybeans require less soaking time compared to older or improperly stored beans. Over time, beans lose moisture, causing their skins to harden. If your beans are aged, extend the soaking time by 2–4 hours or consider using a quick-soak method (explained later).
Water Temperature
- Cold Water Soaking: The most common method, where beans are submerged in room-temperature water. This preserves nutrients but takes longer.
- Warm Water Soaking: Using lukewarm water (around 40–50°C/104–122°F) accelerates hydration but may leach nutrients if the water is too hot.
- Hot Water Soaking: Boiling water can soften beans rapidly but risks overcooking the outer layer before the center hydrates, leading to uneven texture.
Altitude and Humidity
At high altitudes, lower atmospheric pressure reduces water’s boiling point, indirectly affecting soaking efficiency. In dry climates, beans may absorb water faster, requiring slightly shorter soaking times.
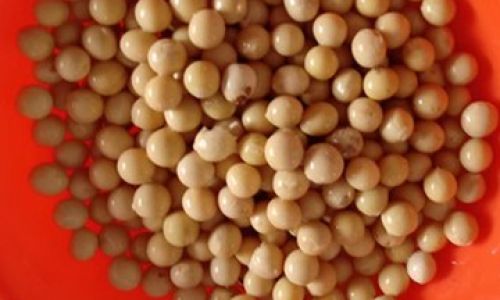
Desired Soy Milk Consistency
For ultra-smooth soy milk, longer soaking (12+ hours) ensures beans are fully hydrated, making blending more efficient. If you prefer a thicker texture, a moderate soak (8–10 hours) may suffice.
Recommended Soaking Times
The “perfect” soaking time hinges on balancing convenience, nutrition, and texture. Here’s a breakdown of common methods:
Overnight Soaking (8–12 Hours)
The gold standard for home cooks, overnight soaking ensures beans are fully hydrated without requiring active monitoring.
- Process: Rinse 1 cup of dried soybeans, place them in a bowl, and cover with 3–4 cups of water. Leave at room temperature (18–24°C/64–75°F).
- Benefits: Maximizes nutrient retention, reduces cooking time by 30–40%, and yields a creamy texture.
Quick Soaking (1–2 Hours)
Ideal for spontaneous soy milk cravings, this method uses heat to expedite hydration.
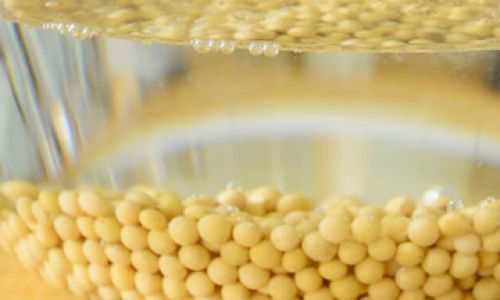
- Process:
- Rinse beans and place in a pot.
- Cover with water and bring to a rolling boil.
- Boil for 2–3 minutes, then remove from heat.
- Cover and let sit for 1–2 hours.
- Benefits: Saves time but may slightly reduce nutrient levels due to heat exposure.
Extended Soaking (12–24 Hours)
For those prioritizing digestibility and ultra-smooth soy milk, extended soaking (especially in cold water) is optimal.
- Process: Follow overnight soaking steps but refrigerate the bowl to prevent fermentation. Change the water every 6–8 hours.
- Benefits: Further reduces anti-nutrients and yields exceptionally smooth milk.
Pro Tips for Perfect Soy Milk
- Use Filtered Water: Chlorine or impurities in tap water can affect taste and enzyme activity.
- Add a Pinch of Baking Soda: A ¼ teaspoon per cup of beans can soften skins and reduce cooking time.
- Discard Soaking Water: This water contains dissolved anti-nutrients and impurities. Rinse beans thoroughly before blending.
- Blend in Batches: Overloading the blender can create uneven textures. Blend ½–1 cup of beans at a time with 3 cups of fresh water.
- Strain Twice: After blending, strain the mixture through a cheesecloth or nut milk bag. Re-strain the pulp a second time to extract maximum liquid.
Common Mistakes to Avoid
- Under-Soaking: Results in gritty soy milk and longer cooking times.
- Over-Soaking: Beyond 24 hours, beans may ferment or become waterlogged, leading to a sour taste.
- Using Hot Water Initially: Scalding beans can harden their skins, preventing proper hydration.
- Skipping Rinsing: Residual soaking water can make soy milk bitter.
Beyond Soaking: Cooking and Blending
Soaking is just the first step. Proper cooking and blending techniques are equally critical:
- Cooking: Simmer soaked beans for 20–30 minutes until tender. Avoid boiling vigorously, as this can create foam and affect flavor.
- Blending: Use a high-speed blender to achieve a silky consistency. For every 1 cup of cooked beans, add 3–4 cups of water (adjust to taste).
- Flavoring: Enhance your soy milk with vanilla, dates, or a pinch of salt after straining.
The Science of Soaking: A Deeper Dive
Soaking triggers germination-like processes in beans. As they absorb water, enzymes like amylase and protease break down starches and proteins into simpler sugars and amino acids. This pre-digestion step not only improves texture but also makes nutrients like calcium, iron, and zinc more bioavailable.
However, extended soaking (beyond 24 hours) can lead to nutrient loss, particularly water-soluble vitamins like B and C. Refrigerating soaked beans mitigates this risk by slowing bacterial growth.
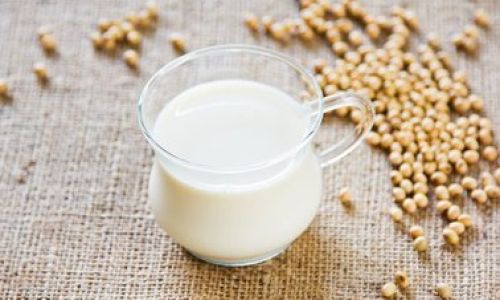
Cultural Variations in Soy Milk Preparation
Around the world, soaking practices vary:
- China: Traditional recipes often emphasize a 12-hour soak followed by slow cooking to extract maximum flavor.
- Japan: Some artisans use a two-step soak, first in cold water, then in warm water, to balance texture and nutrition.
- Western Vegan Kitchens: Quick soaks and high-speed blenders are common for time-efficient results.
Conclusion
The debate over the “ideal” soaking time for soybeans when making soy milk boils down to personal priorities: convenience, nutrition, or texture. For most home cooks, an 8–12 hour overnight soak strikes the perfect balance. However, experimentation is key—try varying soaking times, temperatures, and bean-to-water ratios to discover your preference.
Remember, the goal is not merely to follow a recipe but to understand the transformation occurring in your kitchen. Each bean, when nurtured with patience and care, becomes a canvas for creamy, nourishing soy milk. So next time you measure out a cup of soybeans, pause to appreciate the ancient alchemy of soaking—a small step with profound impacts on your glass.


0 comments