Introduction
In an era where sustainability and mindful consumption dominate culinary trends, the age-old practice of drying vegetables has regained popularity. Drying, or dehydration, is one of the oldest methods of food preservation, allowing seasonal bounty to be enjoyed year-round while retaining flavor, texture, and nutritional value. Whether you’re a gardener looking to salvage a surplus harvest, a zero-waste advocate, or a home cook seeking to elevate your dishes, mastering the art of making dried vegetables opens doors to creativity and convenience. This guide delves into the step-by-step process of transforming fresh produce into shelf-stable treasures, from selection to storage, along with tips for rehydration and culinary application.
Why Dry Vegetables?
Before diving into the “how,” it’s essential to understand the “why.” Drying vegetables offers a multitude of benefits:
- Preservation: Extends shelf life by removing moisture, which inhibits bacterial growth.
- Flavor Intensification: Concentrates natural sugars and umami, resulting in richer tastes.
- Space Efficiency: Dried vegetables occupy minimal storage space compared to fresh or frozen alternatives.
- Cost-Efficiency: Reduces food waste by utilizing gluts of produce.
- Versatility: Ideal for soups, stews, sauces, snacks, and seasoning blends.
Selecting the Right Vegetables
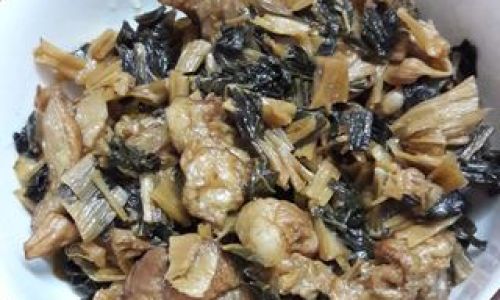
Not all vegetables are created equal when it comes to drying. The best candidates are those with low moisture content and firm flesh, as they retain their structure and flavor better. Prime choices include:
- Tomatoes: Plum or Roma varieties work best due to their meaty texture.
- Leafy Greens: Kale, spinach, and Swiss chard dry into crispy chips.
- Root Vegetables: Carrots, beets, and sweet potatoes become chewy or crunchy when dried.
- Peppers: Bell peppers and chilies add vibrant color and heat.
- Herbs: Basil, oregano, and thyme transform into potent flavor boosters.
Avoid vegetables with high water content, such as cucumbers or zucchini, unless they are pre-treated (e.g., salted to draw out moisture).
Preparation: Cleaning and Prepping
The foundation of successful drying lies in meticulous preparation:
- Washing: Rinse vegetables under cool water to remove dirt, pesticides, or debris. For leafy greens, soak them in a vinegar-water solution (1:3 ratio) for 10 minutes to eliminate bacteria.
- Trimming and Slicing:
- Tomatoes: Core and slice into ¼-inch thick rings.
- Leafy Greens: Remove tough stems and tear leaves into bite-sized pieces.
- Root Vegetables: Peel (if desired) and slice uniformly using a mandoline for even thickness.
- Herbs: Pat dry gently and strip leaves from stems.
- Blanching (Optional):
Blanching involves briefly boiling vegetables and then plunging them into ice water. This process halts enzyme activity, preserving color and nutrients. Vegetables like carrots, green beans, and broccoli benefit from blanching, while herbs and peppers can skip this step.
Drying Methods: Sun, Oven, and Dehydrator
The choice of drying method depends on equipment availability, climate, and time constraints. Here’s a breakdown of three popular techniques:
Sun-Drying
Ideal for hot, arid climates with low humidity, sun-drying harnesses natural heat and airflow.
- Steps:
- Spread prepped vegetables in a single layer on drying trays lined with cheesecloth or mesh screens.
- Cover trays with another layer of cheesecloth to protect against insects and debris.
- Place trays in a sunny location (ideally 85–95°F/29–35°C) for 3–7 days, flipping daily to ensure even drying.
- Bring trays indoors overnight to prevent moisture absorption.
- Pros: Energy-free, imparts a subtle smokiness.
- Cons: Weather-dependent, slower process, risk of contamination.
Oven-Drying
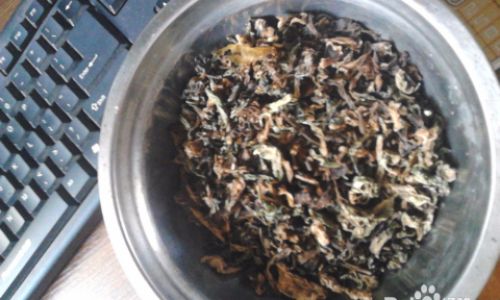
A reliable indoor method suitable for all climates.
- Steps:
- Preheat the oven to its lowest setting (140–150°F/60–65°C).
- Arrange vegetables on baking sheets lined with parchment paper, ensuring no overlap.
- Prop the oven door open slightly with a wooden spoon to allow moisture escape.
- Check every 30 minutes, flipping pieces to prevent sticking. Drying time ranges from 4–12 hours, depending on the vegetable.
- Pros: Controlled environment, faster than sun-drying.
- Cons: Energy-intensive, requires monitoring.
Electric Dehydrator
The most efficient and consistent method, albeit requiring specialized equipment.
- Steps:
- Follow the manufacturer’s instructions for temperature settings (typically 125–135°F/52–57°C).
- Layer vegetables on dehydrator trays, leaving space for airflow.
- Dry until leathery or brittle (4–10 hours).
- Pros: Uniform drying, minimal effort.
- Cons: Cost of equipment, limited capacity.
Microwave Drying (Quick Method)
A rapid but less precise technique for small batches.
- Steps:
- Place vegetables on a microwave-safe plate in a single layer.
- Microwave on high for 2–3 minutes, then in 30-second intervals until dry.
- Pros: Speed.
- Cons: Uneven drying, risk of burning.
Testing for Doneness
Regardless of the method, vegetables are sufficiently dried when:
- Texture: Leathery (e.g., tomatoes) or brittle (e.g., kale chips).
- Sound: Crackle when bent.
- No Moisture: No condensation forms when cooled.
Storage: Preserving Quality
Proper storage is critical to prevent rehydration or spoilage:
- Cool Completely: Allow dried vegetables to reach room temperature before storing.
- Containers: Use airtight glass jars, vacuum-sealed bags, or metal tins. Avoid plastic, which can trap moisture.
- Conditions: Store in a cool, dark, dry place (ideally below 70°F/21°C).
- Labeling: Date containers and note the vegetable type.
Shelf Life
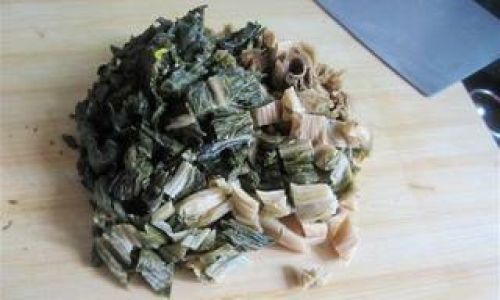
- Dried Herbs: 1–3 years.
- Vegetables: 6 months to 1 year.
- Fruits: Up to 2 years (though this guide focuses on vegetables).
Rehydration and Culinary Uses
Rehydrating dried vegetables unlocks their versatility:
- Soaking: Submerge in hot water or broth for 15–30 minutes (adjust time based on density).
- Cooking: Add directly to soups, stews, or sauces during the simmering phase.
- Snacks: Toss kale or spinach chips with olive oil and sea salt before baking.
Creative Applications
- Powders: Grind dried vegetables (e.g., tomatoes, beets) into powders for seasoning risottos or dusting popcorn.
- Crisps: Deep-fry or bake dried vegetable slices for guilt-free snacks.
- Stuffing: Mix rehydrated vegetables into rice or quinoa pilafs.
Health Benefits and Nutritional Value
Dried vegetables retain most of their original nutrients, including fiber, vitamins (A, C, K), and minerals (iron, potassium). The drying process concentrates antioxidants and eliminates water-soluble vitamins like B-complex, but this loss is minimal compared to canning or freezing. Additionally, dried vegetables are free from preservatives, making them a wholesome addition to diets.
Troubleshooting Common Issues
- Mold Growth: Indicates incomplete drying or improper storage. Discard affected batches and ensure thorough dehydration.
- Uneven Drying: Rotate trays frequently or use a dehydrator with a fan.
- Over-Drying: Results in brittle, tasteless pieces. Monitor closely during the final hours.
- Under-Drying: Leads to spoilage. Ensure vegetables snap when bent.
Conclusion
Making dried vegetables at home is a rewarding endeavor that bridges tradition with modern sustainability. Whether you’re sun-drying tomatoes in a Mediterranean climate or using an oven to transform kale into crispy chips, the process empowers you to control ingredients, reduce waste, and savor the essence of seasonal produce long after harvest. Experiment with different vegetables, drying methods, and recipes to discover your favorites. With patience and practice, you’ll soon have a pantry stocked with vibrant, flavorful dried vegetables ready to elevate your culinary creations.
Final Tip: Start small. Master one vegetable at a time, and don’t be discouraged by initial imperfections. Like any craft, drying vegetables improves with experience—and the results are well worth the effort.




0 comments