Introduction
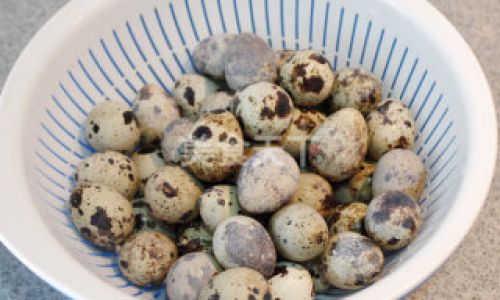
In the realm of culinary traditions, preserving food through various techniques has been a cornerstone of survival and flavor enhancement across cultures. Among these preservation methods, salt-preserving, or salting, stands out as a timeless practice that not only extends the shelf life of food items but also infuses them with a unique, savory depth of flavor. One delightful example of this preservation art is the making of salt-preserved quail eggs, a dish that combines the delicate taste of quail eggs with the preservative prowess of salt, resulting in a snack that is both savory and convenient.
Quail eggs, known for their smaller size and richer flavor compared to chicken eggs, have been cherished for their nutritional benefits and culinary versatility. When salt-preserved, these eggs transform into a delightful treat that can be enjoyed on its own, used as an ingredient in various dishes, or even served as a unique gift. This article delves into the intricacies of making salt-preserved quail eggs, from selecting the right ingredients to mastering the preservation process, ensuring that you can create your own batch at home with ease and delight.
Selecting the Ingredients
Before embarking on the journey of making salt-preserved quail eggs, it is crucial to gather the necessary ingredients. Here’s a breakdown of what you’ll need:
-
Fresh Quail Eggs: The quality of your final product largely depends on the freshness of the eggs. Seek out suppliers who offer farm-fresh quail eggs, ideally collected within the last few days. Fresh eggs have a firmer yolk and a tighter whites, which hold up better during the preservation process.
-
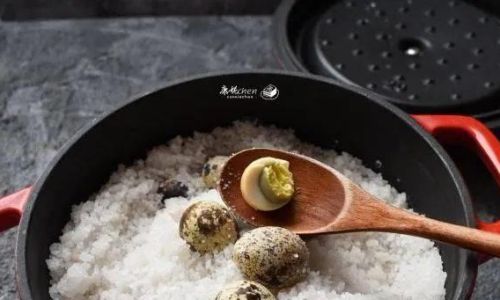
Salt: The star of the preservation show, salt draws out moisture from the eggs, creating an environment hostile to bacteria and mold. Use non-iodized, coarse sea salt or kosher salt for the best results. Iodized salt can alter the flavor and color of the eggs due to its additives.
-
Water: Pure, clean water is essential for dissolving the salt and creating the brine solution. Tap water can contain impurities that may affect the taste and preservation process, so consider using filtered or bottled water if your tap water is not of high quality.
-
Spices and Herbs (Optional): To elevate the flavor profile of your salt-preserved quail eggs, consider adding a blend of spices and herbs such as bay leaves, black peppercorns, garlic cloves, and chili flakes. These additions can provide a complex layer of flavor that complements the saltiness.
-
Containers: Glass jars or ceramic containers with tight-fitting lids are ideal for storing the salt-preserved eggs. Avoid using metal containers as the salt can corrode the metal and affect the taste of the eggs.
Preparing the Quail Eggs
Once you have gathered all the ingredients, the next step is to prepare the quail eggs for preservation. This involves a few crucial steps to ensure that the eggs are clean and ready for the brine solution.
-
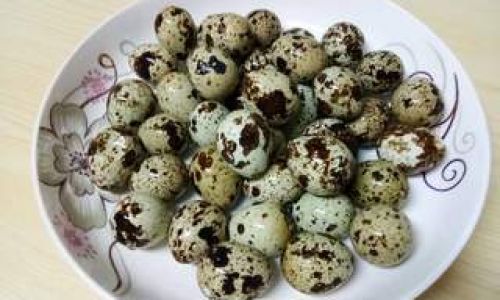
Cleaning the Eggs: Gently wash the quail eggs under running water to remove any dirt or debris on their surfaces. Be careful not to crack the shells, as this can compromise the preservation process. Pat the eggs dry using a clean kitchen towel or paper towels.
-
Inspecting for Cracks: Before proceeding, inspect each egg carefully for cracks or chips. Any damaged eggs should be used immediately or discarded, as they are more susceptible to contamination during the preservation process.
-
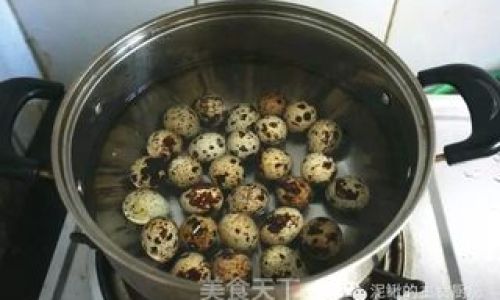
Boiling the Eggs (Optional): While some recipes call for raw eggs to be preserved directly in the brine, boiling the eggs first can create a firmer texture and change the final texture and flavor slightly. If you choose to boil the eggs, place them in a pot of simmering water and cook for about 3-4 minutes (less time than you would for chicken eggs due to their smaller size). Immediately transfer the boiled eggs to an ice bath to stop the cooking process and prevent overcooking. Peel the eggs once they have cooled completely.
Making the Brine Solution
The brine solution is the heart of the salt-preserving process. It creates an environment that inhibits the growth of harmful bacteria and mold, thereby extending the shelf life of the eggs. Here’s how to make the perfect brine:
-
Dissolving the Salt: In a large pot, combine the desired amount of water and salt. The general ratio is about 1 cup of salt to 4 cups of water, but this can be adjusted based on your preference for saltiness and the number of eggs you are preserving. Stir the mixture until the salt is completely dissolved.
-
Adding Spices and Herbs: If you’ve chosen to add spices and herbs to your brine, now is the time to do so. Gently simmer the brine with the spices for about 10 minutes to allow the flavors to meld together. Remove the pot from heat and let it cool completely before using.
Preserving the Eggs
Now that the brine solution is ready and the eggs are prepared, it’s time to combine them and start the preservation process.
-
Packing the Jars: Place the cleaned and, if boiled, peeled quail eggs into the prepared glass jars or ceramic containers. Pack them tightly but carefully to avoid cracking the shells. If using raw eggs, you can place them directly into the jars without peeling.
-
Pouring in the Brine: Carefully pour the cooled brine solution over the eggs, ensuring that they are fully submerged. If necessary, use a weight, such as a small glass jar filled with water, to keep the eggs submerged. Air bubbles trapped between the eggs can cause them to float, so use a spoon to gently press down on the eggs and release any trapped air.
-
Sealing and Storing: Secure the lids tightly on the containers and label them with the date. Store the jars in a cool, dark place, such as a pantry or cellar. The ideal temperature for storing salt-preserved eggs is between 50-60°F (10-15°C).
Waiting for the Magic
The preservation process for salt-preserved quail eggs can take anywhere from a few weeks to a month, depending on the desired flavor intensity and texture. During this time, the salt will draw out moisture from the eggs, firming up their texture and infusing them with a savory, salty flavor.
Enjoying Your Creation
Once your salt-preserved quail eggs have reached your desired level of flavor and texture, it’s time to enjoy them. Here are a few ways to incorporate them into your culinary repertoire:
-
As a Snack: Simply remove an egg from the brine, rinse it off, and enjoy it on its own. The combination of the firm texture and salty flavor makes for a satisfying and unique snack.
-
In Salads and Dishes: Chopped or halved salt-preserved quail eggs can be added to salads, pasta dishes, or grain bowls for a burst of flavor and texture.
-
As a Garnish: Use them to garnish soups, stews, or appetizers for a visually appealing and flavorful touch.
-
In Cooking: Incorporate them into recipes that call for hard-boiled eggs, such as deviled eggs or egg salad, for a unique twist on classic dishes.
Conclusion
The art of making salt-preserved quail eggs is a delightful blend of tradition, science, and culinary creativity. By carefully selecting your ingredients, preparing the eggs, and crafting the perfect brine solution, you can create a snack that is not only delicious but also rich in history and cultural significance. Whether enjoyed on its own or incorporated into various dishes, salt-preserved quail eggs offer a unique flavor experience that is sure to delight your taste buds and impress your guests. So, why wait? Gather your ingredients, roll up your sleeves, and embark on the journey of making your own salt-preserved quail eggs today. Happy preserving!
This article has provided a comprehensive guide to making salt-preserved quail eggs, covering everything from ingredient selection to the final preservation process. By following these steps, you can create a delicious and long-lasting snack that combines the best of culinary tradition and modern flavor innovation. Enjoy your culinary adventure!

0 comments