Introduction
Preserved pork, often referred to as bacon in many Western cultures, is a culinary delight that transcends borders and generations. Its rich, savory flavor and versatility in cooking have made it a staple in kitchens worldwide. However, the traditional method of crafting preserved pork, particularly the art of salting, curing, and sometimes smoking the meat, varies greatly across different cultures and regions. This comprehensive guide delves into the timeless technique of preparing preserved pork, focusing on a classic approach that balances tradition with practicality. By following these steps, you’ll be able to create your own batch of delicious, homemade preserved pork that rivals any store-bought variety.
Understanding the Basics
Before diving into the recipe, it’s crucial to understand the fundamental principles behind preserving pork. The primary goal is to prevent bacterial growth and spoilage through a combination of salt, acidity, and sometimes dehydration or smoking. Salt acts as a natural preservative by drawing moisture out of the meat, creating an environment hostile to microorganisms. Curing agents like nitrite or nitrate, often found in commercial curing salts like Prague Powder #1, help inhibit bacterial growth and contribute to the characteristic pink color of preserved pork.
Choosing the Right Pork Cut

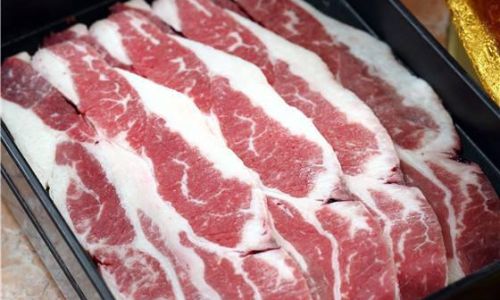
The quality of your final product begins with the choice of pork cut. Traditional cuts for preserved pork include the belly (which yields classic bacon), shoulder (perfect for ham or country-style bacon), and even the loin (for a leaner, more delicate bacon). Look for pork that is fresh, well-trimmed, and has a good marbling of fat. Fat is essential not only for flavor but also for texture and moisture retention during the curing process.
Preparing the Pork
-
Trimming and Cutting: Begin by trimming any excess fat or silver skin from the pork cut. For bacon, you’ll typically want to leave a layer of fat on one side for that classic, crispy texture. Cut the pork into desired lengths and thicknesses, keeping in mind that thicker cuts will require longer curing times.
-
Brining (Optional): While not traditional for all types of preserved pork, some recipes call for a brief brine soak to enhance flavor and moisture retention. A simple brine of water, salt, and sugar can be used. Soak the pork for a few hours or overnight, then rinse and pat dry before proceeding.
The Curing Process
-
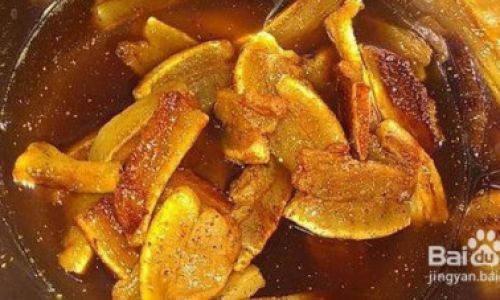
Mixing the Cure: In a small bowl, combine the necessary amount of curing salt (follow package instructions for correct dosage based on the weight of your pork) with an equal part of table salt. You can also add spices like black pepper, garlic powder, and brown sugar to taste for a flavored bacon. Mix well to ensure an even distribution of the cure.
-
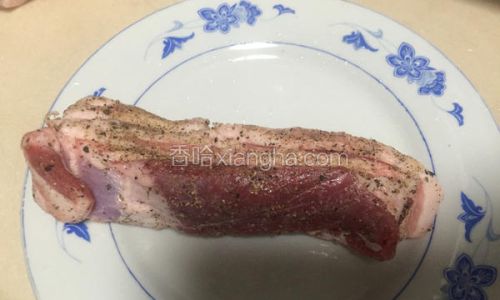
Applying the Cure: Rub the cure mixture evenly over all surfaces of the pork, ensuring it reaches into any crevices. Place the pork in a non-reactive container (glass or ceramic works best) and cover loosely with plastic wrap or a lid. The plastic wrap helps keep the meat moist but allows for some air circulation.
-
Curing Time: The curing process typically takes anywhere from 5 to 14 days, depending on the thickness of the pork and your personal preference for saltiness. For thicker cuts, err on the side of longer curing times. During this period, flip the pork daily to ensure even curing.
Rinsing and Drying
Once the curing period is complete, rinse the pork thoroughly under cold running water to remove any excess salt and cure. Pat the meat dry with paper towels and let it air-dry on a rack in a cool, well-ventilated area for several hours or overnight. This step is crucial as it helps to form a pellicle, a tacky surface that promotes even smoking and adds to the final texture and appearance of the preserved pork.
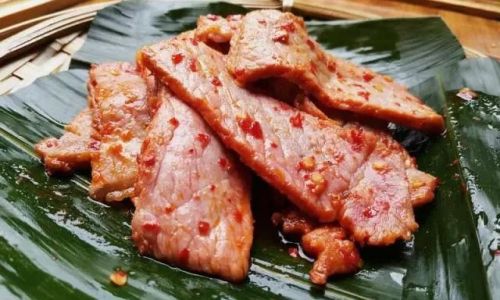
Smoking (Optional but Recommended)
Smoking adds an extra layer of flavor and aroma to your preserved pork. You can use a dedicated smoker, a grill with a smoker box, or even an oven with wood chips.
-
Preheating the Smoker: Preheat your smoker to a temperature between 200°F and 225°F (93°C to 107°C). Use your preferred wood chips or chunks (apple, hickory, oak are popular choices) for smoking.
-
Smoking the Pork: Place the dried pork on the smoker racks and smoke for several hours, until the internal temperature reaches around 150°F (66°C) and the meat has taken on a deep, rich color and smoky flavor. The exact smoking time will depend on the thickness of the pork and your desired level of smokiness.
Cooling and Storing
Once smoked, remove the pork from the smoker and let it cool completely on a wire rack. Once cooled, wrap it tightly in plastic wrap or vacuum-seal it to prevent air exposure and store it in the refrigerator. Properly stored, homemade preserved pork can last for several weeks in the fridge or several months in the freezer.
Conclusion
Crafting your own preserved pork is not only a rewarding culinary endeavor but also a journey through tradition and flavor. By following these steps, you’ll be able to create a product that is not only delicious but also filled with the satisfaction of homemade excellence. Whether you enjoy it on its own, as part of a hearty breakfast, or incorporated into various dishes, your homemade preserved pork will undoubtedly become a cherished staple in your kitchen.
Remember, the art of preserving pork is as much about patience and attention to detail as it is about the ingredients themselves. Experiment with different spices, curing times, and smoking woods to find the perfect balance that suits your taste. Happy preserving!
0 comments