Introduction
Crafting mulberry wine, a delightful fusion of nature’s sweetness and the art of fermentation, is a rewarding endeavor that combines tradition with modern techniques. Mulberries (Morus alba, Morus nigra, or Morus rubra), known for their juicy, slightly tart flavor and rich nutritional profile, are ideal for making wine. This process not only preserves the fruit’s natural goodness but also enhances its aroma and taste through the magic of fermentation. In this comprehensive guide, we’ll delve into the meticulous steps involved in crafting mulberry wine, from selecting the perfect berries to bottling the finished product. By following these detailed instructions, you’ll be able to create a bottle of mulberry wine that is as unique as it is delicious.
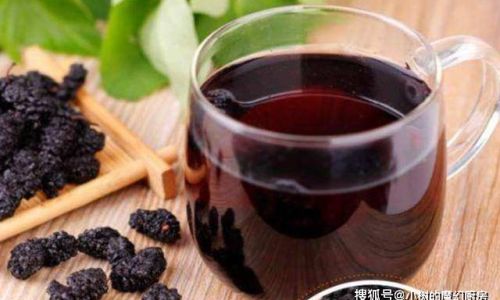
Step 1: Source the Best Mulberries
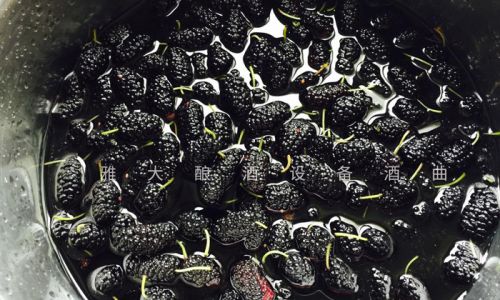
The journey of crafting mulberry wine begins with sourcing high-quality mulberries. Ideally, opt for organically grown berries to avoid any chemical residues that might compromise the wine’s purity. Look for firm, plump fruits with a deep, vibrant color—whether it’s the classic dark purple of Morus nigra or the lighter shades of Morus alba. Avoid berries that are overly ripe, bruised, or moldy, as these can introduce unwanted flavors and bacteria into your wine.
If you have access to mulberry trees, harvesting the berries yourself can be a fulfilling experience. Pick the berries on a dry day to minimize moisture content, which can promote mold growth during fermentation. If purchasing mulberries, ensure they are fresh and have been handled with care to retain their natural flavors and aromas.
Step 2: Prepare the Berries
Once you’ve sourced your mulberries, it’s time to prepare them for fermentation. Begin by sorting through the berries, discarding any that are damaged or unripe. Rinse the berries gently under cold running water to remove dirt and debris but avoid soaking them, as this could wash away essential natural yeasts present on the fruit’s surface. Pat the berries dry using a clean kitchen towel or let them air-dry on a paper towel-lined tray.
To enhance the wine’s color, flavor, and body, you may decide to crush the berries. This can be done manually using a potato masher or a fork, or with the help of a food processor. Aim for a consistency that allows the juice to be easily extracted while retaining some pulp for added texture and flavor. If you prefer a clearer wine, you can strain out the seeds and larger pulp pieces after crushing, but be aware that this may slightly reduce the wine’s complexity.
Step 3: Add Sugar and Yeast
Natural mulberries contain a fair amount of sugar, which serves as food for the yeast during fermentation. However, adding additional sugar can boost the alcohol content and sweetness of your wine to taste. The amount of sugar you add will depend on your personal preference and the initial sugar content of the berries. As a general guideline, start with about half a cup of sugar per liter of mulberry juice (extracted by crushing the berries).
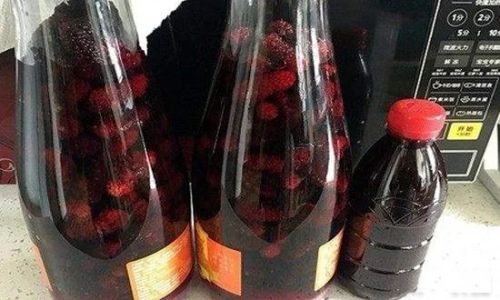
Next, introduce the yeast. While wild yeasts naturally present on the berries can initiate fermentation, using a commercial wine yeast strain offers more control over the process, ensuring a consistent and predictable outcome. Choose a yeast variety suited to your desired wine profile, such as those that promote fruitiness, high alcohol content, or rapid fermentation. Follow the yeast manufacturer’s instructions for activation and pitch the yeast into the mulberry mixture once it has reached a temperature between 65°F and 85°F (18°C to 29°C), the optimal range for yeast activity.
Step 4: Fermentation
Transfer the mulberry mixture into a clean, sanitized fermentation vessel, such as a glass carboy or food-grade plastic bucket. Ensure there is enough headspace to accommodate the foam (krausen) that forms during active fermentation. Cover the vessel with a loose-fitting lid or cheesecloth to allow carbon dioxide to escape while preventing contaminants from entering.
Fermentation typically begins within 24 to 48 hours, marked by the appearance of bubbles and a rise in temperature. Stir the mixture daily for the first few days to distribute nutrients evenly and prevent the formation of a stuck fermentation. Monitor the temperature closely, maintaining it within the yeast’s optimal range. If necessary, use a fermentation heater or place the vessel in a temperature-controlled environment.
Active fermentation can last from a few days to a week, depending on the yeast strain and sugar content. Once fermentation slows down (indicated by a reduction in bubbling and a stable temperature), it’s time to rack the wine—transferring it to a clean vessel to separate it from the sediment (lees) that has settled at the bottom.
Step 5: Secondary Fermentation and Aging
During secondary fermentation, which may be optional depending on your recipe, you can add additional ingredients such as oak chips for a smoky flavor, honey for sweetness, or fruit extracts for complexity. This stage also allows the wine to clarify naturally, with remaining particles settling to the bottom.
Seal the vessel tightly and allow the wine to age for at least a few months, preferably in a cool, dark place. Aging can enhance the wine’s flavors, mellow its tannins, and improve its overall balance. During this time, you may rack the wine again if necessary to further separate it from sediment.
Step 6: Bottling and Enjoying
When your mulberry wine has reached its desired maturity, it’s ready for bottling. First, sanitize your bottling equipment, including bottles, corks, and a bottling wand. Siphon the wine into the bottles, leaving some headspace to allow for the formation of carbon dioxide (if any) and to prevent the corks from being pushed out.
Cork the bottles tightly and label them with the date, batch number, and any other relevant information. Store the bottles in a cool, dark place, preferably at a consistent temperature, to maintain the wine’s quality. Allow the wine to rest for at least a few weeks before serving to allow any remaining sediments to settle at the bottom of the bottle.
Conclusion
Crafting mulberry wine is a rewarding endeavor that combines patience, precision, and a love for fine beverages. By following the steps outlined in this guide, you’ll be able to create a unique and delicious mulberry wine that reflects your personal taste and commitment to quality. Whether you enjoy it as a refreshing summer sipper or a festive holiday treat, mulberry wine offers a delightful way to celebrate the bounty of nature and the art of fermentation. Happy crafting!


0 comments