Introduction
The journey of introducing solid foods to a baby is a milestone filled with excitement and anticipation. For many parents, this phase marks the beginning of a lifelong relationship between their child and the world of flavors, textures, and nutrients. While store-bought baby food offers convenience, homemade alternatives provide unparalleled control over ingredients, freshness, and nutritional value. This article delves into the art of crafting wholesome, baby-friendly meals from scratch, ensuring your little one receives the best start in life. From understanding nutritional needs to mastering age-appropriate recipes, we will explore every facet of baby food preparation, empowering caregivers to create meals that are both delicious and nourishing.
When to Start Solid Foods
The American Academy of Pediatrics (AAP) recommends introducing solid foods around six months of age, when babies typically develop the necessary motor skills to sit upright, hold their heads steady, and show interest in what’s on your plate. Early signs of readiness include leaning forward during meals, opening their mouths when food is offered, and the ability to move food from the front to the back of their tongue. Starting solids too early may increase the risk of choking or digestive issues, while delaying beyond six months could lead to nutritional gaps, as breast milk or formula alone may no longer meet their growing needs.
Key Nutrients for Early Development
Babies require a delicate balance of macronutrients and micronutrients to support rapid growth. Iron, for instance, is critical for brain development and oxygen transport. Fortified cereals, pureed meats, and legumes are excellent sources. Calcium and vitamin D, found in yogurt, cheese, and leafy greens, strengthen bones and teeth. Healthy fats from avocados, olive oil, and fatty fish like salmon aid in brain and eye development. Fibers from fruits and vegetables promote digestive health, while vitamins A, C, and E boost immunity. Balancing these nutrients requires thoughtful meal planning, ensuring every spoonful contributes to your baby’s holistic well-being.
Essential Tools for Homemade Baby Food
Creating baby food at home doesn’t demand a fancy kitchen. Basic tools include a blender or food processor for pureeing, a steaming basket to retain nutrients, ice cube trays for portioning, and reusable pouches or small containers for storage. A high-quality baby food maker that steams and blends in one step can streamline the process, but a stovetop and standard kitchen gadgets work just as well. Always prioritize BPA-free materials for storage to avoid harmful chemicals.

Stage 1: Single-Ingredient Purees (6–8 Months)
At this stage, the goal is to introduce one new food at a time, waiting three to five days between additions to monitor for allergies. Start with mild flavors and smooth textures.
-
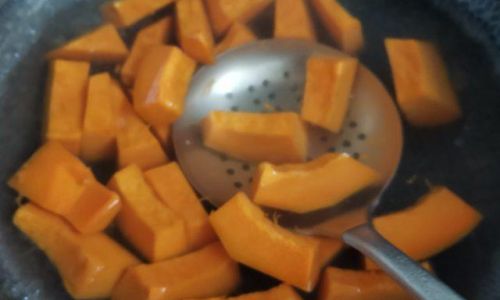
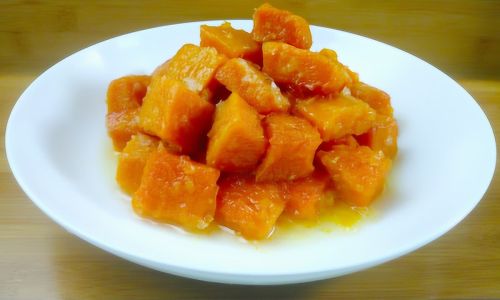
Sweet Potato Puree
- Ingredients: 1 medium sweet potato, peeled and cubed.
- Method: Steam until tender, then blend with breast milk, formula, or water until smooth.
- Nutritional Benefit: High in beta-carotene and fiber.
-
Avocado Mash
- Ingredients: ½ ripe avocado.
- Method: Mash with a fork, adding breast milk or formula for a creamy consistency.
- Nutritional Benefit: Rich in monounsaturated fats and vitamin E.
-
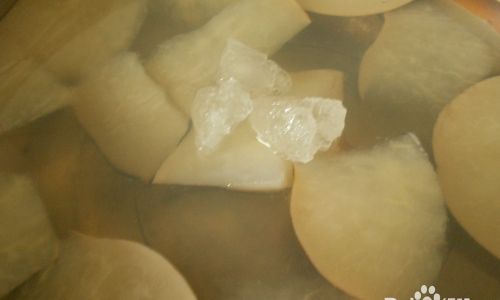
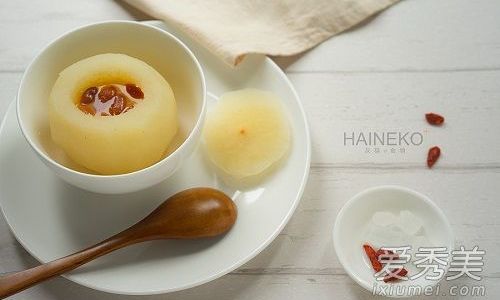
Applesauce

- Ingredients: 2 apples, peeled, cored, and sliced.
- Method: Simmer in water until soft, then blend. Add a pinch of cinnamon for flavor.
- Nutritional Benefit: Packed with vitamin C and antioxidants.
Stage 2: Combination Purees and Lumpy Textures (8–10 Months)
As babies grow, their gums become stronger, and they begin to develop chewing skills. Introduce thicker textures and mixed flavors.
-
Chicken and Vegetable Medley
- Ingredients: ¼ cup cooked chicken, ¼ cup steamed carrots, ¼ cup steamed peas.
- Method: Blend all ingredients with a splash of low-sodium broth until chunky.
- Nutritional Benefit: Provides protein, iron, and vitamins A and K.
-
Quinoa and Peach Breakfast
- Ingredients: ¼ cup cooked quinoa, ½ ripe peach (peeled and pitted).
- Method: Blend quinoa and peach with breast milk until smooth.
- Nutritional Benefit: Combines complete protein with vitamin C.
-
Butternut Squash and Lentil Stew

- Ingredients: ¼ cup cooked red lentils, ½ cup steamed butternut squash.
- Method: Mash together, adding a touch of thyme for flavor.
- Nutritional Benefit: High in fiber, iron, and potassium.
Stage 3: Soft Finger Foods (10–12 Months)
By 10 months, most babies are ready to explore self-feeding. Offer soft, bite-sized pieces to encourage independence.
-
Banana and Oatmeal Bites
- Ingredients: ½ ripe banana, ¼ cup cooked oatmeal.
- Method: Mash banana into oatmeal, form into small balls, and roll in crushed cereal.
- Nutritional Benefit: Energy-rich with potassium and whole grains.
-
Steamed Broccoli Florets
- Ingredients: Fresh broccoli, cut into tiny trees.
- Method: Steam until tender-crisp. Serve plain or with a yogurt dip.
- Nutritional Benefit: Excellent source of folate and vitamin C.
-
Turkey Meatballs

- Ingredients: ¼ lb ground turkey, 1 tbsp breadcrumbs, 1 tsp grated zucchini.
- Method: Mix ingredients, form into tiny balls, and bake at 375°F (190°C) for 15 minutes.
- Nutritional Benefit: Lean protein with added veggies.
Advanced Recipes for Toddlers (12+ Months)
As chewing skills improve, introduce more complex flavors and textures.
-
Mini Veggie Frittatas
- Ingredients: 2 eggs, ¼ cup grated cheese, ¼ cup steamed spinach, ¼ cup diced tomatoes.
- Method: Whisk eggs, stir in cheese and veggies, and bake in a greased muffin tin at 350°F (175°C) for 20 minutes.
- Nutritional Benefit: Protein-packed with iron and calcium.
-
Mango and Coconut Smoothie
- Ingredients: ½ cup frozen mango, ¼ cup coconut milk, ¼ cup yogurt.
- Method: Blend until smooth. Serve in a reusable pouch.
- Nutritional Benefit: Tropical vitamin boost with probiotics.
-
Lentil and Sweet Potato Curry

- Ingredients: ¼ cup red lentils, ½ cup sweet potato, 1 tsp mild curry powder.
- Method: Simmer lentils and sweet potato in low-sodium broth until tender. Stir in curry powder and blend slightly.
- Nutritional Benefit: Antioxidant-rich with a hint of spice.
Safety and Storage Tips
- Hygiene: Wash hands, utensils, and surfaces thoroughly before preparing food.
- Allergen Awareness: Introduce common allergens (e.g., peanuts, eggs) one at a time after consulting a pediatrician.
- Choking Prevention: Avoid hard foods like nuts, raw carrots, or whole grapes. Cut food into pea-sized pieces.
- Freezing: Pour purees into ice cube trays, freeze, and transfer to labeled freezer bags. Thaw overnight in the fridge.
- Shelf Life: Homemade baby food lasts 1–2 days in the fridge and up to 3 months in the freezer.
Addressing Common Concerns
- Food Allergies: Symptoms include hives, vomiting, or difficulty breathing. Seek immediate medical help if reactions occur.
- Constipation: Introduce high-fiber foods like prunes, pears, and oatmeal. Increase water intake.
- Picky Eating: Offer a variety of textures and flavors. Lead by example and avoid pressure-feeding.
- Organic vs. Conventional: While organic produce reduces pesticide exposure, thorough washing of conventional produce is often sufficient.
Conclusion
Crafting homemade baby food is an act of love that nurtures both body and soul. It allows caregivers to customize meals according to their baby’s preferences and dietary needs while fostering a positive relationship with food from the start. Remember, there’s no one-size-fits-all approach—flexibility and patience are key. As your little one explores the vibrant world of tastes and textures, each meal becomes a stepping stone toward a lifetime of healthy eating. Consult your pediatrician for personalized guidance, and savor these precious moments of culinary discovery with your child. Bon appétit!


0 comments