Table of content
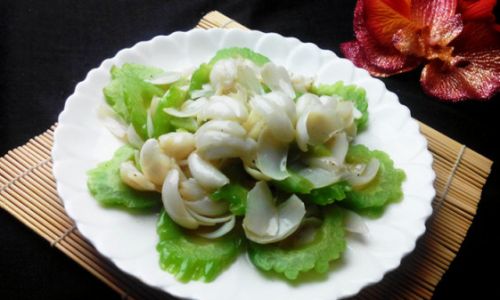
Pig skin jelly, also known as aspic or pork skin gelatin, is a beloved culinary delight enjoyed across cultures for its unique texture and rich flavor. This versatile dish, often served as an appetizer or a cold snack, derives its signature wobbly consistency from collagen-rich pig skin that transforms into gelatin when simmered for the right duration. However, achieving the ideal balance between a tender, jiggly texture and a firm, cohesive structure hinges on one critical factor: how long to boil the pig skin. This article delves into the science, techniques, and nuances of determining the optimal boiling time for pig skin jelly, ensuring both novice cooks and seasoned chefs can master this timeless recipe.
The Science Behind Pig Skin Jelly
Before diving into timing, it’s essential to understand the chemical process that turns humble pig skin into a delectable jelly. Pig skin is composed of collagen, a structural protein found in connective tissues. When subjected to heat and moisture, collagen breaks down into gelatin, a protein that dissolves in hot water and solidifies as it cools. The longer the pig skin simmers, the more collagen converts to gelatin, resulting in a firmer jelly. Conversely, undercooking leaves excess collagen intact, yielding a soft, runny texture.
The challenge lies in finding the sweet spot: boiling long enough to extract sufficient gelatin without overcooking, which can make the jelly tough or cause the skin to disintegrate into unappetizing strands.

Factors Influencing Boiling Time
The ideal boiling time for pig skin jelly is not a one-size-fits-all answer. Several variables affect the process, including:
- Thickness of the Pig Skin: Thicker skins require longer simmering to ensure collagen breaks down completely.
- Stove Type and Heat Distribution: Gas stoves, electric coils, and induction burners vary in heat consistency, impacting simmering efficiency.
- Desired Texture: Soft, spreadable jelly versus firm, sliceable cubes demand different cooking durations.
- Additional Ingredients: Adding vinegar, wine, or aromatics like ginger and garlic can alter the simmering time.
- Altitude: At higher elevations, water boils at lower temperatures, potentially extending cooking time.
Step-by-Step Preparation: Setting the Stage for Perfect Jelly
Before even lighting the stove, proper preparation ensures optimal results:
Cleaning and Trimming
- Remove Hair: Singe residual hairs over an open flame or scrape them off with a knife.
- Trim Fat: Excess fat prevents the jelly from setting clearly. Leave a thin layer for flavor but avoid greasiness.
- Cut into Strips: Smaller pieces (1-2 inches wide) expose more surface area, accelerating collagen breakdown.
Blanching (Optional but Recommended)
- Boil the pig skin for 5-7 minutes, then rinse under cold water. This step removes impurities and tightens the skin, reducing scum formation during simmering.
Soaking (for Salted Pig Skin)
- If using preserved pig skin, soak it in water for 2-4 hours to desalinate.
The Boiling Process: Timing Is Everything
The simmering phase is the heart of pig skin jelly preparation. Here’s a breakdown of cooking times based on method and desired outcome:
Stovetop Simmering (Traditional Method)
- Soft, Spoonable Jelly: 1.5–2 hours
Ideal for sauces or toppings. The skin remains slightly chewy but releases enough gelatin for a loose set.
- Firm, Sliceable Jelly: 2.5–3.5 hours
The gold standard for most recipes. The skin becomes translucent, and the liquid thickens noticeously.
- Extra-Firm Jelly: 4+ hours
Reserved for specialized dishes requiring a sturdy base. Overcooking beyond 4.5 hours may yield a gritty texture.
Pro Tip: Maintain a gentle simmer—rapid boiling can cloud the broth and degrade gelatin quality.

Slow Cooker Method
- Low Heat (6–8 hours): Perfect for overnight cooking. The slow, steady heat ensures maximum gelatin extraction without risking overcooking.
- High Heat (3–4 hours): A quicker alternative, but monitor closely to prevent boiling.
Pressure Cooker Method
- High Pressure (30–45 minutes): Drastically reduces time while retaining nutrients. Release pressure naturally for 15 minutes to avoid shocking the gelatin.
Caution: Pressure cooking can sometimes yield a cloudier jelly due to rapid temperature changes.
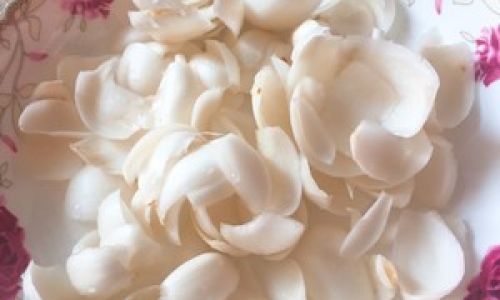
Signs Your Pig Skin Jelly Is Ready
- Visual Cues:
- The liquid turns opaque and viscous.
- Pig skin strips become nearly translucent and easily bend without breaking.
- Texture Test:
- Dip a cold spoon into the broth; it should coat the spoon thickly.
- Place a drop on a chilled plate—it should set within 5 minutes.
- Taste Test:
The broth should have a subtle pork flavor without bitterness from overcooked skin.
Common Mistakes and How to Avoid Them
- Undercooking:
- Issue: Jelly remains liquid or too soft.
- Fix: Extend simmering time in 15-minute increments.
- Overcooking:
- Issue: Jelly becomes grainy or the skin disintegrates.
- Fix: Reduce heat immediately and remove skin if it starts to shred.
- Inconsistent Heat:
- Issue: Uneven cooking leads to parts of the jelly not setting.
- Fix: Use a heat diffuser or stir occasionally to distribute heat.
Enhancing Flavor and Texture
While boiling time is paramount, seasoning and add-ins elevate the dish:
- Aromatics: Ginger, garlic, star anise, and bay leaves add depth.
- Acidity: A splash of vinegar or wine balances richness and aids gelatin clarity.
- Vegetables: Carrots, celery, or mushrooms introduce complexity (add during the last 30 minutes).
Pro Tip: For a crystal-clear jelly, avoid dark soy sauce or strong spices that cloud the broth.
Storing and Serving Pig Skin Jelly
- Chilling: Pour the hot liquid into molds and refrigerate for at least 4 hours (or overnight) to set.
- Storage: Keeps refrigerated for up to 5 days. Freeze for longer shelf life (thaw in the fridge).
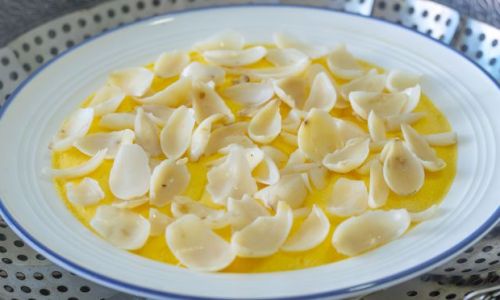
- Serving Suggestions:
- Slice into cubes and garnish with cilantro, chili oil, or crushed peanuts.
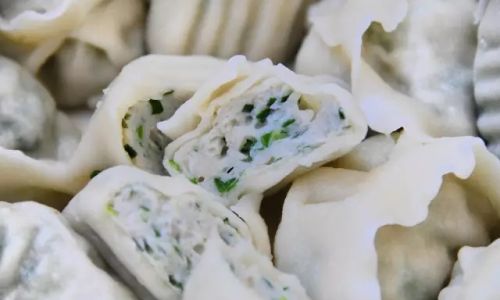
- Use as a filling for dumplings or buns.
- Pair with a tangy dipping sauce (soy sauce, vinegar, and sesame oil).
Troubleshooting Guide
| Problem | Cause | Solution |
|---|---|---|
| Jelly won’t set | Insufficient gelatin or too much liquid | Simmer longer or reduce the broth. |
| Jelly is too firm | Overcooked or too little water | Add hot water and reheat gently. |
| Cloudy appearance | Rapid boiling or impurities | Strain through cheesecloth; cook slower. |
| Bitter taste | Burnt skin or overcooked aromatics | Discard and start fresh; toast spices lightly. |
Cultural Variations and Creative Twists
Pig skin jelly transcends borders, with regional adaptations offering exciting flavors:
- Chinese “Pig’s Ear Jelly”: Adds sliced ears for extra crunch.
- Vietnamese “Thịt Đông”: Includes pork belly and hard-boiled eggs.
- Eastern European “Kholodets”: Features beef or chicken alongside pork for a heartier dish.
- Modern Fusion: Experiment with infusions like lemongrass, smoked paprika, or roasted vegetables.
Conclusion: Patience and Practice Make Perfect
Mastering the art of pig skin jelly boiling time is a journey of observation and adaptation. While guidelines provide a roadmap, trust your senses—sight, touch, and taste—to refine your technique. Whether you prefer a delicate spoonable jelly or a robust, sliceable block, the key lies in balancing science and intuition. So, fire up the stove, arm yourself with patience, and embark on a culinary adventure that transforms humble pig skin into a shimmering masterpiece. After all, great food, like gelatin, is worth the wait.
0 comments