Introduction
In the culinary realm, preserving meat through the art of curing has been a practice as old as civilization itself. Among the various meats that undergo this transformation, pork stands out due to its versatility, rich flavor, and ability to absorb spices and seasonings with remarkable fidelity. Whether you’re aiming to create the perfect bacon, ham, or a unique sausage, mastering the art of how to cure pork to the utmost deliciousness involves a blend of science, patience, and a keen sense of taste. This guide delves into the intricacies of pork curing, from selecting the right cut to the final storage, ensuring that every step contributes to a flavorful, tender, and safely preserved product.
Section 1: Understanding the Basics of Curing
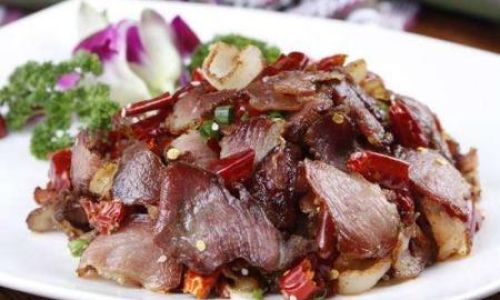
Curing pork involves the use of salt, sugar, and sometimes nitrates or nitrites to draw out moisture, preserve the meat, and enhance its flavor. Salt acts as a natural preservative by creating an environment hostile to bacteria, while sugar adds sweetness and helps balance the saltiness. Nitrates and nitrites, often derived from celery powder or other natural sources, play a crucial role in preventing the growth of harmful bacteria like Clostridium botulinum, which can cause botulism, and contribute to the characteristic pink color of cured meats.
1 Choosing the Right Cut
The first step in curing pork is selecting the appropriate cut. Different cuts are suited for different types of cured meats:
- Belly: Ideal for bacon due to its fat-to-meat ratio, which ensures a juicy, flavorful final product.
- Leg: Perfect for ham, as it’s a large muscle that holds its shape well during curing and cooking.
- Shoulder: Often used for making sausage or country ham, as it has a good balance of fat and meat, adding depth of flavor.
2 Equipment and Preparation
Before starting, ensure you have the necessary equipment: a large, non-reactive container (glass, ceramic, or stainless steel), a sharp knife for trimming, cheesecloth or butcher’s twine for hanging, and a cool, dry place for storage. Cleanliness is paramount; wash all surfaces, utensils, and hands thoroughly to avoid contamination.
Section 2: The Curing Process
1 Brining vs. Dry Curing
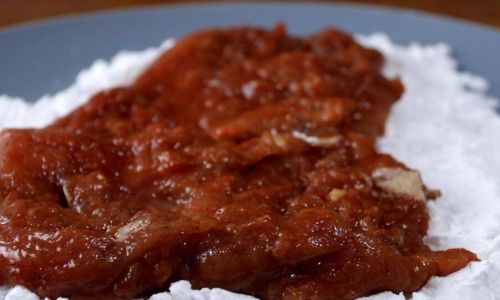
There are two primary methods of curing pork: brining and dry curing.
- Brining: Involves submerging the meat in a saltwater solution, sometimes with added sugars and spices. This method is faster and more forgiving, ideal for beginners.
- Dry Curing: Requires rubbing the meat with a mixture of salt, sugar, and spices, then hanging it to dry. It takes longer but results in a more concentrated flavor and texture.
2 Creating the Cure Mix
For dry curing, a basic cure mix might include:
- Salt: Approximately 2.5-3% of the meat’s weight.
- Sugar: Around 1-2% for balance.
- Spices: Black pepper, coriander, mustard seeds, garlic powder, and paprika can be added to taste.
- Nitrates/Nitrites: A pinch of pink salt (Prague Powder #1) if using.
Mix these ingredients thoroughly and apply evenly to the meat, massaging it in to ensure penetration.
3 Application and Storage
- For Dry Curing: Place the seasoned meat on a wire rack set over a tray to catch any drips. Cover loosely with cheesecloth and let it sit in a cool (around 55°F or 13°C), well-ventilated area for several days to a week, depending on the thickness and desired level of cure.
- For Brining: Submerge the meat in the brine solution, ensuring it’s fully covered. Refrigerate for several days, turning the meat occasionally.
Section 3: Monitoring and Adjustments
Throughout the curing process, it’s crucial to monitor the meat for signs of spoilage, such as off odors or sliminess. Regularly check the temperature and humidity of the curing environment. If using dry curing, you may need to wipe away excess moisture or reapply cure mix if it becomes too dry.
Section 4: Rinsing and Drying
Once the curing period is complete, rinse the meat thoroughly under cold running water to remove any surface salt and spices. Pat it dry with paper towels and let it air-dry for a few hours or overnight in the refrigerator, uncovered, to form a pellicle—a tacky surface that helps develop a good crust during cooking.
Section 5: Cooking and Smoking (if desired)
1 Cooking Methods
- Baking: For bacon, preheat the oven to a low temperature (around 200°F or 93°C) and bake until the desired crispiness is achieved.
- Boiling/Simmering: Ham is often simmered in water or broth until cooked through, then glazed and baked for a caramelized finish.
- Smoking: Adds an additional layer of flavor. Use a smoker set to a low temperature (around 180-200°F or 82-93°C) and smoke for several hours, depending on the thickness and desired smokiness.
2 Internal Temperature
Ensure the internal temperature reaches at least 145°F (63°C) for safety, especially when cooking larger cuts like ham. Use a food thermometer to check doneness accurately.
Section 6: Storage and Serving
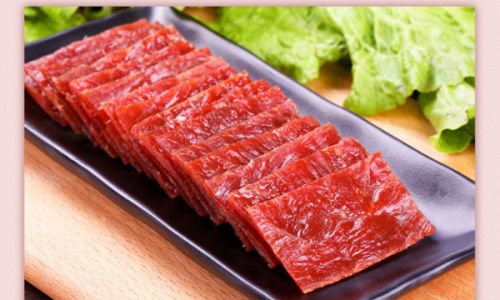
Once cooked, allow the meat to cool completely before slicing. Properly cured and cooked pork can be stored in the refrigerator for several weeks or frozen for longer preservation. Wrap tightly in plastic wrap or vacuum-seal to maintain freshness.
Conclusion
Curing pork is an art that combines science, patience, and creativity. By understanding the basics of curing, selecting the right cut, crafting a balanced cure mix, and carefully monitoring the process, you can achieve delicious, safe, and beautifully preserved pork products. Whether you’re crafting a classic bacon, a succulent ham, or a unique sausage, the journey from raw meat to a fully cured delicacy is a rewarding one that deepens your appreciation for the intricacies of food preservation and flavor development.
Remember, the key to success lies in attention to detail, a willingness to experiment, and a love for the culinary craft. Happy curing!

0 comments