Introduction
Porridge, a simple yet comforting dish enjoyed worldwide, holds a special place in many culinary traditions. Whether it’s oatmeal in the West, congee in East Asia, or kasha in Eastern Europe, the basic principle remains the same: cooking grains in water or milk until they soften and form a creamy consistency. However, achieving that perfect, sticky, and creamy texture can be a challenge for even the most seasoned cooks. This article delves into the intricacies of making porridge, offering comprehensive guidance on how to transform a humble collection of ingredients into a luxurious, satisfying meal.
Understanding the Ingredients
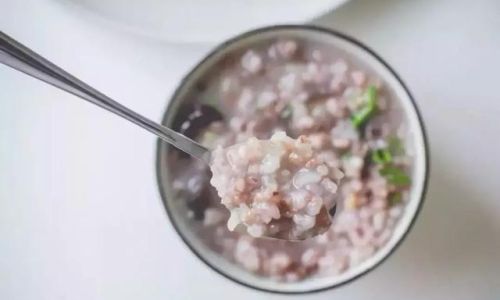
Before diving into the cooking process, it’s crucial to understand the key ingredients and their roles in creating sticky and creamy porridge.
Grains:
- Oats: The most common grain used for porridge in Western cultures. Rolled oats, steel-cut oats, and instant oats vary in texture and cooking time but all contribute to a creamy final product.
- Rice: Used extensively in Asian congee, different types of rice (like jasmine, Arborio, or short-grain) yield varying consistencies. Short-grain rice, in particular, is ideal for its sticky texture.
- Barley, Millet, and Quinoa: These whole grains add nutritional depth and a nutty flavor but may require longer cooking times to achieve a creamy consistency.
Liquid Base:
- Water: The most basic and versatile option. It allows the grains to cook evenly and develop flavor.
- Milk: Dairy or plant-based milk (like almond, oat, or soy) adds richness and creaminess. Full-fat milk tends to produce the most luxurious texture.
- Broth: Chicken, vegetable, or bone broth can elevate porridge from a simple breakfast to a hearty meal, infusing it with additional flavors.
Thickeners and Binders:
- Cornstarch or Tapioca Starch: These can be added towards the end of cooking to thicken the porridge without overcooking the grains.
- Cream Cheese or Yogurt: Stirred in at the end, they contribute both creaminess and tanginess.
Flavorings:
- Salt and Sugar: Basic seasoning that enhances the natural flavors of the grains.
- Spices and Herbs: Cinnamon, nutmeg, vanilla, bay leaves, or thyme can transform plain porridge into a gourmet dish.
- Fruits, Nuts, and Seeds: Berries, bananas, apples, chia seeds, nuts, and honey add texture, sweetness, and nutrition.
Choosing the Right Equipment
The equipment you use can significantly impact the outcome of your porridge. Here are some essential tools:
Heavy-Bottomed Pot:
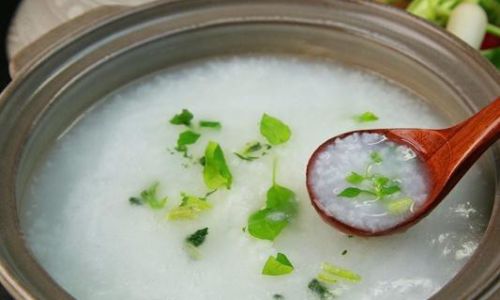
- Distributes heat evenly, preventing scorching and hot spots.
Wooden Spoon or Silicone Spatula:
- Gently stirs the porridge without scratching the pot’s surface.
Ladle:
- Essential for serving, especially if you’re making a large batch.
Blender (Optional):
- For a super smooth texture, blending the cooked porridge can create a velvety consistency.
Slow Cooker or Rice Cooker:
- Set-and-forget convenience, ideal for those who prefer not to stand over the stove.
The Cooking Process
Now, let’s dive into the step-by-step process of making sticky and creamy porridge.
Step 1: Preparation
- Measure Ingredients: Ensure you have the correct proportions. A general rule is 1 part grain to 2-4 parts liquid, depending on the desired consistency.
- Rinse Grains: If using rice or other grains that may contain dust or debris, rinse them under cold water until the water runs clear.
- Soak Grains (Optional): Soaking grains overnight can shorten cooking time and enhance digestibility.
Step 2: Cooking the Base
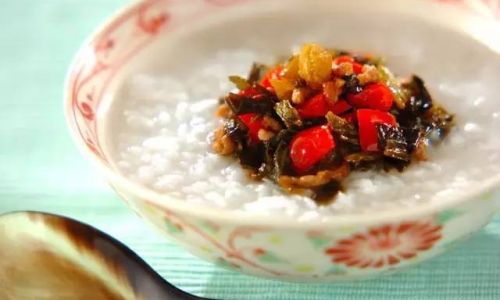
- Heat the Pot: Place your heavy-bottomed pot on the stove over medium heat.
- Add Liquid: Pour in the water, milk, or broth. If using dairy milk, be cautious of scorching, especially if cooking on high heat.
- Bring to a Simmer: Heat the liquid until it begins to simmer gently.
Step 3: Adding Grains
- Gradual Addition: Stir in the grains slowly, ensuring they don’t clump together.
- Adjust Heat: Reduce the heat to low or medium-low to maintain a gentle simmer. This slow cooking process is crucial for developing the creamy texture.
Step 4: Stirring and Monitoring
- Regular Stirring: Stir the porridge frequently to prevent sticking and to ensure even cooking.
- Adjust Consistency: If the porridge seems too thick, add a little more liquid. If it’s too thin, continue cooking until it reaches the desired consistency.
- Watch for Bubbles: Be vigilant about the porridge boiling over. If necessary, adjust the heat or use a splatter guard.
Step 5: Adding Flavorings
- Mid-Cooking Additions: Spices, salt, and sugar can be added at this stage to allow their flavors to meld into the porridge.
- Taste and Adjust: Periodically taste the porridge and adjust the seasoning as needed.
Step 6: Achieving Creaminess
- Starch Activation: Grains naturally release starches during cooking, which contribute to creaminess. Stirring helps distribute these starches evenly.
- Optional Thickeners: If the porridge isn’t as creamy as desired, mix a small amount of cornstarch or tapioca starch with a little cold water and stir it into the porridge. Continue cooking for a few minutes until thickened.
- Final Touches: Stir in cream cheese, yogurt, or a knob of butter at the end for added richness.
Step 7: Serving and Enjoying
- Texture Check: Once the grains are tender and the porridge has reached your desired consistency, remove it from heat.
- Cool Slightly: Let it sit for a few minutes to thicken slightly before serving.
- Toppings: Add your favorite toppings like fruits, nuts, seeds, or a drizzle of honey.
- Serve Hot: Porridge is best enjoyed immediately while it’s still warm and creamy.
Troubleshooting Common Issues
Even with the best intentions, things can go wrong when making porridge. Here’s how to troubleshoot common problems:
Porridge is Too Thick:
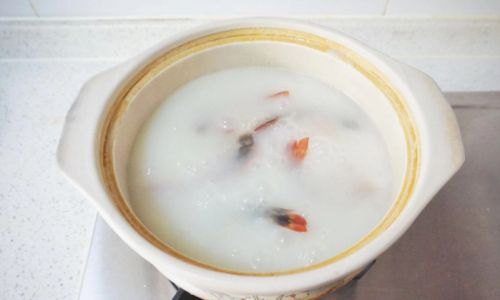
- Solution: Stir in a bit more liquid (water, milk, or broth) and heat until incorporated.
Porridge is Too Thin:
- Solution: Continue cooking on low heat, stirring frequently, until it thickens. Alternatively, use a thickener like cornstarch.
Grains are Still Crunchy:
- Solution: Check that the cooking liquid fully covers the grains and cook for longer. Different grains have varying cooking times.
Porridge is Sticky and Gluey:
- Solution: This often happens with excess starch. Stir more frequently during cooking to distribute the starch evenly and prevent clumping.
Porridge Has Burnt on the Bottom:
- Solution: Use a heavy-bottomed pot and avoid high heat. Stir frequently to prevent sticking.
Conclusion
Making sticky and creamy porridge is an art that combines science, patience, and a bit of experimentation. By understanding your ingredients, using the right equipment, and following a meticulous cooking process, you can transform simple grains into a luxurious, satisfying dish. Whether you’re making a comforting breakfast for one or a hearty meal for a crowd, the principles outlined in this article will guide you to success. So, gather your ingredients, fire up the stove, and embark on your journey to mastering the perfect porridge. Happy cooking!


0 comments