Introduction
In the vast culinary landscape of Asia, steamed buns, or baozi, occupy a unique and beloved niche. These soft, fluffy pillows of dough, often filled with savory or sweet delights, are a staple in many households and street food stalls across China, Japan, Korea, and beyond. While the specific ingredients and flavors may vary from region to region, one common denominator in their preparation is the use of yeast to achieve that signature light and airy texture. This guide delves into the intricacies of how to use yeast to ferment dough for making perfect steamed buns, from understanding the basics of yeast to troubleshooting common pitfalls.
Understanding Yeast: The Key to Fluffy Dough
Yeast, a single-celled fungus, plays a crucial role in leavening baked goods. There are two main types used in home baking: active dry yeast and instant yeast (also known as rapid-rise yeast). Both types are dried and deactivated forms of live yeast that come to life when moistened and fed with sugar or starches present in the dough.
-
Active Dry Yeast: Requires activation in warm water (around 110°F or 45°C) mixed with a pinch of sugar before being incorporated into the dough. This step ensures the yeast is alive and active before it begins its work of fermentation.
-
Instant Yeast: Can be added directly to the dry ingredients without prior activation, saving time and simplifying the process. It is more forgiving of slight temperature variations and is ideal for beginners or those in a rush.
Choosing the Right Yeast
For making steamed buns, either type of yeast can be used successfully. However, instant yeast offers convenience and a slightly faster fermentation process, making it a popular choice among home bakers. Active dry yeast, on the other hand, might be preferred by those who prefer a more traditional approach or who have it readily available.
Ingredients and Equipment
Before diving into the recipe, gather the necessary ingredients and equipment:
-
Ingredients:
- Bread flour or all-purpose flour: Bread flour, with a higher protein content, produces a stronger dough that can hold more steam during steaming, resulting in a taller, more tender bun. However, all-purpose flour works well too and is more accessible.
- Warm water: Used to activate the yeast (if using active dry) and to create a hydrated dough.
- Sugar: Provides food for the yeast, accelerating fermentation.
- Salt: Enhances flavor and strengthens the gluten network in the dough.
- Vegetable oil or lard: Adds moisture and tenderness to the dough.
- Filling ingredients (optional): Pork, beef, chicken, vegetables, or sweet fillings like red bean paste.
-
Equipment:
- Mixing bowls: One for preparing the dough and another for proofing.
- Measuring cups and spoons.
- Dough hook or wooden spoon for mixing.
- Clean kitchen towel or plastic wrap for covering the dough during proofing.
- Steamer: A traditional bamboo steamer or an electric steamer works well. Alternatively, you can use a pot with a steaming rack and a tight-fitting lid.
- Parchment paper or silicone mats to prevent sticking.
Step-by-Step Recipe
Preparing the Dough
Begin by measuring out all your ingredients accurately. In a large mixing bowl, combine the flour, sugar, and salt. Create a well in the center and add the yeast (instant yeast can be mixed directly with the dry ingredients).
If using active dry yeast, activate it first by dissolving it in a small bowl of warm water (110°F or 45°C) with a pinch of sugar. Let it sit for about 5-10 minutes until frothy and bubbly, indicating that the yeast is active. Pour this yeast mixture into the well in the flour mixture.
For instant yeast, simply add warm water directly to the flour mixture, along with a tablespoon of vegetable oil or lard. Gradually mix the ingredients together until a shaggy dough forms.
Kneading the Dough
Transfer the dough to a lightly floured surface and knead for about 8-10 minutes. Kneading helps develop the gluten in the flour, which is essential for creating a strong dough structure that can trap the carbon dioxide produced by the yeast, leading to a fluffy texture. The dough should be smooth, elastic, and slightly tacky but not sticky.
If the dough is too sticky, add a little more flour (a tablespoon at a time). If it’s too dry and crumbly, add a teaspoon of water and continue kneading.
First Proof
Place the kneaded dough back into the mixing bowl, cover it with a clean kitchen towel or plastic wrap, and let it rise in a warm, draft-free place. The ideal temperature for proofing is between 75-85°F (24-29°C). You can create a warm environment by placing the bowl on top of a preheated oven (turned off) or using a proofing box.
Let the dough rise until it has doubled in size, which can take anywhere from 1 to 2 hours depending on the temperature and the activity of the yeast. The dough should be puffy and have a soft,海绵-like texture when gently pressed.
Shaping the Buns
Once the dough has finished its first proof, punch it down gently to release any trapped gases. Transfer it to a lightly floured surface and divide it into equal portions using a dough scraper or knife. The size of each portion will depend on how large you want your buns to be; typically, they range from 2 to 4 ounces (57 to 113 grams) each.
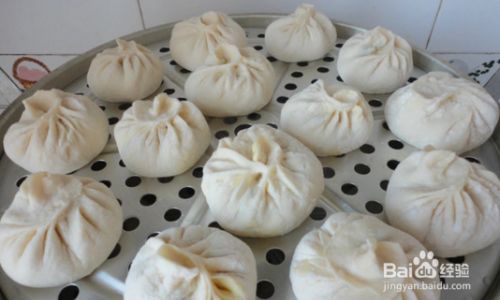
Shape each portion into a smooth ball by cupping your hands around the dough and rotating it while gently pulling the edges toward the bottom. Place the shaped buns on a parchment-lined surface, spacing them apart to allow for expansion during the second proof.
If you’re adding fillings, flatten each dough ball slightly, place the filling in the center, and then seal the dough around it, pinching to close any seams. Reshape into a smooth ball if necessary.
Second Proof
Cover the shaped buns with a clean kitchen towel or plastic wrap and let them rest for a second proof. This step allows the gluten to relax and the yeast to continue working, creating more air pockets in the dough. The buns should rise slightly, becoming puffy and almost touching each other. This can take anywhere from 20 to 40 minutes, depending on the ambient temperature.
Preparing the Steamer
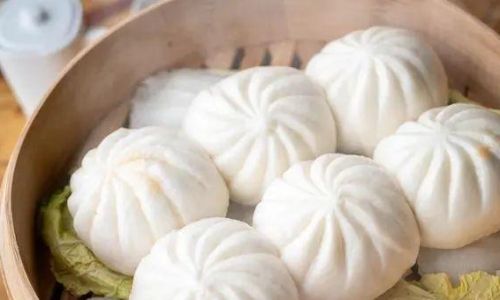
While the buns are undergoing their second proof, prepare your steamer. Fill the bottom with enough water to reach just below the steaming rack. Bring the water to a boil over high heat. If using a bamboo steamer, line it with parchment paper or banana leaves to prevent sticking.
Steaming the Buns
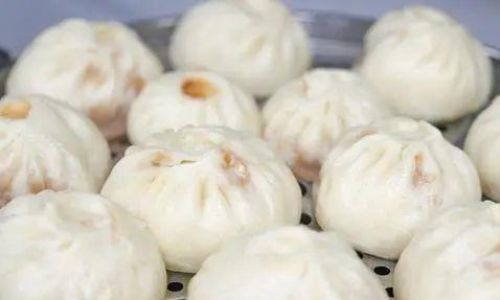
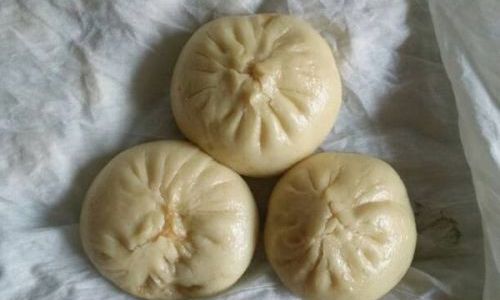
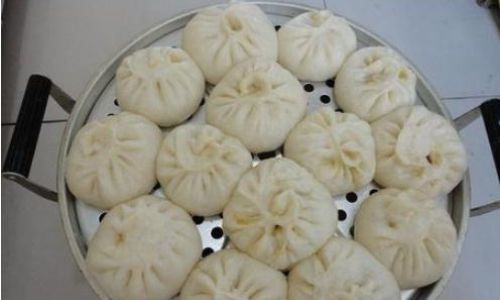
Once the buns have finished their second proof, carefully place them in the steamer, making sure they are not overcrowded. Cover the steamer and reduce the heat to medium-high to maintain a steady, gentle steam. Steam the buns for about 12-15 minutes, or until they are cooked through and have a soft, glossy appearance.
Avoid opening the steamer lid during the steaming process, as this can cause the buns to collapse. If you need to check on them, do so quickly and cover the lid again immediately.
Cooling and Serving
Once steamed, remove the buns from the steamer using tongs or a spatula and place them on a wire rack to cool slightly. This helps prevent condensation from making the bottoms soggy.
Serve the steamed buns warm, with your favorite dipping sauce or condiments. They can be enjoyed plain, with a savory filling like pork or beef, or with a sweet filling like red bean paste.
Troubleshooting Common Issues
-
Dense, Heavy Buns: This can be caused by insufficient kneading, under-proofing, or using cold water. Ensure you knead the dough well, proof it in a warm environment, and use warm water to activate the yeast.
-
Collapsed Buns: Sudden temperature changes, such as opening the steamer lid too early, or over-proofing can cause this. Let the buns cool slightly before removing them from the steamer and avoid peeking during the steaming process.
-
Sticky Dough: Too much water or not enough flour can result in sticky dough. Adjust the ratio accordingly and knead until the dough is smooth and elastic.
Conclusion
Mastering the art of making steamed buns with yeast is a rewarding culinary endeavor that combines science with tradition. By understanding the role of yeast in fermentation, selecting the right ingredients, and following meticulous steps, you can create soft, fluffy buns that are a delight to both the eyes and the palate. Whether you’re a seasoned baker or a novice in the kitchen, the joy of sharing homemade steamed buns with family and friends is a timeless and cherished experience. Happy baking!

0 comments