Introduction
Pickled broad beans, a timeless delicacy enjoyed across various cultures, offer a burst of flavor that can elevate any meal. These legumes, known for their nutty taste and creamy texture when cooked properly, transform into a tangy, savory treat when infused with the right blend of spices, acids, and herbs during the pickling process. While the basic concept of pickling involves preserving food in an acidic solution, the art of crafting delicious pickled broad beans lies in the intricate balance of ingredients and the meticulous attention to detail throughout the preparation.
In this comprehensive guide, we will delve into the intricacies of how to make pickled broad beans that are not only preserved but also bursting with flavor. From selecting the perfect beans to crafting a pickling brine that complements their natural taste, every step will be meticulously explained to ensure your pickled broad beans are a culinary triumph.
Chapter 1: Selecting and Preparing the Broad Beans
1 Choosing the Right Broad Beans
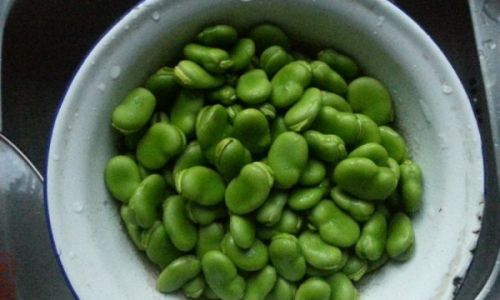
The journey to delicious pickled broad beans begins with selecting the right beans. Look for fresh, firm pods with a vibrant green color. Avoid pods that are discolored, have soft spots, or show signs of mold. The beans inside should be plump and not too small, indicating they are mature enough to hold flavor well during the pickling process.
2 Shelling the Beans
Once you have your fresh broad beans, the next step is to shell them. This involves removing the beans from their pods. While this can be a time-consuming process, it is crucial for ensuring that your pickled beans are free of any pod fragments that could affect their texture and taste.
3 Sorting and Cleaning
After shelling, sort through the beans to remove any that are damaged, discolored, or misshapen. These imperfections can impact the overall quality of your pickled beans. Rinse the beans thoroughly under cold running water to remove any dirt or debris. Pat them dry using a clean kitchen towel or paper towels to ensure they are ready for the next step.
4 Blanching the Beans
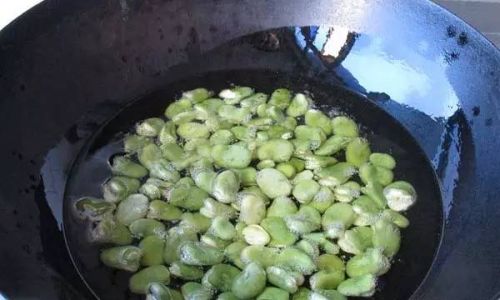
Blanching is a crucial step in preparing broad beans for pickling. It helps to soften the beans slightly, making them more susceptible to absorbing the flavors of the pickling brine. To blanch the beans, bring a large pot of salted water to a rolling boil. Add the beans and cook for about 2-3 minutes, or until they are just tender but still hold their shape. Immediately remove them from the boiling water using a slotted spoon and plunge them into an ice water bath to stop the cooking process. Drain well and set aside.
Chapter 2: Crafting the Pickling Brine
1 Understanding the Basics of Pickling Brines
The pickling brine is the lifeblood of your pickled broad beans. It is responsible for preserving the beans and infusing them with flavor. A well-balanced brine contains a combination of acid (usually vinegar or lemon juice), salt, sugar (optional for balance), and spices or herbs for added depth.
2 Selecting the Right Vinegar
When it comes to vinegar, there are several options to choose from, each with its unique flavor profile. White distilled vinegar is a classic choice for pickling due to its neutral taste and high acidity, which helps in preservation. However, you can also experiment with apple cider vinegar for a milder, sweeter flavor or rice vinegar for a subtle, delicate taste.
3 Creating the Brine Base
Start by combining your chosen vinegar with water in a ratio that suits your taste preference. A common ratio is 1 part vinegar to 2 parts water, but this can be adjusted based on your desired acidity level. Add salt and sugar to taste, stirring until fully dissolved. Remember, salt not only enhances flavor but also acts as a natural preservative.
4 Infusing Flavor
To elevate your pickling brine, incorporate a blend of spices and herbs that complement the natural taste of broad beans. Common choices include garlic cloves, whole black peppercorns, mustard seeds, bay leaves, and dill. You can also experiment with less traditional ingredients like coriander seeds, red pepper flakes, or even citrus zest for unique flavor profiles.
To infuse the brine with these flavors, heat the vinegar-water mixture gently over low heat. Add the spices and herbs, allowing them to simmer for about 5-10 minutes to release their aromas and flavors into the liquid. Remove from heat and let it cool slightly before using.
Chapter 3: The Pickling Process
1 Preparing the Jars
Before starting the pickling process, ensure your jars are clean and sterile. You can sterilize them by boiling them in water for a few minutes or running them through the dishwasher on the hottest setting. Once cooled, dry the jars thoroughly to avoid any condensation that could affect the pickling process.
2 Packing the Beans
Pack the blanched and dried broad beans tightly into the prepared jars. This helps to ensure that they are fully submerged in the brine, which is crucial for even pickling and preservation. You can also add additional flavor layers by including slices of fresh garlic, sprigs of fresh herbs, or even a few chili peppers if you prefer a bit of heat.
3 Pouring the Brine
Carefully pour the cooled pickling brine over the beans in the jars, ensuring they are completely submerged. Use a clean chopstick or knife to gently stir the beans and dislodge any air bubbles that have formed. This helps to ensure that all parts of the beans are in contact with the brine.
4 Sealing and Storing
Seal the jars tightly with lids and label them with the date and contents. Place the jars in a cool, dark place where they will not be disturbed. The ideal temperature for pickling is between 65-70°F (18-21°C). Allow the beans to pickle for at least a week before tasting, as the flavors will continue to develop over time.
Chapter 4: Flavor Variations and Experimentation
1 Sweet and Sour Pickled Broad Beans
For a sweet and sour twist, increase the amount of sugar in your brine and add a splash of lemon juice or orange zest. This combination creates a balanced, tangy-sweet flavor that pairs well with the creamy texture of the beans.
2 Spicy Pickled Broad Beans
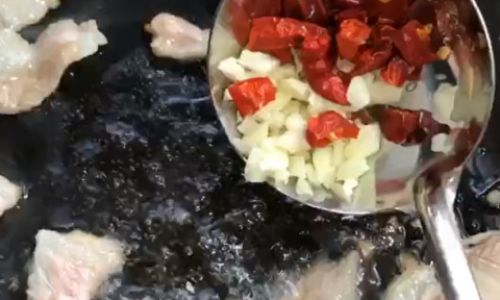
If you prefer a bit of heat, incorporate red pepper flakes, sliced jalapenos, or even a few whole chili peppers into your brine. The spices will infuse the beans with a fiery kick that is perfect for those who enjoy spicy foods.
3 Herbed Pickled Broad Beans
For a more sophisticated flavor, experiment with a blend of fresh herbs like thyme, rosemary, and tarragon. These herbs will add layers of complexity and earthiness to your pickled beans, making them a perfect accompaniment to salads, grilled meats, or even as a standalone snack.
4 Fermented Pickled Broad Beans
For an entirely different flavor profile, consider fermenting your broad beans instead of using a traditional vinegar-based brine. Fermentation introduces beneficial bacteria that create unique flavors and textures, resulting in a tangier, more complex taste. This method requires a bit more knowledge and attention to detail, but the rewards are well worth it.
Chapter 5: Serving and Enjoying Your Pickled Broad Beans
1 Pairing and Serving Suggestions
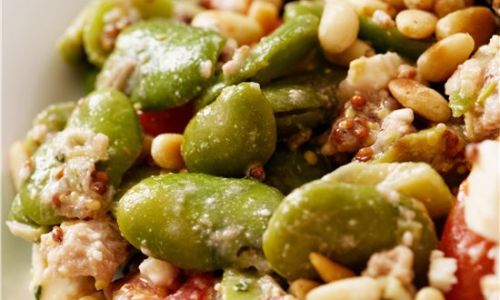
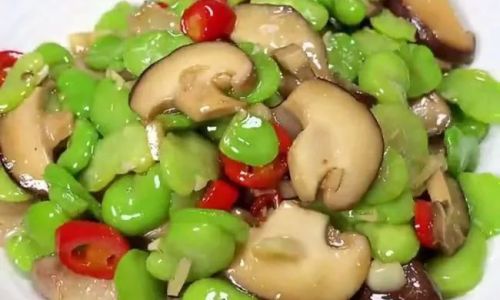
Pickled broad beans are incredibly versatile and can be enjoyed in various ways. They make a delightful addition to salads, adding crunch and tanginess to the mix. They can also be served as a side dish with grilled meats, fish, or poultry, providing a refreshing contrast to richer flavors. For a unique appetizer, try serving them on a charcuterie board alongside cheeses, crackers, and other pickled vegetables.
2 Troubleshooting Common Issues
While pickling broad beans is relatively straightforward, there are a few common issues that can arise. If your beans become too soft or mushy, it may be due to overcooking during the blanching process. Adjust the cooking time accordingly next time. If your brine seems too strong or too weak, adjust the ratio of vinegar to water and the amount of salt and sugar to taste.
3 Storing and Shelf Life
Properly pickled broad beans can last for several months when stored in a cool, dark place. However, it is important to check them regularly for signs of spoilage, such as an off odor, discoloration, or mold. Once opened, store the jars in the refrigerator to extend their shelf life.
Conclusion
Making delicious pickled broad beans is a rewarding culinary endeavor that combines the art of preservation with the joy of flavor experimentation. By following the steps outlined in this guide, from selecting the perfect beans to crafting a flavorful brine and carefully monitoring the pickling process, you can create a dish that is not only delicious but also bursting with personality. Whether you enjoy them as a standalone snack, a side dish, or an ingredient in a larger dish, pickled broad beans are sure to become a staple in your culinary repertoire. Happy pickling!



0 comments