Introduction
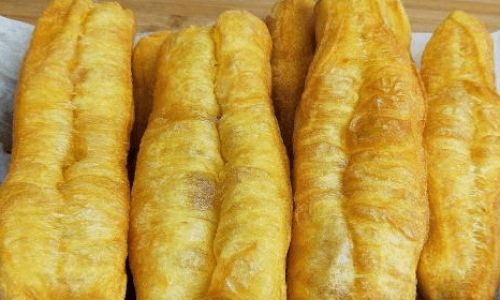
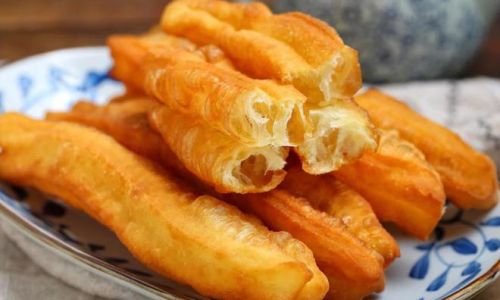
Fried dough sticks, commonly known as “you tiao” in Chinese cuisine, are a staple breakfast food enjoyed across Asia. Their golden-brown exterior, crispy yet soft interior, and versatility in pairing with various dishes make them a beloved treat. Whether dipped in soy milk, paired with congee, or enjoyed on their own, fried dough sticks offer a simple yet satisfying culinary experience. This article aims to provide a comprehensive guide to making fried dough sticks at home, detailing the traditional methods, recipes, and tips for achieving perfect results.
Historical Background and Cultural Significance
The origin of fried dough sticks dates back centuries, with various regions in China claiming their own versions and variations. Historically, they were a popular street food, sold by vendors who would fry them fresh to order. The simplicity of their ingredients—flour, water, salt, and oil—belies their rich cultural significance. Fried dough sticks symbolize unity and togetherness, often being shared among family members during meals. They are also a part of traditional festivals and celebrations, where their golden hue is believed to bring good luck and prosperity.
Ingredients and Equipment
Before diving into the recipe, let’s discuss the essential ingredients and equipment needed:
-
Ingredients:
- All-purpose flour: Provides the structural base for the dough.
- Water: Helps to form the gluten network within the dough.
- Salt: Enhances flavor and aids in dough development.
- Baking soda (optional): Adds a slight fluffiness to the dough sticks.
- Vegetable oil: For frying.
-
Equipment:
- Mixing bowls: For combining ingredients.
- Dough hook or wooden spoon: For kneading the dough.
- Clean kitchen towel or plastic wrap: For covering the dough during resting.
- Rolling pin: For flattening and shaping the dough.
- Knife or dough cutter: For cutting the dough into strips.
- Deep fryer or large, heavy-bottomed pot: For frying the dough sticks.
- Slotted spoon or frying basket: For removing the fried dough sticks from the oil.
Step-by-Step Recipe
Preparing the Dough
Begin by combining 400 grams of all-purpose flour, 1 teaspoon of salt, and a pinch of baking soda (if using) in a large mixing bowl. Gradually add 200 milliliters of lukewarm water, mixing as you go. The water should be added slowly to avoid making the dough too wet. Use a dough hook or wooden spoon to knead the mixture until it forms a smooth, elastic dough. This process can take around 10 minutes.
Once the dough is formed, cover it with a clean kitchen towel or plastic wrap and let it rest for at least 30 minutes. This resting period allows the gluten in the flour to relax, making the dough easier to roll out and shape.
Shaping the Dough Sticks
After the dough has rested, place it on a lightly floured surface. Use a rolling pin to flatten the dough into a rectangle about 1/2 inch thick. Use a knife or dough cutter to cut the dough into strips, approximately 1/2 inch wide and 6-8 inches long.
To form the classic twisted shape, take two strips and place them side by side. Gently press the ends together, then lift one end and twist the strips around each other. Press the twisted ends together to seal. Repeat this process with the remaining dough strips.
Frying the Dough Sticks
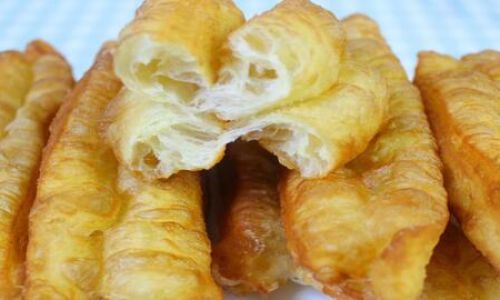
Heat vegetable oil in a deep fryer or large, heavy-bottomed pot to 350°F (175°C). Use a thermometer to ensure the oil maintains a consistent temperature.
Carefully place a few twisted dough sticks into the hot oil, being mindful not to overcrowd the pot. Fry the dough sticks until they are golden brown and crispy, turning them occasionally to ensure even cooking. This should take about 2-3 minutes per batch.
Once the dough sticks are golden and cooked through, use a slotted spoon or frying basket to remove them from the oil and place them on a plate lined with paper towels to drain excess oil.
Serving and Enjoying
Your homemade fried dough sticks are now ready to enjoy! Serve them warm, ideally within minutes of frying, to experience their optimal texture and flavor. They can be enjoyed on their own, dipped in soy milk or another beverage, or paired with various dishes such as porridge, meat, or vegetables.
Tips for Perfect Fried Dough Sticks
-
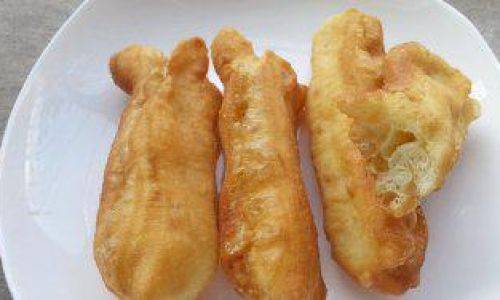
Temperature Control: Maintaining the correct oil temperature is crucial for achieving a crispy exterior and a soft interior. Too low a temperature will result in greasy dough sticks, while too high will burn the exterior before the interior is cooked.
-
Resting the Dough: Do not skip the resting period. It allows the gluten to relax, making the dough easier to roll out and shape without tearing.
-
Shaping Technique: When twisting the dough strips, ensure the ends are securely pressed together to prevent them from unraveling during frying.
-
Monitoring the Frying Process: Keep a close eye on the dough sticks while they are frying. They can go from golden to burnt quickly, especially at higher temperatures.
Conclusion
Making fried dough sticks at home may seem like a daunting task, but with the right recipe, ingredients, and techniques, you can achieve delicious, crispy results that rival those from your favorite street vendor. This traditional treat not only satisfies your taste buds but also connects you to a rich culinary heritage. So, the next time you crave a hearty breakfast or a snack to pair with your favorite beverage, consider whipping up a batch of homemade fried dough sticks. Happy frying!

0 comments