Introduction
Fried walnut kernels, with their delicate crunch and rich, nutty flavor, are a beloved snack across cultures. Whether enjoyed on their own, sprinkled over salads, or incorporated into desserts, these golden-brown treats offer a satisfying blend of texture and taste. While they may seem like a gourmet delight reserved for specialty stores, mastering the technique of frying walnut kernels at home is surprisingly achievable. This comprehensive guide will walk you through every step of the process, from selecting the finest nuts to achieving that coveted balance of crispiness and flavor. By the end, you’ll be equipped to create a batch of irresistible fried walnuts that rival any store-bought variety.
Understanding the Basics: Why Fry Walnut Kernels?
Walnuts, renowned for their health benefits and versatile flavor profile, are often consumed raw or toasted. However, frying introduces a unique dimension to their taste and texture. The process of shallow-frying in oil caramelizes the natural sugars in the nuts, enhancing their sweetness while creating a crisp exterior. Unlike deep-frying, which can leave nuts greasy, pan-frying uses minimal oil and allows for precise control over cooking time and temperature. This method ensures the walnuts retain their nutritional value while gaining a gourmet finish.
Ingredients and Equipment: What You’ll Need
Before diving into the cooking process, gather the following ingredients and tools to streamline your workflow:

-
Ingredients:
- 2 cups raw walnut kernels (unsalted, unroasted)
- 2–3 tablespoons neutral cooking oil (e.g., grapeseed, canola, or vegetable oil)
- 1–2 teaspoons coarse sea salt (adjust to taste)
- Optional seasonings: cinnamon, brown sugar, cayenne pepper, rosemary, or smoked paprika
-
Equipment:
- Large skillet or frying pan (preferably non-stick or cast-iron)
- Wooden spatula or heat-resistant silicone spoon
- Paper towels or a clean kitchen towel
- Baking sheet (for cooling)
- Measuring spoons and cups
Preparation: Setting the Stage for Success
The key to perfectly fried walnuts lies in meticulous preparation. Follow these steps to ensure your nuts cook evenly and develop maximum flavor:
-
Sort and Clean the Walnuts:
Begin by inspecting the walnut kernels. Remove any debris, broken pieces, or discolored nuts. Rinse them under cool water to eliminate dust or residue, then pat dry thoroughly with a kitchen towel. Excess moisture can cause the oil to splatter during frying, so ensure the nuts are as dry as possible. -
Optional: Soak for Enhanced Crispiness
For an extra-crisp texture, some chefs recommend soaking walnuts in salted water for 30 minutes before frying. This step helps hydrate the nuts, allowing them to cook more evenly. Drain and pat dry completely after soaking. -
Preheat the Pan:
Place your skillet over medium-low heat and add the cooking oil. Allow the pan to warm gradually—this ensures the oil reaches the ideal frying temperature without smoking.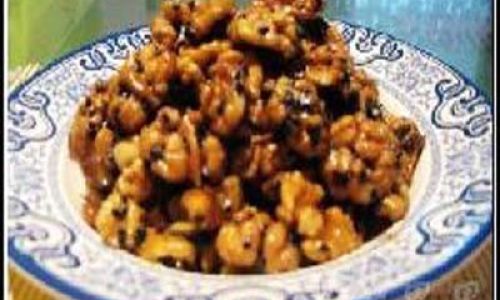
The Frying Process: Step-by-Step Instructions
Frying walnut kernels requires patience and attention to detail. Follow these steps to achieve golden perfection:
-
Add the Walnuts to the Pan:
Once the oil shimmers (but before it smokes), gently pour the walnuts into the skillet. Spread them in a single layer to ensure even cooking. Avoid overcrowding the pan, as this can lead to uneven browning. -
Stir Continuously:
Use a wooden spatula to stir the walnuts constantly. This prevents burning and ensures all sides are exposed to the heat. The nuts will begin to release a toasty aroma after 2–3 minutes. -
Monitor Color and Texture:
As the walnuts fry, they will gradually darken and develop a glossy sheen. Listen for a subtle sizzling sound—this indicates the moisture is evaporating, and the nuts are crisping up. Fry for 5–7 minutes total, adjusting the heat if necessary to prevent scorching. -
Test for Doneness:
To check if the walnuts are ready, remove one from the pan and let it cool slightly. It should be crisp, not chewy, and exhibit a deep golden-brown hue. Overcooking will result in bitterness, so err on the side of caution. -
Season Immediately:
Once the walnuts are fried to perfection, sprinkle them evenly with sea salt and any desired seasonings. The residual heat from the pan will help the seasonings adhere.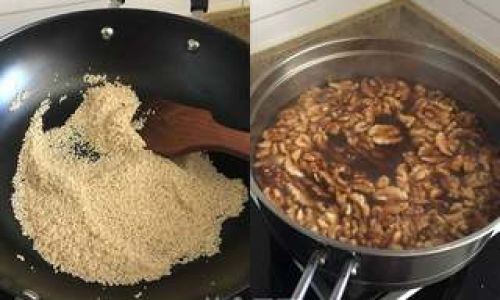
Cooling and Storing: Preserving Freshness and Crunch
Proper cooling and storage are critical to maintaining the walnuts’ texture and flavor:
-
Transfer to a Baking Sheet:
Use a slotted spoon to move the fried walnuts onto a baking sheet lined with paper towels. This absorbs excess oil and prevents sogginess. Spread the nuts in a single layer to cool evenly. -
Cool Completely:
Allow the walnuts to cool at room temperature for 15–20 minutes. Resist the temptation to taste-test immediately, as they will continue to crisp as they cool. -
Store Airtight:
Once cooled, transfer the walnuts to an airtight container or resealable bag. Store in a cool, dry place away from direct sunlight. Properly stored, fried walnuts retain their crunch for up to two weeks.
Flavor Variations: Elevating Your Fried Walnuts
While salted walnuts are a classic choice, experimenting with seasonings can transform this snack into a culinary adventure. Here are some inspired combinations to try:
- Sweet and Spicy: Toss fried walnuts with a mixture of 1 tablespoon brown sugar, ½ teaspoon cinnamon, and a pinch of cayenne pepper.
- Herb-Infused: Add 1 teaspoon finely chopped fresh rosemary or thyme during the final minute of frying.
- Smoky and Savory: Sprinkle with smoked paprika and a drizzle of honey after frying.
- Parmesan and Garlic: Toss warm walnuts with grated Parmesan cheese and minced garlic.
Troubleshooting Common Issues
Even seasoned cooks encounter hiccups. Here’s how to address common pitfalls:
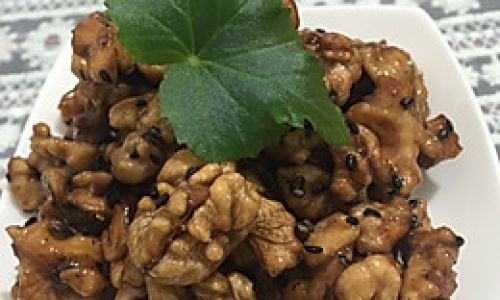
- Burnt Nuts: If your walnuts taste bitter, reduce the heat next time and stir more frequently.
- Soggy Texture: Ensure the nuts are completely dry before frying, and avoid overcrowding the pan.
- Uneven Browning: Use a single layer and stir continuously for even cooking.
Health Benefits of Walnuts
Beyond their culinary appeal, walnuts are a nutritional powerhouse. Rich in omega-3 fatty acids, antioxidants, and fiber, they support heart health, brain function, and inflammation reduction. Frying walnuts in a minimal amount of oil preserves these benefits while enhancing their palatability.
Serving Suggestions: Beyond the Snack Bowl
Fried walnut kernels are incredibly versatile. Elevate your meals with these ideas:
- Salads: Sprinkle over arugula with goat cheese and balsamic dressing.
- Desserts: Garnish chocolate mousse or ice cream for added texture.
- Cheese Boards: Pair with aged cheddar and honeycomb for a gourmet platter.
- Grain Bowls: Mix into quinoa or brown rice bowls with roasted vegetables.
Conclusion: The Joy of Homemade Fried Walnuts
Crafting perfectly fried walnut kernels at home is a rewarding endeavor that elevates everyday meals and snack times. By mastering the balance of heat, oil, and seasoning, you’ll create a treat that’s both addictively crunchy and deeply flavorful. Whether enjoyed straight from the bowl or incorporated into creative dishes, these nuts are sure to impress. So grab your skillet, gather your ingredients, and embark on a culinary adventure that celebrates the humble walnut in all its golden glory. Happy frying!
Final Tips for Perfection
- For a gluten-free option, ensure your seasonings are certified gluten-free.
- Experiment with flavored oils, such as toasted sesame or chili oil, for added complexity.
- Reheat leftover walnuts in a dry skillet over low heat to restore crispness.
With practice, you’ll refine your technique and develop signature flavor profiles that make your fried walnuts unforgettable. Enjoy the process, and savor every bite!



0 comments