Cooking a delicious free-range chicken requires a blend of patience, precision, and an understanding of the unique flavors that come from using high-quality ingredients. Free-range chickens, known for their richer taste and firmer texture, deserve a cooking method that brings out their best attributes. This guide will walk you through the steps to cook a mouthwatering free-range chicken that will leave your guests asking for the recipe. From selecting the perfect bird to mastering the cooking technique, every detail counts in achieving culinary perfection.
Step 1: Choosing the Right Chicken
The first and most crucial step in cooking a delicious free-range chicken is selecting the right one. Look for chickens that are labeled “free-range,” indicating they have had access to the outdoors and a more natural diet, which contributes to their superior flavor. Ideally, choose a bird that is around 4 to 5 pounds for even cooking and a juicy, tender result. Avoid chickens that appear overly lean or have a lot of excess fat, as these can affect the final texture and taste.
Step 2: Preparation and Brining (Optional)
One of the secrets to a juicy, flavorful chicken is brining. While not strictly necessary, brining helps to keep the meat moist during cooking and can enhance its overall flavor. To brine your chicken, mix one cup of kosher salt and one-half cup of sugar with one gallon of cold water. Submerge the chicken in the brine, ensuring it is fully covered, and refrigerate for 12 to 24 hours. Before cooking, rinse the chicken thoroughly under cold water to remove any excess salt and pat it dry with paper towels.
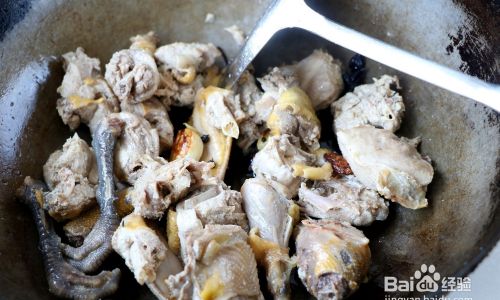
If you decide against brining, make sure to season your chicken generously with salt and pepper at least an hour before cooking to allow the seasoning to penetrate the skin and meat.
Step 3: Trussing the Chicken
Trussing, or tying up, your chicken ensures that it cooks evenly and maintains a neat, attractive shape. To truss the chicken, tuck the wingtips under the bird so they are close to the body. Next, use kitchen twine to tie the legs together securely. For an extra touch, you can also loop the twine around the body of the chicken and tie it off to create a more compact shape. This helps the chicken cook more uniformly and prevents the wings and legs from overcooking.
Step 4: Selecting the Cooking Method
There are several methods to cook a free-range chicken, each offering a unique flavor profile and texture. Here are three popular techniques:
Roasting
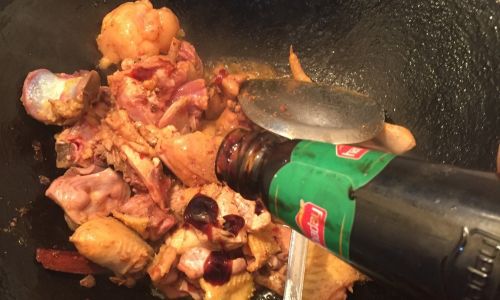
Roasting is a classic method that brings out the natural flavors of the chicken. Preheat your oven to 375°F (190°C). Place the trussed chicken in a roasting pan, breast side up. For added flavor, you can stuff the cavity with aromatics like lemon halves, garlic cloves, and fresh herbs like rosemary and thyme. Rub the skin with olive oil and season generously with salt and pepper. Roast the chicken until the internal temperature reaches 165°F (75°C) when measured at the thickest part of the breast or the innermost part of the thigh, about 1 to 1.5 hours depending on its size.
Grilling
Grilling a chicken gives it a smoky, caramelized exterior that’s irresistible. Preheat your grill to medium-high heat. Oil the grill grates to prevent sticking. Place the chicken breast side down on the grill and cook for about 45 minutes to an hour, or until the skin is deeply browned and crispy. Flip the chicken and continue grilling until the internal temperature reaches 165°F (75°C). This method requires careful monitoring to avoid burning the skin, so adjust the grill’s heat as necessary.
Sous-Vide
For a modern, restaurant-quality finish, consider cooking your chicken sous-vide. Season the chicken as desired and place it in a vacuum-sealed bag. Cook in a water bath at 145°F (63°C) for 3 to 4 hours, depending on its size. After cooking, you can finish the chicken under a broiler or in a hot oven for a crispy skin, or simply sear it in a hot pan with a bit of butter and oil.
Step 5: Resting and Serving
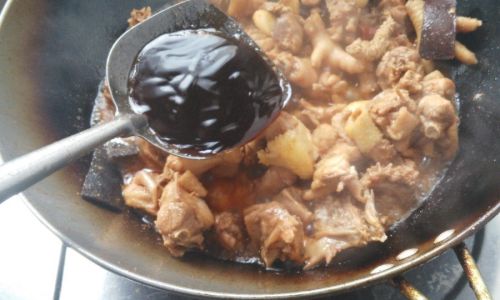
Once the chicken has reached the desired internal temperature, remove it from the heat and let it rest for at least 15 to 20 minutes. This resting period allows the juices to redistribute, ensuring a juicy, tender result. While the chicken is resting, you can prepare a simple sauce or gravy using the drippings from the roasting pan or the cooking liquid from sous-vide.
Serve your cooked free-range chicken with sides that complement its rich flavor, such as roasted vegetables, mashed potatoes, or a fresh green salad. Don’t forget to carve the chicken properly: start with removing the legs and thighs, then the wings, and finally slice the breast meat into even portions.
Conclusion
Cooking a delicious free-range chicken is an art that combines careful selection, thoughtful preparation, and the right cooking technique. By following these steps, you’ll be able to create a meal that not only satisfies your taste buds but also impresses your guests. Whether you choose to roast, grill, or sous-vide your chicken, the key is to focus on bringing out its natural flavors and ensuring it remains juicy and tender. Happy cooking!

0 comments