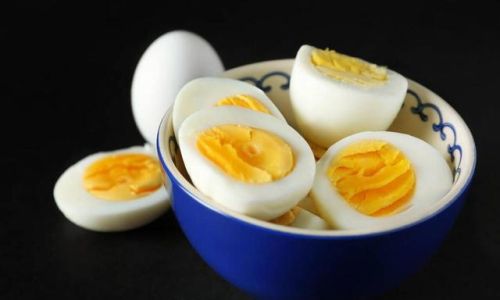
Boiling a plain hard-boiled egg might seem like a straightforward task, but achieving the perfect consistency—a yolk that’s neither overcooked and chalky nor raw and runny—requires a bit of finesse. Whether you’re preparing breakfast for a family gathering, a snack for a child’s lunchbox, or a simple protein-packed meal for yourself, knowing how to boil eggs correctly can elevate your culinary skills and impress even the most discerning palate. This guide delves into the intricacies of boiling plain hard-boiled eggs, from selecting the right eggs to mastering the timing and cooling process, ensuring you get a flawless result every time.
Choosing the Right Eggs
Before you even think about boiling, it’s crucial to start with high-quality eggs. Freshness plays a significant role in the final texture and flavor. Here are a few tips for selecting the best eggs:
- Check the Expiry Date: Ensure the eggs you buy have a far-off expiration date. Fresh eggs have a thicker, more cohesive white that holds the yolk better during cooking.
- Appearance Matters: Look for eggs with clean, uncracked shells. Avoid eggs with cracks or spots, as they might be older or more susceptible to bacteria.
- The Float Test: Place an egg in a bowl of cold water. If it floats, it’s likely older and has lost some of its moisture through the pores in the shell, making it less suitable for hard-boiling.
Preparation: From Fridge to Pot
Once you’ve selected your eggs, there are a few preparation steps to ensure smooth sailing through the boiling process:

- Bring Eggs to Room Temperature: If your eggs have been refrigerated, let them sit at room temperature for about 30 minutes before boiling. This helps to prevent cracking during the cooking process.
- Use the Right Pot: Choose a pot that can comfortably hold the number of eggs you intend to boil with enough water to fully submerge them. A pot with a tight-fitting lid is ideal to retain heat and steam.
- Water Quality: Use fresh, cold tap water. Although the mineral content of water can slightly affect the taste and texture, tap water is generally fine. If you’re concerned about flavor, you can use filtered water.
The Boiling Technique: Timing is Everything
Now, let’s dive into the actual boiling process. There are various methods, but here’s a reliable one that yields consistently good results:
- Fill the Pot with Water: Place your eggs in the pot first, then fill it with enough cold water to cover the eggs by at least an inch. This ensures even cooking.
- Bring to a Gentle Boil: Turn the heat to high and bring the water to a rolling boil. As soon as the water starts boiling vigorously, reduce the heat to low or medium-low to maintain a gentle simmer. A rolling boil can cause the eggs to jostle around too much, increasing the risk of cracking.
- Set the Timer: For perfectly cooked hard-boiled eggs with a creamy yolk and firm white, simmer the eggs for exactly 10-12 minutes. If you prefer a slightly runnier yolk, reduce the time to 9-10 minutes. Conversely, for a fully set yolk, you can go up to 12-13 minutes.
The Art of Cooling: Preventing Overcooking
Once the timer goes off, resist the urge to peel and dive in immediately. The cooling process is crucial for achieving the perfect texture:
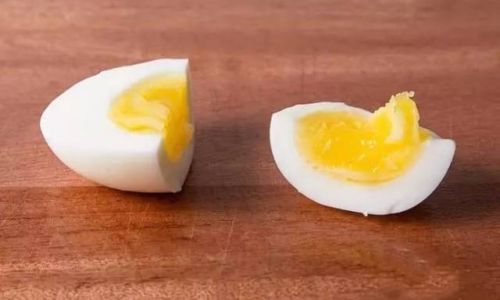
- Immediate Ice Bath: Transfer the eggs to an ice water bath immediately after removing them from the pot. This stops the cooking process and helps to prevent the greenish ring that forms around the yolk due to overcooking.
- Let Them Sit: Allow the eggs to sit in the ice water for at least 10-15 minutes. This ensures they cool evenly and makes peeling easier.
Peeling Perfection: Tips for Smooth Shell Removal
Peeling a hard-boiled egg can sometimes be more challenging than it seems, especially if the shell sticks to the white. Here are some tricks to make peeling a breeze:
- Start with Cold Eggs: As mentioned, using eggs that have been cooled in an ice bath makes peeling much easier.
- Crack and Roll: Gently crack the shell all over by tapping it on a hard surface. Then, roll the egg between your hands to loosen the shell.
- Peel Under Running Water: Peel the egg under cool running water. This helps to separate the shell from the white even more effectively.
- Use a Spoon: If you’re still struggling, use the back of a spoon to gently nudge the shell off the egg.
Storage and Reheating Tips
If you’re not planning to eat your hard-boiled eggs immediately, here’s how to store and reheat them:
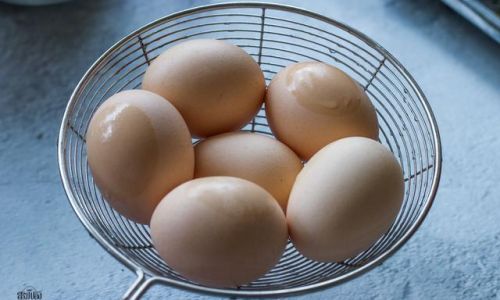
- Storage: Store peeled or unpeeled hard-boiled eggs in an airtight container in the refrigerator for up to a week. Unpeeled eggs tend to last longer and retain their quality better.
- Reheating: To reheat, place peeled eggs in a bowl of warm water for about 5-10 minutes or until they reach your desired temperature. Avoid microwaving hard-boiled eggs as they can explode and make a mess.
Conclusion: A Simple Pleasure, Perfectly Executed
Boiling a plain hard-boiled egg might be a basic cooking skill, but mastering it can bring a sense of accomplishment and delight to your daily routine. By following these steps—choosing fresh eggs, preparing them properly, simmering with precision, cooling effectively, and peeling skillfully—you’ll be able to enjoy perfectly cooked hard-boiled eggs every time. Whether you’re serving them as a standalone snack, incorporating them into a salad, or using them as a base for deviled eggs, the perfect hard-boiled egg is a versatile and nutritious addition to your diet. So, next time you reach for an egg, remember that a little attention to detail can turn an everyday task into a culinary triumph.



0 comments