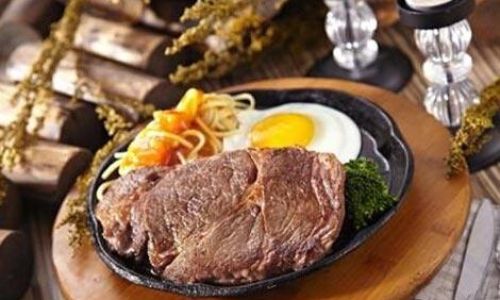
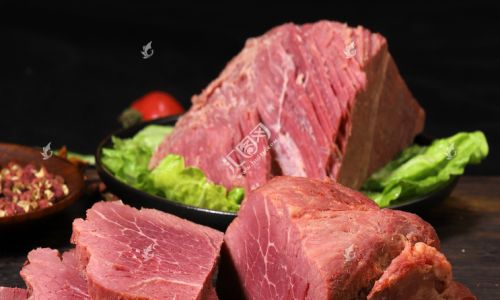
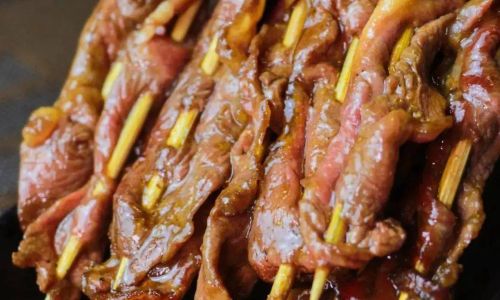
Grilling beef is an art form that combines the smoky flavors of an open flame with the succulence of tender, well-seasoned meat. Whether you’re a seasoned pitmaster or a beginner griller, mastering the technique of cooking beef to the perfect doneness is crucial for a memorable outdoor dining experience. From rare to well-done, personal preferences vary, but achieving that ideal internal temperature and texture is key to ensuring your grilled beef is both safe to eat and delightfully delicious. In this guide, we’ll delve into the various methods and considerations for determining when grilled beef is cooked to perfection.

Understanding Beef Doneness
Before diving into the specifics of how to check for doneness, it’s essential to understand the different levels of beef doneness:
- Rare: The center of the meat is cool and red, with a temperature around 120-125°F (49-52°C). The exterior is seared and slightly firm.
- Medium-Rare: The center is warm and pink, with a temperature of about 130-135°F (54-57°C). It offers a balance between tenderness and flavor.
- Medium: The center is slightly pink, with a temperature of around 140-145°F (60-63°C). This is often considered the ‘safe’ zone for cooking beef.
- Medium-Well: The center is mostly brown, with just a hint of pink, and a temperature of about 150-155°F (66-68°C).
- Well-Done: The entire piece of meat is brown, with no trace of pink, and a temperature of 160°F (71°C) or higher. This can result in a drier texture.
Tools for Checking Doneness
- Food Thermometer: The most reliable tool for checking beef doneness is a food thermometer. Insert it into the thickest part of the meat, avoiding bones or fat, to get an accurate reading.
- Touch Test: Experienced grillers often rely on the touch test, comparing the firmness of the grilled beef to their palm or the base of their thumb. While this method can be useful, it’s less precise and takes practice to perfect.
- Visual Inspection: While the exterior color can give you some clues, the interior color is a better indicator. Cut a small slit in the thickest part of the meat (if you’re not worried about presentation) to peek at the color.
Preparing for the Grill
Before you start grilling, ensure your beef is properly prepared:
- Trim Excess Fat: Remove any large pieces of fat that could cause flare-ups.
- Seasoning: Apply your preferred seasonings, such as salt, pepper, garlic powder, or a blend of herbs, at least 30 minutes before grilling to allow the flavors to penetrate the meat.
- Marinating (Optional): For added flavor, marinate your beef in a mixture of acids (like vinegar, lemon juice, or wine), oils, and spices for several hours or overnight.
- Bring to Room Temperature: Let your beef sit at room temperature for about 30 minutes before grilling. This helps ensure even cooking.
Grilling Techniques
- Preheat the Grill: Ensure your grill is preheated to high for a good sear. Clean the grates and oil them lightly to prevent sticking.
- Sear First: Place your beef on the hottest part of the grill for about 2-3 minutes per side to lock in juices and develop a flavorful crust.
- Indirect Grilling: For thicker cuts like steaks or roasts, move the meat to a cooler part of the grill or use indirect heat to finish cooking without overcooking the exterior.
- Turning: Flip the beef every 3-5 minutes, depending on thickness and desired doneness, to ensure even cooking.
Checking for Doneness
-
Using a Food Thermometer: Insert the thermometer into the thickest part of the meat, making sure it doesn’t touch bone or fat. Wait for a few seconds to get an accurate reading. Remove the beef from the grill when it reaches your desired internal temperature, as it will continue to cook slightly from residual heat (carryover cooking).

-
Touch and Feel: For those who prefer the touch test, press the center of the grilled beef gently with your tongs or a spatula. Compare its firmness to the firmness of different parts of your hand: the base of your thumb for rare, the pad below your thumb for medium-rare, and the middle of your palm for medium.
-
Visual and Texture Check: While slicing into the meat is not ideal for presentation, if you’re curious and don’t mind a small cut, you can peek at the color and texture inside. Remember, the color should match your desired doneness level.
Resting the Meat
Once your beef reaches the desired doneness, transfer it to a plate or cutting board, loosely covered with aluminum foil, and let it rest for about 10-15 minutes. This allows the juices to redistribute, ensuring a juicy, tender bite every time.

Serving and Enjoying
With your perfectly grilled beef at the ready, it’s time to slice, serve, and enjoy. Pair it with your favorite sides, like grilled vegetables, potatoes, or a fresh salad, and don’t forget the condiments – a dollop of compound butter, a squeeze of lemon, or a drizzle of your favorite barbecue sauce can elevate your dish to new heights.
In conclusion, grilling beef to perfection involves a combination of proper preparation, understanding doneness levels, using the right tools, and paying attention to detail. With practice and patience, you’ll soon be able to create juicy, flavorful grilled beef that satisfies both your taste buds and your guests’ appetites. Happy grilling!


0 comments