Table of content
Introduction
Pickled sauerkraut, a staple in many European and Northern American cuisines, is not only delicious but also packed with probiotics that are beneficial for gut health. Traditionally, making sauerkraut can take weeks to achieve the desired tangy, sour flavor. However, with a quick and efficient method, you can enjoy homemade pickled sauerkraut in just three days. This accelerated process leverages the power of lactic acid fermentation, allowing you to savor the tangy goodness of sauerkraut without the long wait. In this article, we’ll walk you through the step-by-step process of making quick pickled sauerkraut in three days, ensuring you get the best results with minimal effort.
Materials Needed
Before diving into the recipe, let’s list down the materials you’ll need:
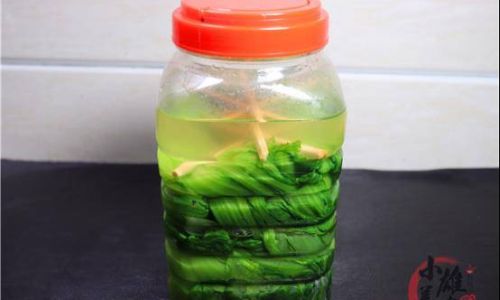
- Cabbage (about 1 large head, approximately 2-3 kilos)
- Salt (non-iodized, coarse or kosher salt is preferred; approximately 2-3 tablespoons)
- A large bowl (for mixing and shredding the cabbage)
- A clean, large jar (with a tight-fitting lid, preferably glass; at least 2 liters in capacity)
- A clean cloth or cheesecloth (for covering the jar, optional but recommended)
- A weight (such as a smaller jar filled with water or a fermentation weight)
- A large knife and sharp kitchen scissors (for shredding the cabbage)
- Measuring spoons
- A clean spoon or ladle (for packing the cabbage into the jar)
- Optional ingredients: Caraway seeds, juniper berries, or other spices for flavor enhancement
Step-by-Step Guide
Step 1: Preparing the Cabbage
-
Remove the Outer Leaves: Start by removing any outer, damaged, or discolored leaves from the cabbage. These leaves are often tough and not suitable for pickling.
-
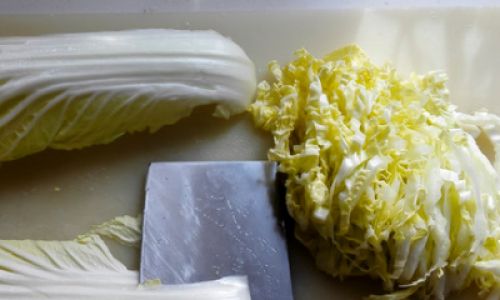
Quarter the Cabbage: Using a sharp knife, cut the cabbage into quarters through the stem end. This will make it easier to shred.
-
Shred the Cabbage: Shred the cabbage into thin strips. You can use a knife for this, but a mandoline or food processor with a shredding attachment can make the process quicker and more uniform. Place the shredded cabbage in a large bowl.
Step 2: Salting the Cabbage
-
Add Salt: Sprinkle the coarse salt evenly over the shredded cabbage. The salt will draw out moisture from the cabbage, creating the brine necessary for fermentation.
-
Massage the Cabbage: Using your hands, massage the salt into the cabbage for about 5-10 minutes. This will help break down the cabbage fibers and release more liquid. The cabbage should start to wilt and become softer.
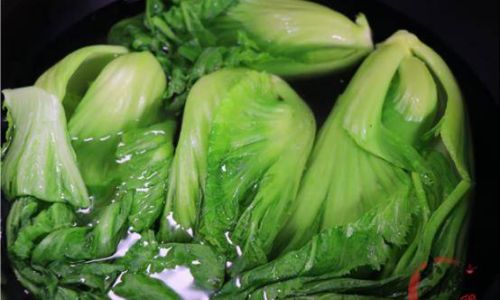
Step 3: Packing the Jar
-
Prepare the Jar: Ensure your jar is clean and free of any soap residue. Rinse it well with hot water and let it air dry.
-
Pack the Cabbage Tightly: Transfer the salted and massaged cabbage into the jar, packing it down tightly as you go. Use a clean spoon or your fist to press down firmly on the cabbage to remove any air pockets and ensure it’s submerged in its own juices.
-
Add Optional Ingredients: If you’re using any spices or herbs like caraway seeds or juniper berries, scatter them evenly over the packed cabbage.
Step 4: Ensuring Submersion
-
Check for Submersion: Once all the cabbage is in the jar, press down again to ensure it’s fully submerged in the brine. The brine is the liquid that forms from the salted cabbage.
-
Add More Brine if Needed: If there isn’t enough brine to cover the cabbage, you can make more by mixing a teaspoon of salt with a cup of filtered water and pouring it over the cabbage until it’s fully submerged.
Step 5: Securing the Jar
-
Cover with a Cloth: If you have a jar with an airlock lid, you can use it directly. Otherwise, cover the jar with a clean cloth or cheesecloth and secure it with a rubber band. This allows gases to escape while preventing contaminants from entering.
-
Add a Weight: Place a weight on top of the cabbage to keep it submerged under the brine. This can be a smaller jar filled with water or a dedicated fermentation weight.
Step 6: Fermentation
-
Placement: Place the jar in a cool, dark place where the temperature remains consistent, ideally between 68-75°F (20-24°C). Avoid direct sunlight and temperature fluctuations.
-
Burping the Jar: During the first few days, you may need to “burp” the jar daily to release built-up gases. Simply lift the cloth or open the airlock lid briefly, then close it again.
Step 7: Tasting and Storing
-
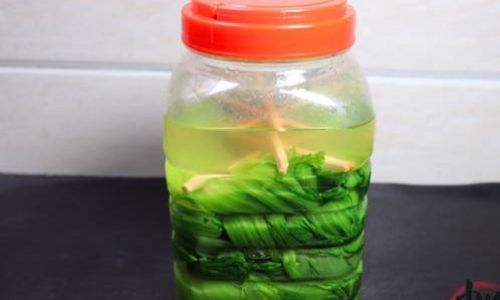
Taste After Three Days: After three days, taste a small piece of the sauerkraut. It should have developed a tangy, sour flavor. If you prefer a stronger flavor, you can let it ferment for an additional day or two.
-
Refrigeration: Once you’re happy with the taste, transfer the jar to the refrigerator to slow down the fermentation process. This will stop it from becoming too sour and help preserve it.
-
Enjoy: Your quick pickled sauerkraut is now ready to enjoy! Use it as a side dish, in sandwiches, salads, or as an ingredient in various recipes.
Troubleshooting Tips
- Not Enough Brine: If your cabbage doesn’t release enough brine, you can make a brine solution by mixing 1-2 teaspoons of salt with a cup of filtered water and pour it over the cabbage.
- Mold: If you notice mold on the surface of your sauerkraut, it’s usually harmless Kahm yeast. Skim it off with a clean spoon and ensure the cabbage stays submerged. However, if it’s fuzzy, colorful, or smells bad, discard the batch and start again.
- Too Sour: If your sauerkraut becomes too sour, you can rinse it under cold water before using it to reduce the acidity.
Conclusion
Making quick pickled sauerkraut in just three days is not only achievable but also rewarding. With this method, you can enjoy the tangy, probiotic-rich goodness of homemade sauerkraut without waiting weeks. By following the steps outlined in this guide, you’ll be able to create delicious, healthy sauerkraut that’s perfect for a variety of dishes. So, why wait? Gather your ingredients and start fermenting today!





0 comments