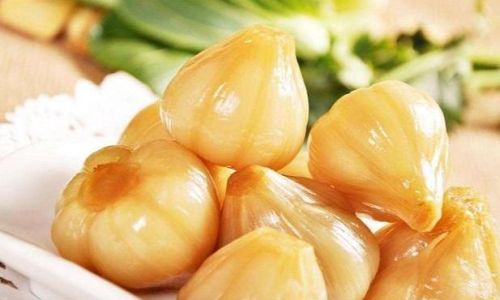
Pickling garlic is a time-honored preservation technique that not only extends the shelf life of this pungent bulb but also transforms it into a versatile ingredient with a tangy, tangy-sweet flavor profile. Whether you’re looking to enhance the taste of your dishes, create a condiment for sandwiches and burgers, or simply enjoy a healthy snack, pickled garlic offers a delightful and tangy twist. In this comprehensive guide, we’ll walk you through the process of how to pickle garlic, from selecting the perfect bulbs to storing your finished product. Let’s dive into the world of pickled garlic!
Understanding the Basics of Pickling
Before diving into the specifics of pickling garlic, it’s essential to grasp the fundamentals of pickling. Pickling is a preservation method that involves submerging food in a brine solution, often containing vinegar, salt, and sometimes sugar or spices. This acidic environment inhibits the growth of harmful bacteria, thereby extending the food’s shelf life. Additionally, the pickling process can enhance the flavor and texture of the food, making it more enjoyable to eat.
Selecting the Right Garlic
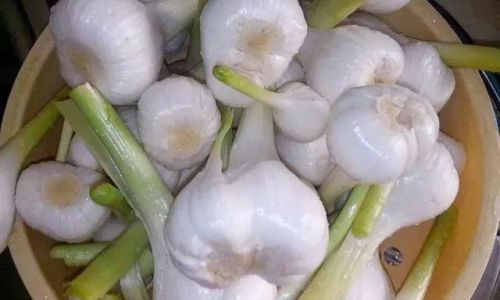
The quality of your pickled garlic starts with the bulbs you choose. Here are some tips for selecting the best garlic for pickling:
- Freshness: Opt for fresh garlic bulbs with firm, tight cloves. Avoid those that are soft, moldy, or have sprouted.
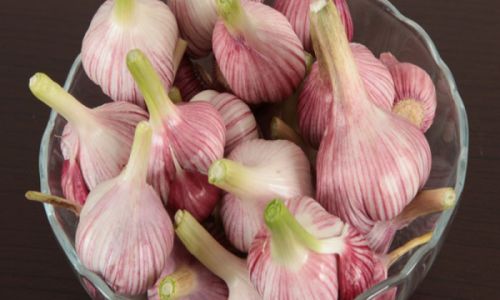
- Variety: While any variety of garlic can be pickled, some types, such as hardneck garlic, may have a stronger flavor that holds up well to the pickling process.
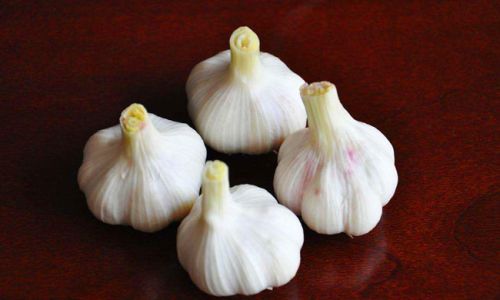
- Size: Medium-sized bulbs tend to have more evenly sized cloves, making them easier to work with.
Preparing the Garlic
Once you’ve selected your garlic, it’s time to prepare it for pickling:
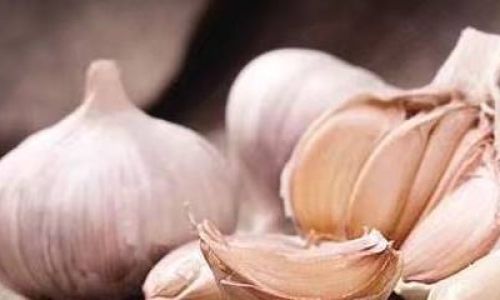
- Peeling: Peel the outer layers of the garlic bulb, then separate the cloves. To make peeling easier, you can soak the cloves in warm water for about 10 minutes or use a garlic peeler tool.
- Trimming: If desired, trim the root end of each clove slightly to help the brine penetrate more evenly.
- Cleaning: Rinse the cloves under cold running water to remove any dirt or debris. Pat them dry with a clean towel.
Creating the Pickling Brine
The brine is the key to successful pickling. It provides the acidic environment necessary for preservation and adds flavor to the garlic. Here’s a basic recipe for a classic pickling brine:
-
Ingredients:
- 2 cups distilled white vinegar (or apple cider vinegar for a milder taste)
- 1 cup water
- 1/4 cup sugar (optional, for sweetness)
- 2 tablespoons pickling salt (or kosher salt)
- 1 teaspoon whole black peppercorns (optional, for added flavor)
- 1-2 bay leaves (optional)
- 1 clove garlic (optional, for garlic flavor without the hassle of peeling many cloves)
-
Instructions:
- In a medium saucepan, combine the vinegar, water, sugar, and salt. Stir until the sugar and salt are fully dissolved.
- If using, add the peppercorns, bay leaves, and clove garlic to the pot.
- Bring the mixture to a boil over medium-high heat, then reduce the heat and simmer for about 5 minutes. This allows the flavors to meld together.
- Remove the pot from the heat and let the brine cool to room temperature. If you’re in a rush, you can speed up the cooling process by placing the pot in an ice water bath.
Jarring and Pickling the Garlic
Now that your brine is ready, it’s time to jar and pickle the garlic:
- Sterilizing Jars: Start by sterilizing your jars and lids. You can do this by boiling them in water for about 10 minutes or running them through the dishwasher’s hot cycle.
- Packing the Garlic: Pack the peeled garlic cloves tightly into the sterilized jars. Make sure there are no air pockets, as this can cause mold.
- Pouring the Brine: Carefully pour the cooled brine over the garlic cloves, ensuring they are fully submerged. Use a chopstick or a small knife to dislodge any cloves that may be stuck at the surface.
- Sealing the Jars: Wipe the rims of the jars clean with a damp cloth to remove any brine residue, then secure the lids tightly.
- Processing (Optional): For long-term storage, you can process the jars in a water bath canner. Submerge the jars in boiling water that covers them by at least 1 inch, then boil for 10 minutes. This step is not necessary if you plan to consume the pickled garlic within a few months and store it in the refrigerator.
Storing and Serving Pickled Garlic
Once your jars are sealed and processed (if desired), it’s time to store and enjoy your pickled garlic:
- Storage: Store unopened jars of pickled garlic in a cool, dark place, such as a pantry or cupboard. Once opened, transfer the jars to the refrigerator, where they will keep for several months.
- Serving: Pickled garlic can be enjoyed straight from the jar as a tangy, crunchy snack. It’s also excellent chopped and added to salads, sandwiches, pasta dishes, or used as a garnish.
Troubleshooting and Tips
- Cloudy Brine: Cloudiness in the brine is normal and does not indicate spoilage. It’s caused by natural sugars and starches from the garlic.
- Mold: If you notice mold growing on the surface of the brine or the garlic, discard the entire jar immediately. This is a sign of improper sealing or contamination.
- Flavor Adjustment: Feel free to experiment with different vinegars, sugars, and spices to create a pickling brine that suits your taste preferences.
Conclusion
Pickling garlic is a rewarding culinary endeavor that combines the art of preservation with the joy of flavor creation. By following the steps outlined in this guide, you’ll be able to produce tangy, delicious pickled garlic that enhances your dishes and satisfies your taste buds. Whether you’re a seasoned home cook or a pickling novice, the process of pickling garlic offers a delightful way to preserve and enjoy this versatile ingredient. Happy pickling!
0 comments