Introduction
In the culinary world, ginger holds a unique and versatile position. Its aromatic, slightly spicy flavor enhances dishes from savory stir-fries to sweet desserts. Among the various forms of ginger, fresh young ginger stands out for its tender texture and mild taste, making it ideal for pickling. Pickled ginger, often referred to as beni shoga in Japanese cuisine, adds a refreshing tang to sushi rolls and other dishes. But beyond its traditional uses, pickled young ginger can be a delightful addition to salads, sandwiches, or even enjoyed as a snack on its own. This article will guide you through the process of pickling fresh young ginger to achieve a flavorful, crunchy, and preservative-friendly result.
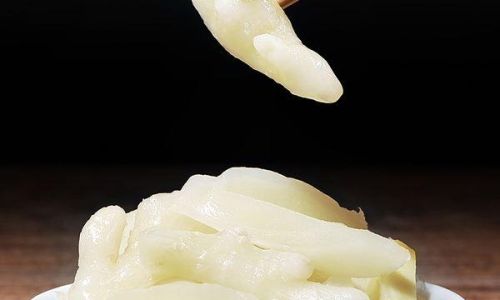
Understanding Fresh Young Ginger
Before diving into the pickling process, it’s crucial to understand the characteristics of fresh young ginger. Unlike mature ginger, which has a tough skin and a stronger, more fibrous texture, young ginger boasts a smooth, thin skin that’s easy to peel. Its flesh is juicy, tender, and less pungent, making it perfect for pickling as it retains its crispiness and absorbs flavors better.
When selecting fresh young ginger, look for roots that are firm, smooth, and have a bright yellow or light green hue. Avoid those with wrinkles, soft spots, or mold, as these indicate that the ginger is past its prime.
Preparing the Ginger
-
Cleaning and Peeling: Begin by thoroughly washing the ginger roots under running water to remove any dirt or residue. Use a vegetable peeler or a sharp knife to gently scrape off the thin skin. Be careful not to remove too much flesh, as you want to preserve the ginger’s natural juices.
-
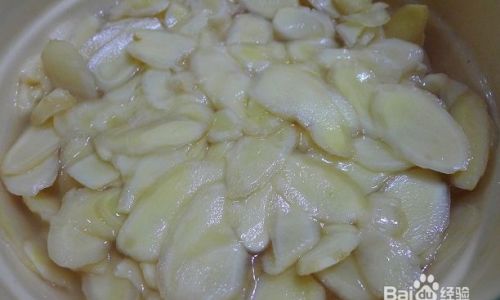
Slicing: Once peeled, slice the ginger into thin rounds, matchsticks, or julienne cuts, depending on your preference. Thinner slices will pickle faster and have a more intense flavor, while thicker pieces retain their crunch longer.
-
Soaking: Place the sliced ginger in a bowl of cold water and let it soak for about 30 minutes. This step helps to draw out excess starch, which can make the pickled ginger cloudy. After soaking, drain the ginger well using a colander.
Pickling Ingredients and Process
The key to delicious pickled ginger lies in the balance of sweet, sour, and salty flavors. Here’s a classic recipe with detailed instructions:
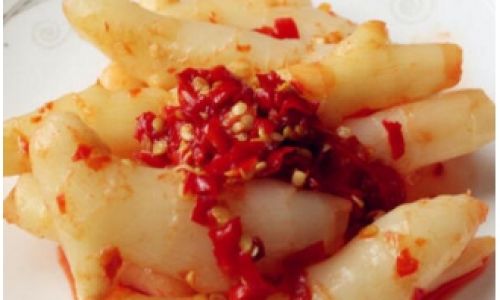
Ingredients:
- 1 pound (about 450 grams) of fresh young ginger, sliced
- 1/2 cup (120 milliliters) of rice vinegar (unseasoned)
- 1/4 cup (60 milliliters) of water
- 1/3 cup (80 grams) of granulated sugar
- 2 tablespoons of salt
- Optional: a pinch of edible flower petals or a few slices of fresh chili for garnish
Instructions:
-
Making the Pickling Syrup: In a medium saucepan, combine the rice vinegar, water, sugar, and salt. Stir until the sugar and salt are fully dissolved. Place the saucepan over medium heat and bring the mixture to a gentle boil. Once boiling, reduce the heat to low and let it simmer for about 5 minutes to allow the flavors to meld together.
-
Sterilizing the Jar: While the syrup is simmering, prepare a clean glass jar with a tight-fitting lid. You can sterilize it by immersing it in boiling water for a few minutes or running it through the dishwasher’s hot cycle. Ensure the jar and lid are completely dry before use.
-
Packing the Ginger: Once the syrup has cooled slightly (it should still be warm but not boiling), pack the sliced ginger tightly into the prepared jar. Use a chopstick or the handle of a spoon to press down the ginger, releasing any air pockets.
-
Pouring the Syrup: Carefully pour the warm pickling syrup over the ginger, ensuring all pieces are fully submerged. If necessary, add a bit more vinegar or water to cover the ginger completely.
-
Sealing and Storing: Secure the jar’s lid tightly and let the pickled ginger cool to room temperature. For best results, refrigerate the jar overnight to allow the ginger to fully absorb the flavors.
Optional Steps for Enhanced Flavor
-
Infusing Aromatics: Before pouring the syrup into the jar, you can infuse it with additional flavors. Add a few slices of fresh garlic, a piece of peeled fresh ginger, or a star anise to the syrup while it’s simmering. Remove these aromatics before pouring the syrup over the sliced ginger.
-
Quick Pickling Method: If you prefer a quicker pickling process, you can use a combination of hot and cold pickling methods. After packing the ginger into the jar, pour in boiling pickling syrup and let it sit for 10 minutes. Then, quickly drain the hot syrup, replace it with freshly made, room-temperature syrup, and refrigerate as usual. This method helps to set the ginger’s color and texture while still allowing it to absorb flavors over time.
Serving and Enjoying Pickled Ginger
Once your pickled ginger is ready, it can be enjoyed in numerous ways. It’s a staple accompaniment to sushi and sashimi, providing a refreshing contrast to rich, fatty fish. You can also use it to garnish salads, add a zing to stir-fries, or incorporate it into marinades and dressings. For a sweet-savory twist, try serving pickled ginger alongside grilled meats or as a topping for yogurt or oatmeal.
Storage Tips
Properly stored, pickled ginger can last for several weeks in the refrigerator. Make sure the ginger remains submerged in the syrup to prevent spoilage. If you notice any cloudiness or off odors, discard the pickled ginger immediately.
Conclusion
Pickling fresh young ginger is a simple yet rewarding culinary endeavor. By following the steps outlined in this article, you can create a delicious, crunchy, and versatile condiment that enhances the flavors of countless dishes. Whether you’re a seasoned chef or a home cook exploring new techniques, pickling ginger offers a delightful way to preserve the freshness of summer and add a burst of flavor to your meals. So, the next time you find fresh young ginger at your local market, don’t hesitate to give pickling a try—your taste buds will thank you!
0 comments