Introduction
Pickling chili peppers is a culinary art that transforms fresh, fiery produce into a versatile, long-lasting condiment. Whether you enjoy them as a side dish, a topping for burgers, or an ingredient in various recipes, pickled chili peppers can add a burst of flavor and a kick of heat to any meal. The key to crafting perfect pickled chili peppers lies in achieving the perfect balance of crispiness and deliciousness. This guide will walk you through the entire process, from selecting the right peppers to storing your pickled creation, ensuring you end up with a jar full of crisp, tangy, and flavorful chili peppers.
Section 1: Choosing the Right Chili Peppers
The first step in making pickled chili peppers is selecting the right variety. Different types of chili peppers offer unique flavors and textures, so it’s important to choose one that suits your taste preferences and pickling goals.
1 Types of Chili Peppers
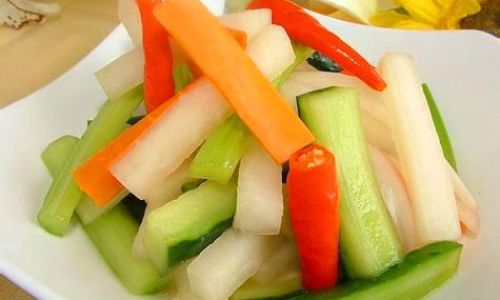
- Jalapeños: These are mild to moderately hot peppers with a slightly sweet flavor. They are ideal for those who want a bit of heat without overwhelming their palate.
- Serranos: Serranos are thinner and longer than jalapeños, with a more intense heat and slightly tangier taste. They hold their shape well during pickling.
- Habaneros: For those who love extreme heat, habaneros are the way to go. They are small, orange-red peppers with an incredibly fiery punch.
- Bell Peppers (for a Mild Option): If you prefer a non-spicy pickled pepper, bell peppers can be a great choice. They come in various colors and add sweetness and crunch to your pickles.
2 Freshness and Quality
Always choose fresh, firm chili peppers with smooth, glossy skin. Avoid peppers that have soft spots, wrinkles, or discoloration, as these indicators of poor quality can affect the final texture and flavor of your pickles.
Section 2: Preparation and Cleaning
Once you’ve selected your chili peppers, it’s time to prepare and clean them for pickling.
1 Washing
Rinse the chili peppers thoroughly under cold running water to remove any dirt, pesticides, or other contaminants. Pat them dry using a clean kitchen towel or paper towels.
2 Stemming and Seeding
For a milder pickled pepper, remove the stems and seeds. If you prefer a hotter pickle, you can leave the seeds in. Use a sharp knife to make a clean cut at the stem end and gently scrape out the seeds and membranes with a spoon or your fingers.
3 Slicing or Whole
Decide whether you want to pickle your chili peppers whole or sliced. Whole peppers retain more crispiness but may take longer to infuse with flavor. Sliced peppers absorb pickling liquid more quickly, resulting in a more evenly flavored pickle.
Section 3: Brining and Blanching
Brining and blanching are crucial steps in the pickling process that help maintain the peppers’ crispiness and prepare them for the pickling liquid.
1 Brining
Create a brine solution by mixing 1 cup of kosher salt with 4 cups of boiling water. Let the salt fully dissolve, then add enough ice cubes to cool the brine to room temperature. Submerge the cleaned chili peppers in the brine for 3-4 hours. This draws out excess moisture and firms up the pepper’s texture.
2 Blanching
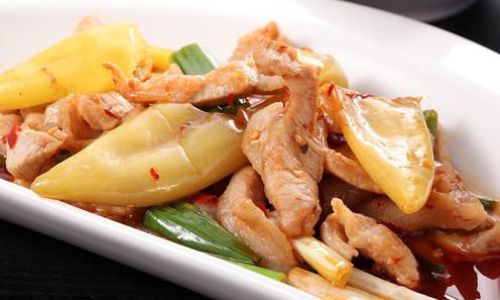
After brining, drain the peppers and blanch them in boiling water for about 2 minutes. This step helps to set the pepper’s color and further preserves its crispiness. Immediately plunge the blanched peppers into an ice water bath to stop the cooking process. Once cooled, drain them well.
Section 4: Making the Pickling Liquid
The pickling liquid, also known as brine or vinegar solution, is what gives your chili peppers their tangy, flavorful taste.
1 Ingredients
- Vinegar: Use a high-quality vinegar such as apple cider vinegar, distilled white vinegar, or rice vinegar. The type of vinegar you choose will influence the final flavor of your pickles.
- Water: Distilled or filtered water is best to avoid impurities.
- Sugar or Honey: A small amount of sugar or honey can balance out the acidity of the vinegar and add a touch of sweetness.
- Salt: Kosher or pickling salt helps to preserve the peppers and enhance flavor.
- Spices and Herbs: Add your favorite spices and herbs such as garlic, bay leaves, mustard seeds, peppercorns, and dill for extra flavor.
2 Combining Ingredients
In a large pot, combine 2 cups of vinegar, 1 cup of water, 2 tablespoons of sugar or honey, and 1-2 tablespoons of salt. Bring the mixture to a boil, then reduce the heat and simmer for 5 minutes to allow the flavors to meld. Add your chosen spices and herbs, and simmer for an additional 2-3 minutes. Remove from heat and let it cool slightly.
Section 5: Packing and Pickling
Now it’s time to pack your chili peppers into jars and pour in the pickling liquid.
1 Sterilizing Jars
Ensure your jars and lids are sterile to prevent contamination. You can sterilize them by boiling them in water for 10 minutes or running them through the dishwasher’s hot cycle.
2 Packing Peppers
Pack the chili peppers tightly into the sterile jars, either whole or sliced, depending on your preference. Make sure to leave some headspace at the top of the jar to allow for the pickling liquid.
3 Pouring in the Liquid
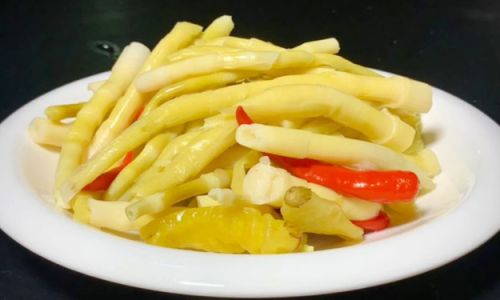
Carefully pour the warm pickling liquid over the peppers, ensuring they are fully submerged. Use a chopstick or a small ladle to remove any air bubbles trapped between the peppers.
4 Sealing and Storing
Wipe the rim of each jar clean with a damp cloth to remove any vinegar residue, then secure the lids tightly. Place the jars in a boiling water canner or a large pot filled with enough water to cover the jars by at least 1 inch. Bring the water to a rolling boil and process the jars for 10 minutes. Remove the jars from the water, let them cool completely, and check for seals. Properly sealed jars will have lids that are concave and do not flex when pressed.
Section 6: Waiting and Enjoying
Once your pickled chili peppers are sealed and cooled, they need time to develop their flavor.
1 Waiting Period
Allow the pickled chili peppers to sit at room temperature for 24 hours before moving them to a cool, dark place. The flavors will continue to meld and intensify over the next few weeks.
2 Storage
Store your pickled chili peppers in a cool, dark pantry or cellar for up to a year. For best quality, use them within 6-8 months.
3 Enjoying Your Pickles
When you’re ready to enjoy your pickled chili peppers, simply open a jar, and use them as desired. They can be added to salads, sandwiches, tacos, or enjoyed on their own as a crunchy, tangy snack.
Conclusion
Pickling chili peppers is a rewarding culinary endeavor that allows you to preserve the fiery flavors of summer for year-round enjoyment. By following the steps outlined in this guide—selecting the right peppers, preparing and cleaning them thoroughly, brining and blanching for crispiness, crafting a flavorful pickling liquid, and properly packing and storing your pickles—you can achieve perfectly crisp and delicious pickled chili peppers. Whether you’re a seasoned pickler or a beginner, with patience and attention to detail, you’ll soon be enjoying the fruits of your labor with every crunchy, tangy bite. Happy pickling!
0 comments