Table of content
Making yogurt at home has become a popular trend among health-conscious individuals and food enthusiasts alike. It allows for complete control over the ingredients, ensuring no added sugars, preservatives, or artificial flavors. With a Bear Yogurt Maker, the process becomes even simpler and more enjoyable. This compact, user-friendly appliance is designed to create delicious, creamy yogurt with minimal effort. In this guide, we’ll walk you through how to use a Bear Yogurt Maker to craft your own yogurt at home, from selecting the right ingredients to perfecting your fermentation process.
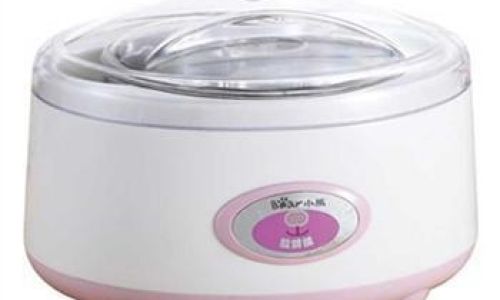
Understanding Your Bear Yogurt Maker
Before diving into the recipe, it’s essential to familiarize yourself with your Bear Yogurt Maker. Most models come with:
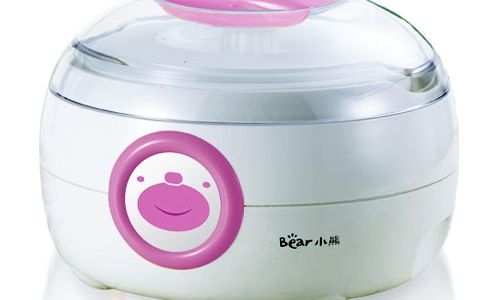
- The Main Unit: Where the yogurt ferments.
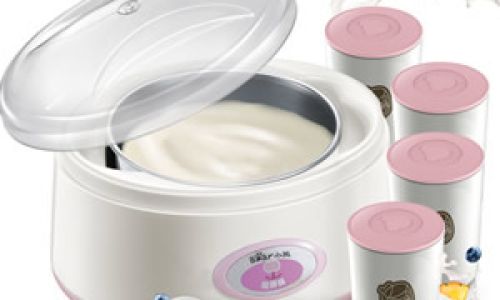
- Glass Jars or Containers: Specifically designed to fit into the unit, ensuring even heat distribution.
- Lids: To cover the jars during fermentation.
- Thermostat Control: Maintains an optimal temperature for yogurt culture growth, typically around 40-43°C (104-110°F).
- Timer: Automatically turns off once the fermentation period is complete.
Ingredients You’ll Need
- Milk: Full-fat, low-fat, or non-dairy milk (like almond, soy, or oat milk) can be used. Full-fat milk tends to produce richer, creamier yogurt.
- Yogurt Starter Culture: This can be store-bought active yogurt with live cultures (plain, unsweetened yogurt), yogurt starter powder, or a probiotic capsule.
- Optional Ingredients: Sweeteners like honey or maple syrup, fruit purees, vanilla extract, or ground spices for flavoring.
Step-by-Step Guide to Making Yogurt
Step 1: Preparation of Milk
- Heating the Milk: Pour the desired amount of milk into a heavy-bottomed pot. Heat it over medium-low heat until it reaches 180°F (82°C), stirring occasionally to prevent scorching. This step helps denature the proteins in milk, making the yogurt thicker.
- Cooling Down: Once the milk reaches the desired temperature, remove it from heat and let it cool to around 110°F (43°C). You can speed up this process by placing the pot in an ice water bath, stirring occasionally.
Step 2: Adding the Starter Culture
- Temperature Check: Ensure the milk is at the correct temperature (110°F or 43°C). Too hot will kill the yogurt cultures; too cold will slow down fermentation.
- Adding Culture: Measure out about 2-4 tablespoons of plain yogurt (or the equivalent amount of starter powder/probiotic capsule) for every liter of milk. Stir this into the cooled milk thoroughly until well combined.
Step 3: Preparing the Bear Yogurt Maker
- Cleaning: Wash the glass jars and lids with hot, soapy water and rinse thoroughly. Ensure there are no soap residues.
- Assembling: Place the jars into the Bear Yogurt Maker’s base. Pour the milk-yogurt mixture into each jar, filling them to the recommended level. Secure the lids.
Step 4: Fermentation
- Setting the Timer: Plug in your Bear Yogurt Maker and set the timer according to your preference. Generally, 6-12 hours of fermentation is ideal. The longer it ferments, the tangier the yogurt will be.
- Maintaining Temperature: The thermostat control will ensure the yogurt ferments at the optimal temperature. Avoid opening the lid during this period to prevent temperature fluctuations.
Step 5: Cooling and Refrigeration
- Turning Off the Yogurt Maker: Once the timer goes off, unplug the unit and let the yogurt cool slightly in the jars.
- Refrigeration: Transfer the jars to the refrigerator to chill for at least 2-4 hours. This step helps firm up the yogurt and enhances its flavor.
Step 6: Customizing Your Yogurt
- Flavoring: After chilling, you can add sweeteners, fruits, nuts, or granola to your yogurt. For a smoother texture, blend the yogurt before adding toppings.
- Storage: Properly stored in an airtight container, homemade yogurt can last up to a week in the refrigerator.
Tips for Perfect Yogurt
- Cleanliness: Ensure all equipment is clean to prevent contamination.
- Consistency: For thicker yogurt, you can strain it through a cheesecloth after fermentation to remove excess whey.
- Experimentation: Try different types of milk and starter cultures to find your perfect yogurt recipe.
- Temperature Control: Accurate temperature maintenance is crucial. Investing in a food thermometer can be helpful.
The Benefits of Homemade Yogurt
- Health Benefits: You control the ingredients, making it an excellent option for those with dietary restrictions or preferences.
- Cost-Effective: Making yogurt at home is often cheaper than buying pre-made, high-quality yogurt.
- Customizable: Tailor the flavor, texture, and nutritional content to suit your taste and health goals.
Conclusion
With a Bear Yogurt Maker, transforming fresh milk into delicious, nutritious yogurt at home is not only achievable but also enjoyable. By following these steps and tips, you can create a variety of yogurt flavors and textures that cater to your personal preferences. The process is not only rewarding but also empowers you to make healthier food choices. So, why wait? Gather your ingredients, set up your Bear Yogurt Maker, and embark on your yogurt-making journey today!


0 comments