Making strawberry jam at home is a delightful way to preserve the sweet, sun-kissed flavor of summer berries for enjoyment throughout the year. Whether you’re looking to add a homemade touch to your morning toast, create a delightful filling for pastries, or simply indulge in a spoonful of nostalgia, learning how to make simple strawberry jam is a rewarding culinary endeavor. This guide will walk you through the process, ensuring that even the most novice baker can achieve a delicious, preservative-free jam that captures the essence of fresh strawberries.
Understanding the Basics
Before diving into the recipe, it’s essential to grasp a few fundamental concepts about jam-making. Strawberry jam is essentially a cooked fruit preserve that contains a high proportion of sugar, which acts as a natural preservative by inhibiting the growth of bacteria. The cooking process also helps to thicken the mixture, creating a spreadable consistency.
Key Ingredients:
- Fresh strawberries: The star of the show. Choose ripe, firm berries with a vibrant red color and sweet aroma.
- Sugar: Granulated sugar is most commonly used. The amount of sugar needed depends on the sweetness of the strawberries and your personal preference, but typically ranges from 3/4 to 1 cup per pound of berries.
- Lemon juice: Adds a tangy flavor that balances the sweetness and also helps with preservation by lowering the pH level.
- Pectin (optional): A natural substance found in fruits that helps jam set. Commercial pectin can be used if you prefer a firmer set or if your strawberries are particularly low in natural pectin.
Equipment:
- A large, heavy-bottomed saucepan: Ensures even heating and prevents scorching.
- A wooden spoon or silicone spatula: For stirring without scratching the pan.
- A potato masher or immersion blender: To break down the strawberries into a chunky or smooth puree, depending on your preference.
- Jam jars with lids: Clean, sterile jars are crucial for storage.
- A funnel: Makes pouring the hot jam into jars easier and mess-free.
- A candy thermometer (optional): Helps achieve the precise temperature needed for setting the jam.
Step-by-Step Recipe
Preparation:
Begin by washing the strawberries thoroughly under cold running water. Pat them dry using a clean kitchen towel or paper towels. Hull the strawberries by cutting off the green tops. If you prefer a smoother jam, you can halve or quarter the berries; for chunkier jam, leave them whole or cut into larger pieces.
Measuring Ingredients:
Place the prepared strawberries in a large bowl. Measure out the sugar and lemon juice. If using pectin, follow the package instructions for the amount needed based on the weight of your strawberries.
Combining Ingredients:
Transfer the strawberries to your heavy-bottomed saucepan. Add the sugar and lemon juice, stirring gently to combine. If using pectin, sprinkle it over the fruit and sugar mixture, stirring to distribute evenly.
Cooking:
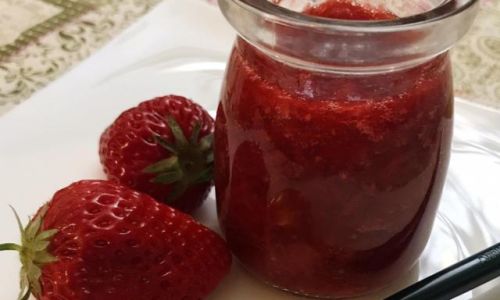
Place the saucepan over medium-high heat, stirring frequently to prevent the mixture from sticking to the bottom of the pan. As the mixture heats up, it will begin to bubble and release its juices. Continue to cook, stirring constantly, until the jam reaches the desired consistency. This can take anywhere from 15 to 30 minutes, depending on the heat and the amount of liquid in the strawberries.
Testing for Set:
There are several ways to test if your jam has reached the right setting point:
- Cold Plate Test: Place a small plate in the freezer for a few minutes. Drop a small amount of jam onto the cold plate and let it sit for a minute. Run your finger through the jam; if it wrinkles and forms a skin, it’s ready.
- Candy Thermometer: If using a thermometer, cook until the jam reaches approximately 220°F (104°C) for a firm set or 215°F (102°C) for a softer set.
Skimming:
During cooking, foam may form on the surface of the jam. Use a spoon to skim this off and discard it. Foam can cause the jam to look less appealing and can affect its texture.
Jarring:
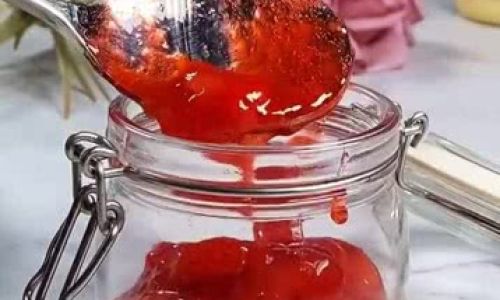
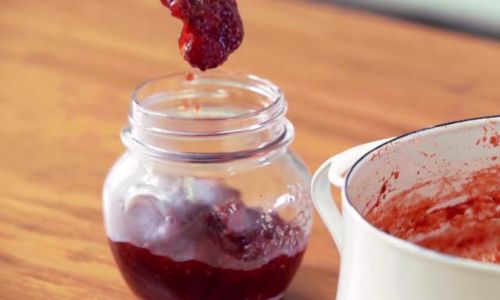
Once the jam has reached the desired consistency, remove the saucepan from the heat. Quickly ladle the hot jam into your prepared, sterile jars, filling them to within 1/4 inch of the top to allow for expansion during cooling. Wipe the jar rims clean with a damp cloth to remove any sticky residue, then secure the lids tightly.
Processing (for longer storage):
If you plan to store the jam for more than a few weeks, you can process the jars in a hot water canner or a large pot of boiling water. Submerge the jars completely in the water, ensuring they are not touching each other or the sides of the pot. Bring the water to a gentle boil and process for 10 minutes. Remove the jars using a jar lifter and place them on a towel to cool completely. As they cool, you should hear a popping sound, indicating that the lids have sealed.
Cooling and Storing:
Allow the jars to cool completely at room temperature. Once cooled, check the seals by pressing the center of each lid; it should not move up or down. Properly sealed jars can be stored in a cool, dark place for up to a year. Any jars that fail to seal should be refrigerated and used within a few weeks.
Tips for Perfect Strawberry Jam
- Quality Ingredients: Use fresh, ripe strawberries for the best flavor.
- Adjust Sweetness: Taste a few berries before starting to determine how much sugar to add. If your strawberries are very sweet, you may need less sugar.
- Pectin Alternatives: If you prefer not to use commercial pectin, you can experiment with adding apple or crabapple juice, which are high in natural pectin.
- Creative Variations: Infuse your jam with additional flavors like vanilla beans, cinnamon sticks, or a handful of fresh basil leaves for unique twists.
- Preservation Safety: Always follow proper canning techniques if storing jam for long periods to prevent the risk of botulism.
Conclusion
Making simple strawberry jam at home is a rewarding experience that brings the taste of summer to your table year-round. With just a few basic ingredients and a bit of patience, you can create a delicious, preservative-free spread that’s perfect for gift-giving or enjoying with your family. Whether you prefer a chunky, rustic jam or a smooth, refined version, the process is straightforward and the results are incredibly satisfying. So, gather your ingredients, fire up the stove, and let’s get jamming!
0 comments