Introduction
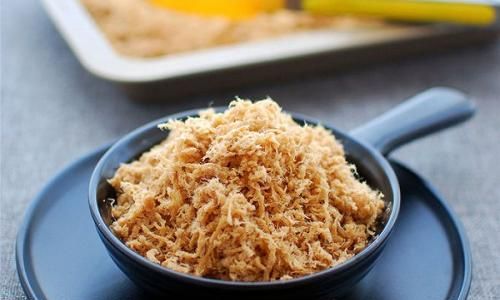
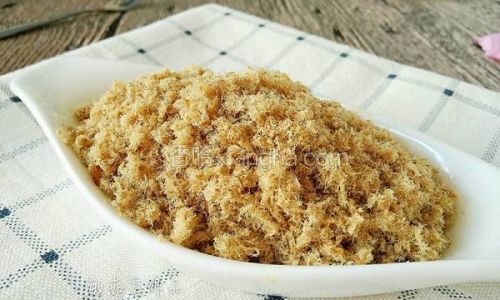
Pork floss, also known as meat floss or dried pork shreds, is a popular snack food in many Asian countries, particularly in China, Taiwan, and Southeast Asia. Its light, fluffy texture and savory taste make it an irresistible treat, often enjoyed on its own or as an ingredient in various dishes. While you can easily purchase pork floss from stores, making it at home allows you to control the ingredients and tailor the flavor to your liking. In this comprehensive guide, we’ll walk you through the entire process of making pork floss from scratch, ensuring you end up with a delicious, homemade version that rivals any store-bought product.
Ingredients and Equipment
Before diving into the recipe, let’s first gather the necessary ingredients and equipment:
Ingredients:
- 500 grams (1.1 pounds) of lean pork shoulder or pork belly (without too much fat)
- 3 tablespoons of soy sauce
- 2 tablespoons of oyster sauce
- 2 tablespoons of honey or sugar
- 1 tablespoon of Shaoxing wine (optional, but recommended for added flavor)
- 1 teaspoon of five-spice powder
- 1 teaspoon of white pepper
- 1/2 teaspoon of salt (adjust to taste)
- 1/4 teaspoon of MSG (optional, but enhances flavor; can be substituted with a pinch of extra salt)
- 2 tablespoons of vegetable oil (for frying)
Equipment:
- A sharp knife
- A large pot or wok
- A meat tenderizer or rolling pin (optional, for pounding the meat)
- A food processor or blender (with a blade attachment suitable for grinding meat)
- A spatula or wooden spoon
- Baking sheets lined with parchment paper (for drying the meat floss)
- An oven or a food dehydrator
- A fine-mesh sieve (optional, for sieving out any large pieces)
Step-by-Step Instructions
Now that we have everything we need, let’s get started on making pork floss.
Step 1: Preparing the Pork
-
Cleaning and Trimming: Begin by cleaning the pork thoroughly under cold running water. Pat it dry with paper towels. Trim off any excess fat, sinew, or silver skin to ensure a smoother texture in the final product.
-
Cutting into Strips: Cut the pork into thin strips, approximately 1/4-inch thick and 2-3 inches long. The thinner the strips, the easier they will be to shred later. If you find it challenging to cut the meat evenly, you can partially freeze it for about 30 minutes to firm it up.
-
Pounding (Optional): For an even finer texture, you can pound the meat strips lightly with a meat tenderizer or rolling pin. This step is optional but can help break down the meat fibers further.
Step 2: Seasoning the Pork
-
Marinating: In a large bowl, combine the soy sauce, oyster sauce, honey or sugar, Shaoxing wine (if using), five-spice powder, white pepper, salt, and MSG (if using). Mix well until all the ingredients are fully incorporated.
-
Adding the Pork: Add the pork strips to the marinade, ensuring they are evenly coated. Cover the bowl with plastic wrap or transfer to a zip-top bag and marinate in the refrigerator for at least 2 hours, preferably overnight, to allow the flavors to penetrate the meat.
Step 3: Cooking the Pork
-
Heating the Oil: In a large pot or wok, heat the vegetable oil over medium-high heat. You want the oil to be hot but not smoking.
-
Frying the Pork: Carefully add the marinated pork strips to the hot oil, working in batches to avoid overcrowding. Fry until the meat turns golden brown and slightly crispy, about 3-5 minutes per batch. Use a spatula or wooden spoon to stir occasionally to ensure even cooking.
-
Draining: Once done, transfer the fried pork strips to a plate lined with paper towels to drain excess oil. Let them cool slightly.
Step 4: Shredding the Pork
-
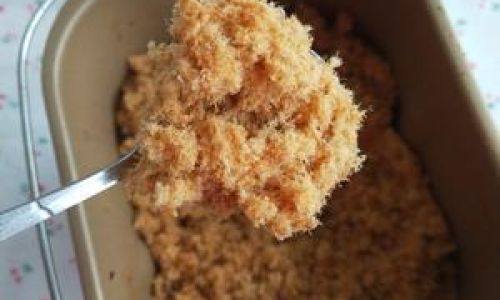
Using a Food Processor: Transfer the cooled pork strips to a food processor. Pulse in short intervals until the meat reaches a fluffy, shredded consistency. Be careful not to over-process, as this can result in a paste-like texture.
-
Checking the Texture: If you prefer a finer texture, you can sieve the shredded pork through a fine-mesh sieve to remove any larger pieces. Alternatively, you can use your hands to tear the meat into smaller shreds if you prefer a more rustic look and feel.
Step 5: Drying the Pork Floss

-
Preheating the Oven/Dehydrator: Preheat your oven to its lowest setting, typically around 150°F (65°C), or set up your food dehydrator according to the manufacturer’s instructions.
-
Spreading Out the Pork Floss: Spread the shredded pork evenly on the prepared baking sheets, ensuring there is no overlap to promote even drying.
-
Drying: Place the baking sheets in the preheated oven or dehydrator and let the pork floss dry for about 4-6 hours, or until it reaches the desired dryness and texture. The exact time may vary depending on your oven/dehydrator and the desired moisture level.
-
Checking for Doneness: Periodically check on the pork floss, stirring it gently with a spatula to prevent sticking and ensure even drying. It should be dry to the touch but still slightly moist inside for the best texture.
Step 6: Cooling and Storing
-
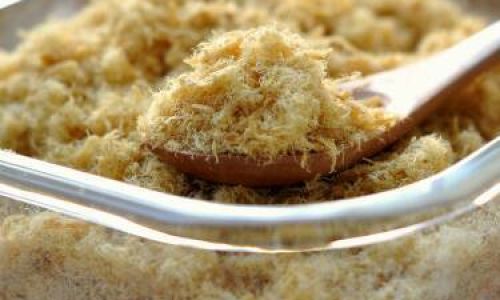
Cooling: Once done, remove the pork floss from the oven or dehydrator and let it cool completely on the baking sheets. This will help it firm up and reach its final texture.
-
Storing: Transfer the cooled pork floss to an airtight container or zip-top bag. Store it in a cool, dry place away from direct sunlight. Properly stored, homemade pork floss can last for up to 2 weeks at room temperature or several months in the refrigerator.
Tips and Variations
- Flavor Adjustments: Feel free to adjust the seasoning to your liking. For example, you can add a pinch of garlic powder or ginger powder for extra flavor.
- Spicy Version: If you prefer a spicy kick, add some chili flakes or chili powder to the marinade.
- Sweet Variations: For a sweeter version, increase the amount of honey or sugar in the marinade.
- Healthy Alternatives: To make a healthier version, you can reduce the amount of oil used for frying or opt for air-frying instead.
- Serving Suggestions: Pork floss is versatile and can be enjoyed in various ways. Try it on its own as a snack, mixed into rice or noodles, or used as a topping for buns, toast, or even ice cream.
Conclusion
Making pork floss at home may seem like a daunting task, but with this detailed guide, you’ll find it’s relatively straightforward and highly rewarding. By controlling the ingredients and cooking process, you can create a delicious, customized version of this popular snack. Whether you enjoy it on its own or incorporate it into other dishes, homemade pork floss is sure to become a staple in your kitchen. Happy cooking!




0 comments