Introduction
Pickled radish slices are a delightful and tangy treat that can be enjoyed as a side dish, a snack, or even as part of a larger meal. They offer a crunchy texture and a burst of flavor that can enhance the taste of various dishes. While pickling may seem like a complex process, it’s actually quite straightforward once you understand the basics. In this comprehensive guide, we’ll walk you through every step of making pickled radish slices, from selecting the right radishes to storing your finished product. By the end, you’ll be equipped with the knowledge and skills to create your own delicious pickled radish slices at home.
Chapter 1: Understanding the Ingredients
Before diving into the recipe, it’s essential to understand the key ingredients involved in making pickled radish slices. Each ingredient plays a crucial role in the final taste and texture of your pickles.
1 Radishes
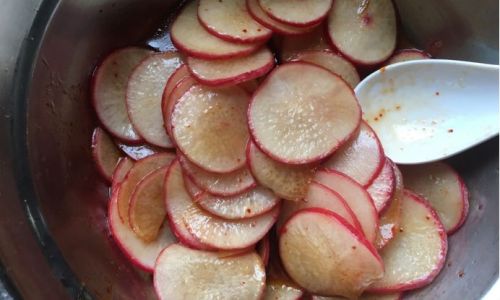
Radishes are the star of this dish, and choosing the right ones is crucial. Look for firm, fresh radishes with smooth, blemish-free skin. The color can vary from bright red to white or even a mix of colors, but the most important thing is that they feel heavy for their size and have a fresh, crisp scent. Avoid radishes that are soft, wrinkled, or have spots, as these are signs of spoilage.
2 Vinegar
Vinegar is the primary acid in pickling, and it helps to preserve the radishes and give them their tangy flavor. You can use various types of vinegar, such as white distilled vinegar, apple cider vinegar, or rice vinegar. Each type will impart a slightly different flavor to your pickles, so choose one that you prefer. Just make sure it has at least 5% acidity to ensure proper preservation.
3 Salt
Salt not only enhances the flavor of the pickles but also draws out moisture from the radishes, helping them to become crisper. You can use kosher salt, sea salt, or pickling salt. Avoid using iodized salt, as the iodine can affect the color and flavor of your pickles.
4 Sugar
Sugar balances the acidity of the vinegar and adds a touch of sweetness to the pickles. This can be white granulated sugar, brown sugar, or even honey. The amount of sugar you use is entirely up to your taste preferences.
5 Spices and Herbs
While vinegar, salt, and sugar are the basics, spices and herbs can elevate your pickles to the next level. Common additions include mustard seeds, dill, garlic, and red pepper flakes. Feel free to experiment with different combinations to find what you like best.
Chapter 2: Preparing the Radishes
Now that you understand the ingredients, let’s move on to preparing the radishes. This step is crucial for ensuring that your pickles have the right texture and flavor.
1 Washing the Radishes
Start by thoroughly washing the radishes under cold running water. Scrub them gently with a vegetable brush to remove any dirt or debris. Pat them dry with a clean kitchen towel or paper towels.
2 Peeling (Optional)
Whether you peel the radishes or not is a matter of personal preference. Peeling can give your pickles a smoother texture and a more uniform appearance, but it also removes some of the natural flavors and nutrients. If you decide to peel them, use a sharp knife or a vegetable peeler to remove the thin outer layer.
3 Slicing
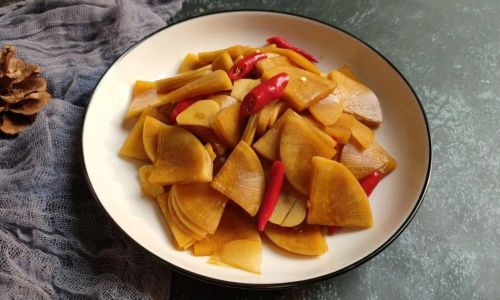
Slice the radishes into thin, even pieces. The thickness of the slices will affect the pickling time and the final texture. Thinner slices will pickle faster and be more tender, while thicker slices will take longer and retain more crunch. Aim for slices that are about 1/8 to 1/4 inch thick.
4 Salting
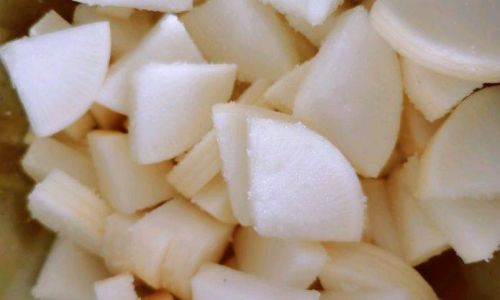
Place the sliced radishes in a colander or a large bowl and sprinkle them with salt. Use about 1 teaspoon of salt per pound of radishes. Toss the radishes gently to ensure they are evenly coated with salt. Let them sit for about 30 minutes to an hour. This will draw out moisture and help to firm up the radishes.
5 Rinsing and Draining
After the salting period, rinse the radishes under cold water to remove the excess salt. Pat them dry with paper towels or a clean kitchen towel. Make sure to drain them well to avoid diluting your pickling brine.
Chapter 3: Making the Pickling Brine
The pickling brine is the liquid in which the radishes will be submerged to pickle. It’s essential to get the proportions right to ensure that your pickles turn out perfectly.
1 Combining Ingredients
In a medium saucepan, combine vinegar, sugar, and any spices or herbs you’re using. The ratio of vinegar to sugar can vary, but a good starting point is 1 cup of vinegar to 1/4 cup of sugar. Adjust the sweetness to your taste. Bring the mixture to a boil over medium-high heat, stirring occasionally until the sugar is completely dissolved.
2 Simmering
Once the sugar is dissolved, reduce the heat to low and let the brine simmer for about 5 minutes. This allows the flavors of the spices and herbs to meld together. If you’re using whole spices like mustard seeds or garlic cloves, you can add them to the brine during this step. If you’re using ground spices, it’s best to add them after the brine has cooled slightly to avoid burning.
3 Cooling
Remove the brine from the heat and let it cool to room temperature. You can speed up the cooling process by placing the saucepan in an ice water bath. Make sure the brine is completely cool before adding the radishes, as adding hot liquid to cold vegetables can cause them to soften.
Chapter 4: Pickling the Radishes
Now that you have your brine ready and your radishes prepared, it’s time to put everything together.
1 Packing the Jars
Choose clean, sterile jars for pickling. Glass jars are the most traditional and visually appealing option, but you can also use plastic containers with tight-fitting lids. Pack the radish slices tightly into the jars, ensuring that there are no large air pockets. This helps to keep the radishes submerged in the brine.
2 Pouring the Brine
Carefully pour the cooled brine over the radish slices, ensuring that they are completely submerged. If necessary, use a clean, non-reactive utensil to press down on the radishes to keep them under the liquid. If there’s not enough brine to cover the radishes, you can make more using the same proportions.
3 Sealing the Jars
Wipe the rims of the jars clean with a damp cloth to remove any brine or food particles. Secure the lids tightly and label the jars with the date and contents.
Chapter 5: Storing and Serving Your Pickles
Once your pickles are made, proper storage is key to ensuring that they stay fresh and flavorful.
1 Refrigeration
Place the sealed jars in the refrigerator. Pickled radish slices can be stored for up to several months, depending on the acidity of the brine and the tightness of the seals. The colder the temperature, the longer they will keep.

2 Waiting for Flavor Development
While you can start eating your pickles immediately, the flavor will continue to develop over time. For the best taste, wait at least a few days before opening a jar. The longer they sit, the more the flavors will meld together and intensify.
3 Serving Suggestions
Pickled radish slices are incredibly versatile and can be enjoyed in various ways. They make a great addition to sandwiches, salads, and wraps. You can also serve them as a side dish with grilled meats or fish. For a quick snack, pop a few slices into your mouth as you would chips.
Chapter 6: Troubleshooting and Tips
Even the most experienced picklers can encounter issues. Here are some common problems and solutions to help you troubleshoot.
1 Soft Pickles
If your pickles are too soft, it may be because they weren’t submerged in the brine properly or the brine wasn’t acidic enough. Make sure the radishes are completely covered with brine and use vinegar with at least 5% acidity.
2 Cloudy Brine
Cloudy brine is usually caused by natural bacteria and is harmless. However, if you notice an unpleasant odor or mold, discard the pickles and start again. To prevent cloudiness, use clean, sterile jars and utensils, and avoid stirring the brine excessively.
3 Adjusting Flavor
If your pickles are too tangy, you can add a bit more sugar to the brine. If they’re too sweet, you can add more vinegar. Taste your brine before pouring it over the radishes to ensure it’s to your liking.

0 comments