Introduction
In the realm of culinary arts and natural remedies, ginger holds a distinguished place. Its unique flavor and aroma can elevate dishes from mundane to extraordinary, while its medicinal properties have been revered for centuries in various cultures for treating nausea, aiding digestion, and providing a warming sensation during cold weather. One delightful way to preserve and enhance the benefits of ginger is by creating homemade dried salted ginger. This preserved form not only retains the ginger’s essence but also adds a delightful crunch and a burst of flavor to any dish or beverage. In this guide, we’ll walk you through the step-by-step process of making your own dried salted ginger, ensuring you harness its full potential.
Understanding the Ingredients
Before diving into the recipe, let’s briefly discuss the two main ingredients: ginger and salt.
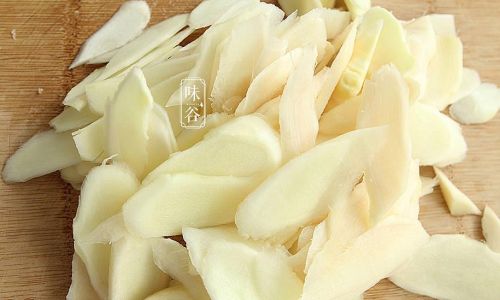
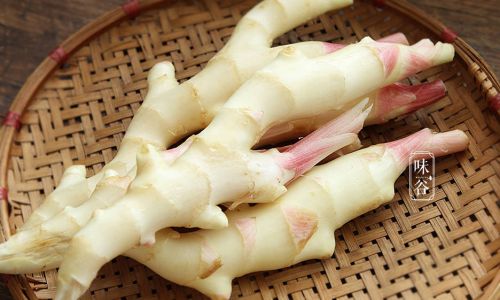
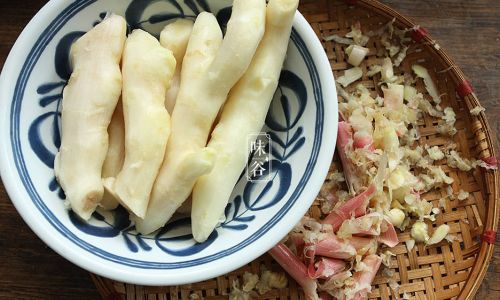
Ginger: Fresh ginger root is essential for this recipe. Look for firm, smooth-skinned ginger with a bright color, indicating freshness. Avoid ginger that is wrinkled, soft, or has mold spots. The younger the ginger, the less fibrous and more tender it will be, making it ideal for drying.
Salt: The type of salt you use can influence the final taste and texture of your dried salted ginger. For this recipe, coarse sea salt or kosher salt is recommended. These types of salt have larger grains that help draw out moisture from the ginger more effectively and add a subtle, briny flavor. Avoid using fine table salt, as it can result in an overly salty taste and a denser texture.
Tools and Equipment
To make homemade dried salted ginger, you’ll need a few basic tools and pieces of equipment:
- Sharp Knife: For slicing the ginger into thin, uniform pieces.
- Peeler: To remove the ginger’s tough outer skin.
- Bowl: For mixing the sliced ginger with salt.
- Cheesecloth or Clean Kitchen Towel: For draining excess moisture.
- Baking Sheets: For drying the ginger in the oven or under the sun.
- Airtight Containers: For storing the finished product.
Step-by-Step Recipe
Step 1: Preparation
-
Clean the Ginger: Start by washing the ginger root thoroughly under running water to remove any dirt or impurities. Pat it dry using a clean kitchen towel.
-
Peel the Ginger: Use a vegetable peeler to remove the outer skin of the ginger. Be careful to only remove the skin and not waste any of the fleshy part.
Step 2: Slicing
- Slice Thinly: Using a sharp knife, slice the peeled ginger into thin, even pieces. The thinner the slices, the quicker they will dry and the more tender they will become. Aim for slices that are about 1/8 to 1/4 inch thick.
Step 3: Salting
- Layer the Ginger: Place the sliced ginger in a large mixing bowl in a single layer.
- Add Salt: Sprinkle a generous amount of coarse sea salt over the ginger slices, ensuring each piece is lightly coated. The ratio is approximately 1 tablespoon of salt for every pound of ginger.
- Toss and Mix: Gently toss the ginger slices with your hands or a spoon to ensure even distribution of the salt. Let the mixture sit for about 30 minutes to an hour, allowing the salt to draw out moisture from the ginger.
Step 4: Draining
- Transfer to Cheesecloth: After the initial salting, transfer the ginger slices to a clean cheesecloth or kitchen towel. Fold the cloth over the ginger to create a bundle, then gently press down to remove excess moisture and liquid that has been drawn out by the salt.
- Wring Out Liquid: If necessary, you can wring the cheesecloth lightly to remove even more liquid, but be careful not to crush the ginger slices.
Step 5: Drying
There are two primary methods for drying the salted ginger: oven drying and sun drying. Each method has its own set of instructions and considerations.
Oven Drying:
- Preheat the Oven: Set your oven to its lowest temperature setting, typically around 150°F (65°C).
- Spread Out Slices: Arrange the drained ginger slices in a single layer on baking sheets, ensuring they are not overlapping.
- Bake Slowly: Place the baking sheets in the preheated oven and let them bake for several hours, preferably overnight. The exact drying time will depend on the thickness of the slices and the oven’s efficiency, but it can take anywhere from 4 to 12 hours.
- Check for Dryness: Periodically check the ginger slices, flipping them over halfway through the drying process to ensure even drying. They should be completely dry and slightly translucent when done.
Sun Drying:
- Choose a Sunny Day: Select a day with clear skies and moderate temperatures for sun drying. Avoid days that are too hot or humid, as this can affect the drying process.
- Lay Out Slices: Spread the drained ginger slices in a single layer on baking sheets or clean, flat surfaces that can be placed in direct sunlight.
- Cover Lightly (Optional): To protect the ginger from dust and insects, you can lightly cover it with a cheesecloth or fine-mesh net.
- Monitor Regularly: Sun drying can take several days, depending on the intensity of the sunlight and the thickness of the slices. Check the ginger daily, turning the slices over occasionally to ensure even drying.
- Test for Dryness: The ginger is ready when it is completely dry and slightly translucent.
Step 6: Storing
- Cool Completely: Once the ginger slices are fully dried, let them cool completely to room temperature.
- Transfer to Containers: Place the dried salted ginger in airtight containers. Glass jars with tight-fitting lids work well for this purpose.
- Store in a Cool, Dry Place: Keep the containers in a cool, dark place away from direct sunlight and heat sources. Properly stored, homemade dried salted ginger can last for several months.
Conclusion
Making homemade dried salted ginger is not only a rewarding culinary endeavor but also a practical way to preserve the benefits of this versatile root. By following the steps outlined in this guide, you can create a delicious, crunchy snack or seasoning that enhances the flavor of various dishes and beverages. Whether you choose to oven dry or sun dry your ginger, the result will be a delightful addition to your pantry, ready to be enjoyed whenever you need a burst of gingery goodness.
Remember, the beauty of homemade food lies in its simplicity and purity. By using fresh, high-quality ingredients and taking the time to prepare them thoughtfully, you can create something truly special that brings joy and health to your life. Enjoy your homemade dried salted ginger, and happy cooking!

0 comments