Table of content
Making hawthorn jam is a delightful way to preserve the tangy, sweet flavor of these vibrant red berries, often associated with autumn. Hawthorn (Crataegus species) fruits are not only a culinary delight but also packed with nutrients that benefit health, including vitamins, minerals, and antioxidants. This DIY project allows you to harness the natural goodness of hawthorns and transform them into a delicious, versatile spread that can be enjoyed on toast, with yogurt, or as a filling for pastries. Below is a comprehensive guide on how to make hawthorn jam, from selecting the perfect fruit to bottling your final product.
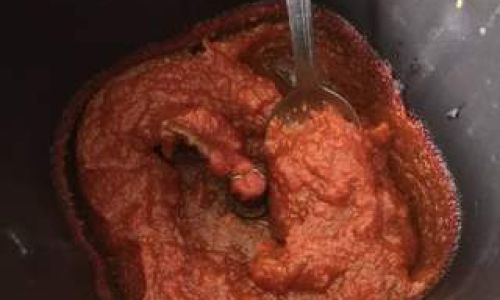
Understanding Hawthorn Berries
Before diving into the jam-making process, it’s crucial to understand the characteristics of hawthorn berries. These fruits are typically small, round, and covered with tiny thorns, giving them their name. They range in color from deep red to orange, with a flavor that balances tartness and sweetness. Hawthorns are often found in hedgerows, forests, and parks, thriving in temperate climates.
When choosing hawthorn berries for jam, look for firm, fully ripe fruits with a uniform color. Avoid berries that are moldy, soft, or have been damaged by insects. The best time to harvest hawthorns is in the autumn, when they are at their peak ripeness.
Equipment and Ingredients
Before starting, gather all the necessary equipment and ingredients to ensure a smooth and efficient jam-making experience. Here’s what you’ll need:
-
Ingredients:
- Fresh hawthorn berries (about 2 kg or 4.4 pounds, depending on desired yield)
- Granulated sugar (about 1.5 kg or 3.3 pounds, or to taste)
- Water (enough to cover the berries during cooking)
- Lemon juice (freshly squeezed, about 2 tablespoons)
- Pectin (optional, for a firmer set; follow package instructions for quantity)
-
Equipment:
- Large, heavy-bottomed saucepan or preserving pan
- Wooden spoon or silicone spatula
- Potato masher or food mill
- Fine-mesh sieve or cheesecloth
- Jam jars with lids (sterilized)
- Funnel (optional, for easy pouring)
- Ladle
- Clean kitchen towels or paper towels
- Sugar thermometer (optional, for precise temperature control)
- Sterilizing pot or large stockpot with rack (for sterilizing jars)
Step-by-Step Guide to Making Hawthorn Jam
Step 1: Preparation
-
Clean the Berries: Rinse the hawthorn berries under cold running water to remove any dirt or debris. Pat them dry using a clean kitchen towel or paper towels.
-
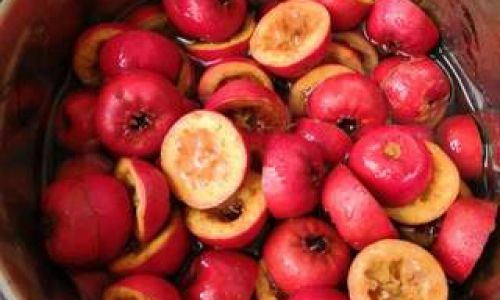
Remove Seeds and Stems: This can be a tedious process, but it’s essential for a smooth jam. Use a paring knife to slice the berries in half and remove the seeds and stems. Alternatively, you can use a food mill to puree the berries and separate the seeds and pulp.
Step 2: Cooking the Berries
-
Boil the Berries: Place the cleaned and deseeded berries in a large saucepan. Add enough water to cover the berries by about an inch. Bring the mixture to a boil over medium-high heat.
-
Simmer: Reduce the heat to low and let the berries simmer gently for about 30 minutes, stirring occasionally to prevent sticking. This step helps to soften the berries and release their juices.
-
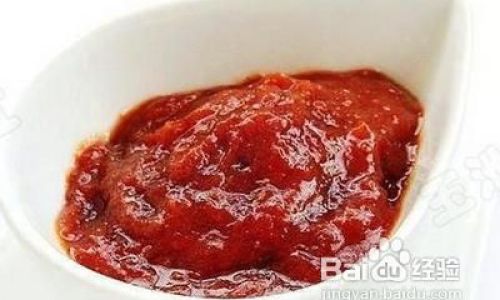
Mash the Berries: Once the berries are soft, use a potato masher to break them down further, creating a pulp. If you prefer a smoother jam, pass the pulp through a fine-mesh sieve or food mill to remove any remaining seeds or fibers.
Step 3: Adding Sugar and Flavorings
-
Measure the Sugar: Place the granulated sugar in a bowl and set it aside. Depending on your taste preference, you can adjust the amount of sugar. Remember, sugar not only adds sweetness but also acts as a preservative and helps the jam to set.
-
Combine Ingredients: Gradually add the sugar to the hawthorn pulp, stirring constantly until the sugar is fully dissolved. Add the freshly squeezed lemon juice. Lemon juice enhances the flavor and acts as a natural preservative.
-
Optional Pectin: If you want a firmer set for your jam, follow the package instructions for adding pectin at this stage.
Step 4: Boiling and Skimming
-
Bring to a Boil: Increase the heat to medium-high and bring the mixture to a rolling boil. Stir constantly to prevent scorching.
-
Skim the Foam: As the jam boils, foam will rise to the surface. Use a spoon to skim off and discard this foam. It helps to clarify the jam and improve its appearance.
-
Test for Set: To check if the jam is ready, use the spoon test or a sugar thermometer. For the spoon test, place a small amount of jam on a chilled spoon. Let it cool for a minute, then push the jam with your finger. If it wrinkles and forms a skin, it’s ready. Alternatively, use a sugar thermometer to reach a temperature of about 220°F (104°C) for a firm set.
Step 5: Jarring and Cooling
-
Prepare Jars: While the jam is boiling, prepare your jam jars by sterilizing them. You can do this by placing them in a large stockpot filled with boiling water for about 10 minutes. Use a jar lifter to carefully remove the jars and let them drain on a clean kitchen towel.
-
Fill the Jars: Use a ladle to pour the hot jam into the sterilized jars, leaving about a half-inch of headspace at the top. Wipe the jar rims clean with a damp cloth to remove any jam residue.
-
Seal the Jars: Place the lids on the jars and screw them down tightly. If you’re using traditional glass jars with metal lids, you can process them in a hot water bath (boiling water canner) for an additional 10 minutes to ensure a good seal and further sterilization.
-
Cool the Jars: Let the jars cool completely at room temperature. As they cool, you should hear a popping sound, indicating that the lids have sealed. Once cool, check each jar to ensure it’s properly sealed by pressing the center of the lid. It should not move up or down.
Step 6: Storage and Enjoyment
-
Label the Jars: Write the date and contents on the jars using a permanent marker. This helps you keep track of when the jam was made and ensures you know what’s inside.
-
Store the Jam: Store the sealed jars in a cool, dark place, such as a pantry or cupboard. Properly made and stored hawthorn jam can last for up to a year.
-
Enjoy: Once your jam is ready, there are endless ways to enjoy it. Spread it on toast, use it as a filling for pastries or cakes, or mix it into yogurt or oatmeal for a burst of flavor and nutrition.
Conclusion
Making hawthorn jam is a rewarding culinary endeavor that allows you to preserve the flavors of autumn and enjoy the health benefits of these vibrant berries year-round. By following the steps outlined above, you can create a delicious, homemade jam that is both a treat for your taste buds and a testament to your culinary skills. Happy jam-making!

0 comments