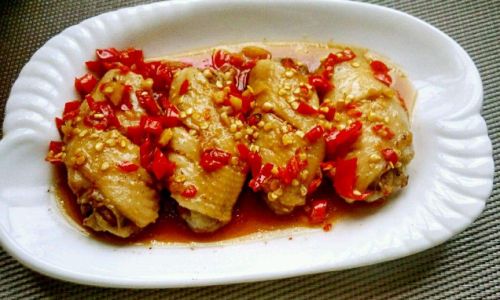
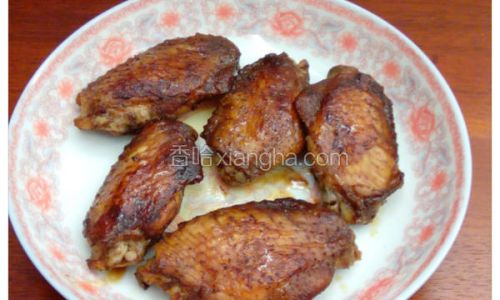
Grilling chicken wings is a timeless culinary delight that combines the smoky flavors of an outdoor barbecue with the juicy, tender texture of perfectly cooked poultry. Whether you’re hosting a backyard gathering, a tailgate party, or simply craving a comforting meal at home, grilled chicken wings can be the star of the show. In this comprehensive guide, we’ll walk you through every step of making delicious, mouthwatering grilled chicken wings, from selecting the right ingredients to mastering the grilling technique. By the end, you’ll be confident in your ability to serve up a plate of crispy, flavorful wings that will have everyone coming back for seconds.

Step 1: Choosing the Right Chicken Wings
Before you can start grilling, you need to select the best chicken wings. Here are a few tips to ensure you get the highest quality:
- Freshness Matters: Always opt for fresh, never frozen, chicken wings if possible. Fresh wings retain more moisture and flavor.
- Size and Shape: Look for wings that are uniformly sized. This ensures even cooking and makes it easier to manage on the grill.
- Meat to Bone Ratio: Choose wings with a good balance of meat and bone. Too much bone can make them feel light on flavor, while too little meat can result in overcooking.
- Source: If you can, buy wings from a reputable butcher or farm that prioritizes humane treatment and quality feed for their chickens.
Step 2: Preparing the Wings
Once you have your wings, it’s time to prepare them for grilling. This involves a few crucial steps:
- Rinse and Dry: Rinse the wings under cold running water to remove any impurities. Pat them dry thoroughly with paper towels. Wet wings can cause flare-ups on the grill and prevent a crispy exterior.
- Seasoning: Seasoning is key to flavorful wings. You can use a simple blend of salt, pepper, and garlic powder, or opt for a more complex marinade. For a classic BBQ flavor, mix brown sugar, paprika, smoked paprika, garlic powder, onion powder, salt, black pepper, and a touch of cayenne pepper.
- Marinating: If you’re using a marinade, place the wings in a large bowl or zip-top plastic bag, pour in the marinade, and toss to coat evenly. Let them sit in the refrigerator for at least 2 hours, preferably overnight, to allow the flavors to penetrate deeply.
Step 3: Preparing Your Grill
A well-prepared grill is essential for successful wing grilling. Here’s how to set it up:

- Clean the Grates: Start by cleaning the grill grates thoroughly. Use a grill brush to scrape off any残留物 from previous cooks. A clean grill ensures better heat transfer and prevents sticking.
- Preheat: Preheat your grill to medium-high heat. This typically means setting it to around 375-400°F (190-205°C). You want the grill hot enough to sear the wings and create a nice crust, but not too hot that they burn before the inside is cooked.
- Oil the Grates: Once the grill is preheated, oil the grates lightly. You can use a folded paper towel dipped in vegetable oil and held with tongs to do this. Oiling prevents the wings from sticking and helps achieve that perfect golden-brown crust.
Step 4: Grilling the Wings
Now, it’s time to put your wings on the grill. Follow these steps for perfect results:
- Arrange the Wings: Place the wings on the grill in a single layer, skin side down. Avoid overcrowding the grill; this can reduce heat and cause uneven cooking.
- Initial Sear: Grill the wings with the skin side down for about 4-5 minutes. This will create a beautiful sear and help render out some of the fat, making the skin crispy.
- Flip and Rotate: Carefully flip the wings over using tongs. Continue grilling for another 4-5 minutes on the other side. For even cooking, rotate the wings 90 degrees halfway through this time to create crosshatch marks.
- Check for Doneness: Use a meat thermometer to check the internal temperature of the thickest part of the wing, aiming for 165°F (75°C). If you don’t have a thermometer, you can cut into one wing to check for clear juices and fully cooked meat.
- Finishing Touch: If you want an extra crispy skin, you can move the wings to the hottest part of the grill for a final minute or two on each side. Keep a close eye on them to avoid burning.
Step 5: Serving Your Grilled Chicken Wings
Once your wings are cooked to perfection, it’s time to serve them up. Here are a few serving suggestions:
- Sauces and Dips: Offer a variety of sauces and dips to cater to different tastes. Classic options include buffalo sauce, honey mustard, blue cheese dressing, and ranch.
- Sides: Pair your wings with classic sides like celery sticks, carrot sticks, and ranch dressing for a refreshing crunch. Potato salad, corn on the cob, and grilled vegetables also make great accompaniments.
- Presentation: Arrange the wings on a platter lined with paper towels to absorb any excess grease. Garnish with fresh herbs like parsley or cilantro for a pop of color and added flavor.
Step 6: Storage and Leftovers
If you have leftovers, here’s how to store and reheat them:

- Storage: Let the wings cool to room temperature, then transfer them to an airtight container or zip-top plastic bag. Store in the refrigerator for up to 3 days.
- Reheating: To reheat, you can either bake them in the oven at 350°F (175°C) for about 10-15 minutes or reheat them on the grill until warmed through and crispy. Avoid microwaving as it can make the wings soggy.
In conclusion, making grilled chicken wings is a rewarding culinary endeavor that can yield delicious, satisfying results. By following the steps outlined in this guide, from selecting the right wings to perfecting your grilling technique, you’ll be able to create a dish that’s sure to impress. Whether you’re a seasoned pitmaster or new to the world of grilling, these tips and tricks will help you master the art of grilling chicken wings and elevate your backyard barbecues to new heights. Happy grilling!


0 comments