Introduction
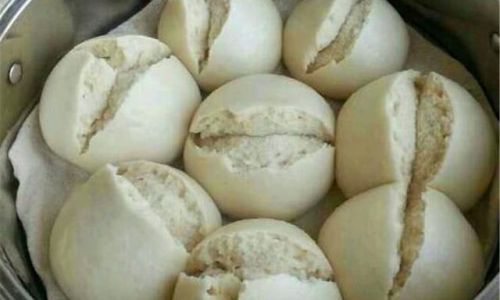
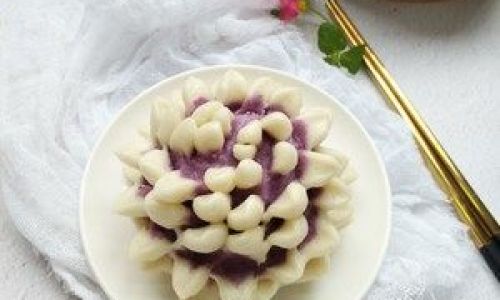
Steamed buns, a staple in Chinese cuisine, are enjoyed for their soft texture and versatility in flavorings and fillings. Among the various types of steamed buns, flowering steamed buns (also known as “flower-shaped steamed buns” or “blooming steamed buns”) stand out for their unique appearance—resembling a blooming flower when steamed. These buns are not only visually appealing but also delicious, making them a perfect choice for special occasions or simply as a delightful treat for the family.
In this comprehensive guide, we will walk you through the process of making flowering steamed buns from scratch. We’ll cover everything from preparing the dough to shaping the buns and finally steaming them to perfection. By following these detailed steps, you’ll be able to create beautiful and delicious flowering steamed buns that will impress your friends and family.
Section 1: Ingredients and Equipment
Before we dive into the steps, let’s first list the ingredients and equipment you’ll need to make flowering steamed buns.
Ingredients:
- 400 grams (about 14 ounces) of all-purpose flour
- 200 milliliters (about 7 ounces) of warm water
- 2 teaspoons of active dry yeast
- 1 tablespoon of granulated sugar
- 1 teaspoon of baking powder (optional, for extra fluffiness)
- 1/2 teaspoon of salt
- 2 tablespoons of vegetable oil or melted unsalted butter
- Optional fillings (such as red bean paste, lotus seed paste, or meat)
Equipment:
- Mixing bowls
- Measuring cups and spoons
- Dough hook or wooden spoon
- Clean kitchen towel or plastic wrap
- Steamer (bamboo or electric)
- Steaming rack
- Parchment paper or silicone mat
- Knife or scissors
Section 2: Preparing the Dough
Step 1: Activate the Yeast
In a small bowl, combine the warm water and granulated sugar. Stir until the sugar is dissolved. The water should be warm to the touch but not hot, as hot water can kill the yeast. Sprinkle the active dry yeast over the water and let it sit for about 5-10 minutes until frothy and bubbly. This indicates that the yeast is active and ready to use.
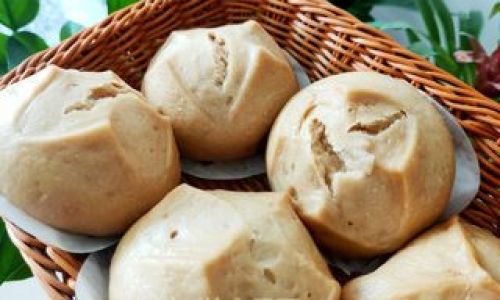
Step 2: Combine Dry Ingredients
In a large mixing bowl, whisk together the all-purpose flour, baking powder (if using), and salt until well combined.
Step 3: Mix the Dough
Create a well in the center of the dry ingredients and pour in the activated yeast mixture and vegetable oil or melted butter. Using a dough hook, wooden spoon, or your hands, mix the ingredients together until a shaggy dough forms.
Step 4: Knead the Dough
Transfer the dough to a lightly floured surface and knead for about 8-10 minutes until it becomes smooth and elastic. If the dough is too sticky, add a little more flour (a tablespoon at a time) until it reaches the desired consistency.
Step 5: First Rise
Place the dough in a lightly oiled mixing bowl, cover it with a clean kitchen towel or plastic wrap, and let it rise in a warm, draft-free place for about 1-1.5 hours, or until it has doubled in size.
Section 3: Shaping the Buns
Step 1: Punch Down the Dough
Once the dough has risen, punch it down to release any air bubbles. This will help to create a smoother texture in the final buns.
Step 2: Divide the Dough
Transfer the dough to a lightly floured surface and divide it into equal portions. The number of portions will depend on the size of the buns you want. For flowering steamed buns, aim for portions that are about 50-60 grams (about 1.8-2.1 ounces) each.
Step 3: Shape the Dough into Balls
Roll each portion into a smooth ball using your palms. This will help to create a uniform shape and ensure that the buns rise evenly during the second rise.
Step 4: Create the Flower Shape
To create the flower shape, use a knife or scissors to make cuts around the circumference of each dough ball. Make about 5-6 cuts, spacing them evenly apart. Gently pull each cut section slightly to separate them and create the petals of the flower.
Optional: Add Fillings
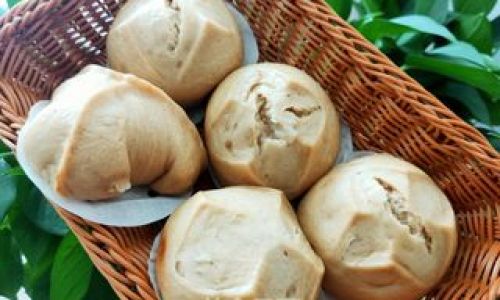
If you want to add fillings to your buns, make a small indentation in the center of each dough ball before shaping it into a flower. Place a teaspoon or so of your chosen filling in the indentation and then shape the dough around it, ensuring that the filling is fully enclosed.
Step 5: Second Rise
Place the shaped buns on a parchment-lined steaming rack or silicone mat, spacing them slightly apart to allow for expansion. Cover them with a clean kitchen towel or plastic wrap and let them rise for another 30-45 minutes, or until they have puffed up and look slightly larger.
Section 4: Steaming the Buns
Step 1: Prepare the Steamer
While the buns are undergoing their second rise, prepare your steamer. Fill the bottom with enough water to reach just below the steaming rack. Bring the water to a boil over medium-high heat.
Step 2: Steam the Buns
Once the water is boiling, carefully place the steaming rack with the buns into the steamer. Cover the steamer and reduce the heat to medium. Steam the buns for about 12-15 minutes, or until they are cooked through and have a soft, fluffy texture.
Step 3: Remove and Cool
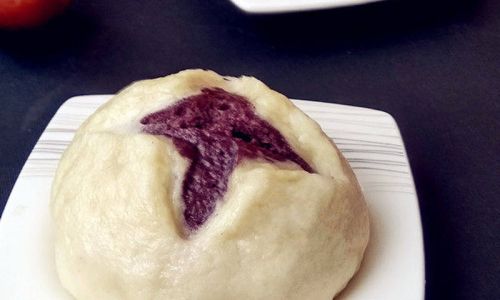
Carefully remove the steaming rack with the buns from the steamer. Use tongs or oven mitts to avoid burning yourself. Let the buns cool slightly on the rack before transferring them to a wire rack to cool completely.
Section 5: Serving and Enjoying
Your flowering steamed buns are now ready to be enjoyed! Serve them warm, plain, or with your favorite dipping sauce. They can also be filled with various sweet or savory fillings to suit your taste preferences.
Troubleshooting Tips
- If your dough is too sticky, add a little more flour. If it’s too dry, add a little more water (a teaspoon at a time).
- Make sure the water in the steamer is boiling before adding the buns to ensure they rise evenly.
- Avoid opening the steamer lid during the steaming process, as this can cause the buns to collapse.
- If your buns don’t rise as much as you’d like, check that the yeast is fresh and that the water used to activate it was not too hot.
Conclusion
Making flowering steamed buns may seem like a daunting task, but with this detailed guide, you’ll find it’s actually quite straightforward. By following the steps outlined above, you’ll be able to create beautiful, fluffy, and delicious flowering steamed buns that will be a hit at any gathering. Enjoy the process and the delicious results!

0 comments