Introduction
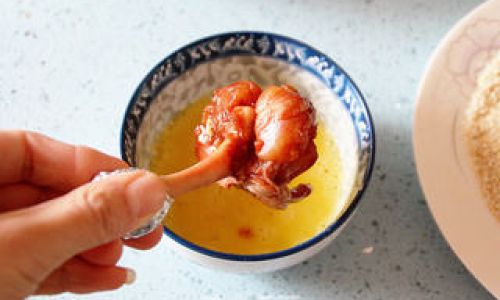
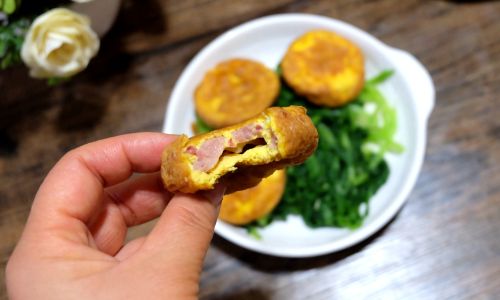
Egg yolk puffs, a delightful fusion of savory and sweet flavors, have become a beloved snack across various cultures. These golden-brown treats, often filled with a rich, creamy yolk and wrapped in a flaky pastry, offer a mouthwatering experience with every bite. Traditionally, egg yolk puffs are baked in ovens, but with the advent of modern kitchen appliances like air fryers, making them has become even more convenient and efficient. In this article, we will explore how to make egg yolk puffs using an air fryer, detailing each step to ensure perfect results.
Understanding the Air Fryer
Before diving into the recipe, it’s crucial to understand what an air fryer is and how it works. An air fryer is a kitchen appliance that uses rapid hot air circulation to cook food. This method of cooking, known as convection cooking, allows for even heat distribution, resulting in crispy, golden-brown exteriors and moist, tender interiors. Unlike traditional deep fryers, air fryers use minimal oil, making them a healthier alternative for frying foods.
Ingredients and Equipment
Before starting, gather all the necessary ingredients and equipment:
Ingredients:
-
Pastry Dough:
- 2 cups all-purpose flour
- 1/2 cup unsalted butter, chilled and cubed
- 1/4 cup ice water
- 1/2 teaspoon salt
-
Filling:
- 12 salted duck egg yolks (you can use fresh egg yolks, but salted duck egg yolks are traditional)
- 1 tablespoon Shaoxing wine (optional, for added flavor)
- A pinch of salt
- 1/4 cup granulated sugar (for sweetening the pastry, adjust to taste)
-
Egg Wash:
1 large egg, beaten
-
Optional Garnish:
A sprinkle of sesame seeds
Equipment:
- Air fryer
- Mixing bowls
- Rolling pin
- Pastry brush
- Parchment paper or silicone baking mat
- Knife or pastry cutter
- Measuring cups and spoons
Step-by-Step Guide
Prepare the Pastry Dough
Begin by making the pastry dough. In a large mixing bowl, combine the flour and salt. Add the chilled, cubed butter and use a pastry cutter or your hands to mix until the mixture resembles coarse crumbs. Gradually add the ice water, one tablespoon at a time, mixing until the dough comes together. Do not overwork the dough, as this can make it tough. Form the dough into a disk, wrap it in plastic wrap, and refrigerate for at least 30 minutes.
Prepare the Egg Yolks
While the dough is chilling, prepare the egg yolks. If using salted duck egg yolks, soak them in water for about 30 minutes to remove any excess salt. Pat them dry and set them aside. If using fresh egg yolks, lightly brush them with Shaoxing wine and a pinch of salt for flavor.
Roll Out the Dough
Once the dough has chilled, divide it into two equal portions. On a lightly floured surface, roll out each portion into a thin circle, about 1/8 inch thick. Use a knife or pastry cutter to cut the dough into small rounds, approximately 4 inches in diameter. You should have enough rounds to accommodate 12 egg yolks.
Assemble the Egg Yolk Puffs
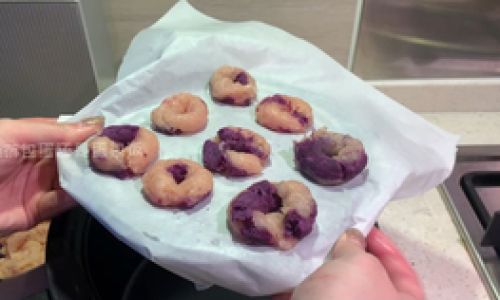
Place a prepared egg yolk in the center of each dough round. Gather the edges of the dough around the egg yolk, pleating them as you go to create a secure seal. Be gentle to avoid tearing the dough. Place the assembled puffs on a piece of parchment paper or silicone baking mat.
Sweeten the Dough (Optional)
If you prefer a sweeter pastry, brush the tops of the puffs with a little water and sprinkle them with granulated sugar. This will help the sugar caramelize during cooking, adding a delightful sweetness to the final dish.
Create an Egg Wash
In a small bowl, beat one large egg until smooth. Use a pastry brush to lightly coat the tops of the puffs with the egg wash. This will give them a glossy, golden-brown finish when cooked.
Preheat the Air Fryer
Preheat your air fryer to 350°F (175°C). This step is crucial to ensure that the puffs cook evenly and achieve the desired texture.
Air Fry the Puffs
Place the prepared puffs in the air fryer basket, ensuring they are not overcrowded. Depending on the size of your air fryer, you may need to cook them in batches. Air fry for about 10-12 minutes, or until the puffs are golden brown and cooked through. Halfway through cooking, check on the puffs and gently flip them if necessary to ensure even browning.

Check for Doneness
To check if the puffs are done, carefully remove one from the air fryer and let it cool slightly. Slice it open to check that the pastry is cooked and the egg yolk is set. If the pastry is still doughy or the egg yolk is runny, return the puffs to the air fryer for an additional 2-3 minutes.
Garnish and Serve
Once the puffs are cooked, remove them from the air fryer and let them cool on a wire rack for a few minutes. While still warm, sprinkle them with sesame seeds for added flavor and texture. Serve the egg yolk puffs immediately while they are still hot and crispy.
Tips for Perfect Egg Yolk Puffs
- Chill the Dough: Chilling the dough before rolling it out helps to relax the gluten, making the pastry more tender and flaky.
- Use High-Quality Ingredients: For the best flavor, use high-quality butter and fresh or salted duck egg yolks.
- Monitor Cooking Time: Air fryers can vary in cooking times, so it’s important to monitor the puffs closely to avoid overcooking.
- Serve Warm: Egg yolk puffs are best enjoyed warm, as the pastry tends to soften as it cools.
Storage and Reheating
If you have leftover egg yolk puffs, store them in an airtight container at room temperature for up to 2 days. To reheat, place them in a preheated oven at 350°F (175°C) for about 5-7 minutes, or until heated through and crispy again. Alternatively, you can reheat them in the air fryer at the same temperature for 2-3 minutes.
Conclusion
Making egg yolk puffs in an air fryer is a simple, efficient, and delicious way to enjoy this traditional treat. By following the steps outlined in this article, you can create perfect, golden-brown puffs with a crispy exterior and a tender, flavorful interior. Whether you’re serving them as a snack, a dessert, or a part of a larger meal, egg yolk puffs are sure to impress and delight your guests. So, why wait? Gather your ingredients, preheat your air fryer, and start making these delightful treats today!
0 comments