Introduction
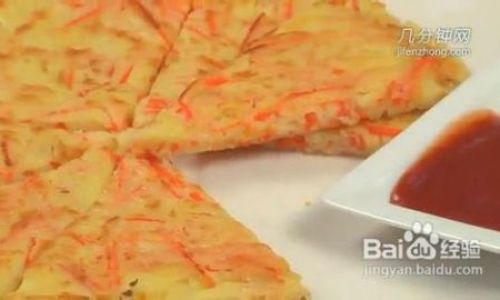
In the realm of culinary delights, shredded carrot pancakes stand out as a delightful fusion of flavors and textures. These pancakes are not only visually appealing but also pack a nutritional punch, thanks to the vibrant carrots that form their core ingredient. Whether you’re looking for a healthy breakfast option, a light lunch, or a delightful snack, shredded carrot pancakes offer a versatile and tasty choice. In this comprehensive guide, we’ll walk you through the step-by-step process of making shredded carrot pancakes, ensuring that you achieve perfect results every time. From selecting the right ingredients to mastering the cooking technique, we’ll cover all the essentials to help you bring this delightful dish to your kitchen.
Section 1: Understanding the Ingredients
Before diving into the recipe, it’s crucial to understand the role each ingredient plays in creating the perfect shredded carrot pancake. Here’s a breakdown of the key components:
-
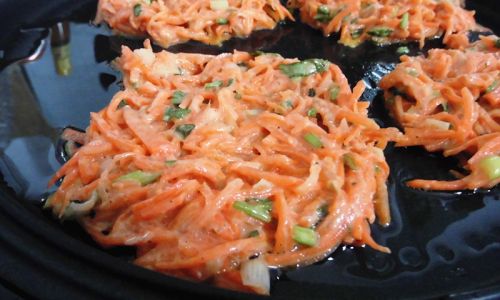
Carrots: The star of the show, carrots provide natural sweetness, vibrant color, and essential nutrients like beta-carotene, fiber, and vitamins. Choose fresh, firm carrots with smooth, vibrant skin for the best results.
-
Flour: While whole wheat flour adds a nutritious touch, all-purpose flour can also be used. The flour acts as a binding agent, helping to form the pancake structure.
-
Baking Powder and Baking Soda: These leavening agents are crucial for creating light, fluffy pancakes. They react with acids in the batter (like those from yogurt or buttermilk) to produce carbon dioxide, which gives the pancakes their rise.
-
Eggs: Eggs contribute to the structure and moisture of the pancakes, ensuring they hold together well and stay tender. For a vegan option, you can use flaxseed meal or chia seeds mixed with water as an egg replacer.
-
Milk or Dairy-Free Alternatives: Milk adds creaminess to the batter. Options like almond milk, soy milk, or oat milk can be used for a dairy-free version.
-
Spices and Seasonings: A pinch of salt, a dash of cinnamon, and a hint of nutmeg can elevate the flavor profile of your pancakes. Feel free to adjust these to suit your taste preferences.
-
Yogurt or Buttermilk: These ingredients add tanginess and help activate the baking soda or powder, contributing to the pancakes’ rise.
-
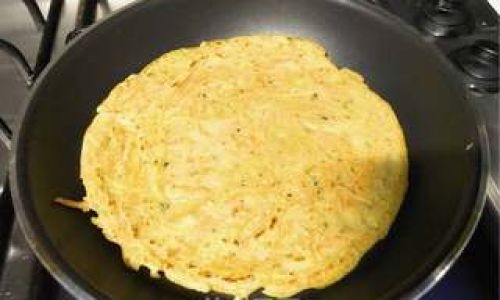
Oil or Butter: For frying, choose a neutral-flavored oil like canola or vegetable oil, or use butter for a richer flavor.
Section 2: Preparation Steps
Now that you’re familiar with the ingredients, let’s dive into the preparation steps:
-
Peel and Shred the Carrots: Start by washing the carrots thoroughly. Use a vegetable peeler to remove the outer skin, then grate them using a box grater or a food processor fitted with a shredding blade. Aim for fine shreds to ensure even cooking.
-
Mix the Dry Ingredients: In a large mixing bowl, combine the flour, baking powder, baking soda, and spices. Whisk well to ensure all the dry ingredients are evenly distributed.
-
Prepare the Wet Ingredients: In another bowl, whisk together the eggs, milk, yogurt (or buttermilk), and a touch of melted butter or oil. This mixture should be smooth and well combined.
-
Combine Wet and Dry Ingredients: Gradually add the wet ingredients to the dry ingredients, stirring gently until just combined. Be careful not to overmix, as this can lead to dense pancakes. Fold in the shredded carrots until they are evenly distributed throughout the batter.
-
Rest the Batter (Optional): Allowing the batter to rest for about 10-15 minutes can help the flour absorb the liquid, resulting in more tender pancakes.
Section 3: Cooking the Pancakes
With your batter ready, it’s time to cook the pancakes:
-
Preheat the Pan: Heat a non-stick skillet or griddle over medium heat. Add a small amount of oil or butter to the pan and let it melt, coating the surface evenly.
-
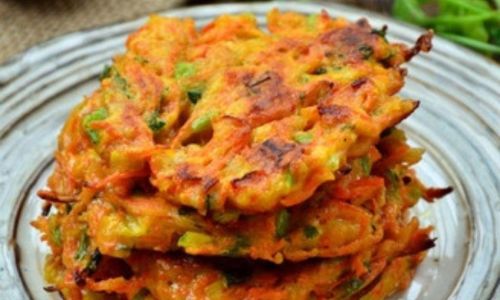
Pour the Batter: Using a ladle or spoon, pour about 1/4 cup of batter onto the hot pan for each pancake. Spread it out slightly with the back of the spoon to form a round shape.
-
Cook Until Golden Brown: Cook the pancakes until bubbles form on the surface and the edges start to look set, about 2-3 minutes. Carefully flip the pancakes and cook the other side for an additional 1-2 minutes, or until golden brown and cooked through.
-
Keep Warm: If you’re cooking multiple batches, keep the finished pancakes warm in a preheated oven at a low temperature (around 200°F or 93°C) while you finish cooking the remaining batter.
Section 4: Serving and Garnishing
Once all the pancakes are cooked, it’s time to serve and enjoy:
-
Toppings and Garnishes: Shredded carrot pancakes are versatile and can be topped with a variety of ingredients. Classic options include a dollop of yogurt or sour cream, a drizzle of honey or maple syrup, and a sprinkle of fresh herbs like cilantro or parsley. For a savory twist, try adding a bit of grated cheese, a dollop of hummus, or a sprinkle of za’atar.
-
Accompaniments: Serve your pancakes with a side of fresh fruit, a green salad, or a steaming bowl of soup for a balanced meal. They also pair well with a cup of hot tea, coffee, or a refreshing smoothie.
Section 5: Tips and Tricks for Perfect Pancakes
Here are some expert tips to ensure your shredded carrot pancakes are a success:
- Don’t Overmix the Batter: Overmixing can lead to dense, tough pancakes. Stir the ingredients until just combined.
- Use a Hot Pan: A hot pan ensures that the pancakes cook evenly and develop a nice golden crust.
- Flip Gently: Use a spatula to gently flip the pancakes, avoiding tearing them.
- Adjust Sweetness: Taste the batter before cooking to ensure it’s sweet enough for your liking. You can add a bit more honey or maple syrup if needed.
- Storage: Leftover pancakes can be stored in an airtight container in the refrigerator for up to 3 days. Reheat them in the oven or toaster for best results.
Conclusion
Making shredded carrot pancakes is a delightful way to incorporate more vegetables into your diet while enjoying a tasty treat. With their vibrant color, tender texture, and customizable flavor profiles, these pancakes are sure to become a staple in your kitchen. By following the steps outlined in this guide, you’ll be able to create perfect shredded carrot pancakes that are not only nutritious but also visually appealing and bursting with flavor. So, gather your ingredients, roll up your sleeves, and start cooking—your taste buds are in for a treat!
0 comments