Table of content
Introduction
Radish cake, also known as lo bak go in Cantonese, is a traditional Chinese dim sum dish that is enjoyed by many. It is made primarily from grated radish, rice flour, and various seasonings. The result is a savory, slightly sweet, and slightly spicy cake that pairs wonderfully with soy sauce, chili sauce, or even just a simple drizzle of sesame oil. While radish cake can be found in many Chinese restaurants, making it at home allows you to customize the flavors and ingredients to your liking. In this comprehensive guide, we will walk you through the process of making delicious radish cake from start to finish.

Preparing Your Ingredients
Before you begin, it’s essential to gather all the necessary ingredients and tools. Here’s a list of what you’ll need:

Ingredients:
- 1 large white radish (about 1.5 kg or 3.3 pounds), peeled and grated
- 400 grams (14 ounces) of rice flour
- 200 grams (7 ounces) of tapioca flour (optional, for a more tender texture)
- 400 milliliters (1.7 cups) of water
- 300 grams (10.6 ounces) of ground pork or shrimp (optional, for added flavor and texture)
- 3-4 shallots, finely chopped
- 3-4 cloves of garlic, finely minced
- 3 tablespoons of vegetable oil
- 2 tablespoons of light soy sauce
- 1 tablespoon of dark soy sauce (for color)
- 1 tablespoon of oyster sauce
- 1 teaspoon of white pepper
- 1 teaspoon of five-spice powder
- 1 teaspoon of sugar
- 1/2 teaspoon of salt
- 1/4 teaspoon of baking soda (optional, for a fluffier texture)
- 3-4 green onions, chopped (for garnish)
- Sesame oil (for drizzling)
- Chili sauce or soy sauce (for serving)
Tools:
- Grater
- Large mixing bowl
- Measuring cups and spoons
- Cheesecloth or clean kitchen towel
- Steamer
- Steaming tray lined with parchment paper or banana leaves
- Spatula or knife
- Cooling rack
Step-by-Step Instructions
Step 1: Prepare the Radish
- Peel the radish: Start by peeling the radish using a vegetable peeler. Ensure all the skin is removed for a smooth texture.
- Grate the radish: Using a grater, grate the peeled radish until you have a fine, shredded consistency. You should have about 4-5 cups of grated radish.
Step 2: Squeeze Out the Excess Moisture
- Wrap the grated radish: Place the grated radish in a cheesecloth or a clean kitchen towel. Gather the corners and twist them tightly to squeeze out as much liquid as possible. This step is crucial because too much moisture can make the radish cake soggy.
- Measure the squeezed radish: Once you’ve squeezed out the excess moisture, measure the grated radish to ensure you have about 3 cups. If you have less, you can grate a bit more radish and repeat the squeezing process.
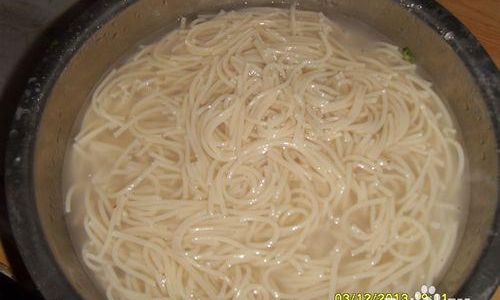
Step 3: Prepare the Rice Flour Mixture
- Combine the flours: In a large mixing bowl, combine the rice flour and tapioca flour (if using). Mix well to ensure they are evenly distributed.
- Add water: Gradually add the water to the flour mixture, stirring constantly to avoid lumps. Continue to stir until you have a smooth, thick batter.
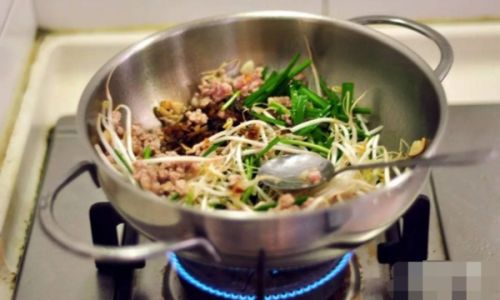
Step 4: Cook the Aromatics and Fillings
- Heat the oil: In a large skillet or wok, heat the vegetable oil over medium heat.
- Sauté the aromatics: Add the chopped shallots and minced garlic to the hot oil. Sauté until they are fragrant and slightly golden, about 2-3 minutes.
- Add the ground pork or shrimp: If using, add the ground pork or shrimp to the skillet. Cook until the meat is browned or the shrimp is pink and cooked through, stirring occasionally to break up any large clumps.
- Season the mixture: Add the light soy sauce, dark soy sauce, oyster sauce, white pepper, five-spice powder, sugar, and salt to the skillet. Stir well to combine and cook for another 1-2 minutes until the flavors meld together.
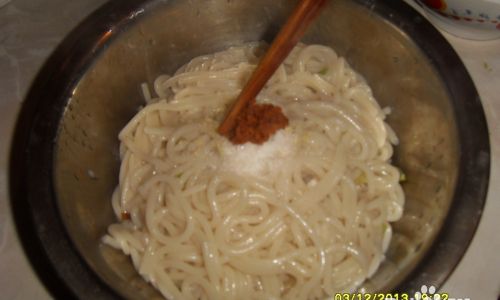
Step 5: Combine the Ingredients
- Add the grated radish: Transfer the cooked aromatic and filling mixture to the bowl with the rice flour batter. Add the squeezed grated radish as well.
- Mix well: Using a spatula or wooden spoon, gently fold the ingredients together until they are evenly combined. Be careful not to overmix, as this can make the radish cake tough.
Step 6: Steam the Radish Cake
- Prepare the steamer: Fill the bottom of your steamer with water and bring it to a boil.
- Line the steaming tray: Place a steaming tray inside the steamer and line it with parchment paper or banana leaves to prevent sticking.
- Pour in the batter: Pour the radish cake batter into the lined steaming tray, spreading it out evenly with a spatula or the back of a spoon.
- Steam the cake: Cover the steamer and steam the radish cake for about 45-60 minutes, or until it is cooked through and firm to the touch. You can insert a toothpick into the center of the cake; if it comes out clean, the cake is done.
Step 7: Cool and Serve
- Remove from steamer: Carefully remove the steaming tray from the steamer and let the radish cake cool slightly.
- Cut into pieces: Once cool enough to handle, use a knife to cut the radish cake into pieces of your desired size.
- Garnish and serve: Garnish the radish cake with chopped green onions and a drizzle of sesame oil. Serve with chili sauce or soy sauce on the side for dipping.
Troubleshooting Tips
- Too much moisture: If your radish cake is too soggy, it may be because you didn’t squeeze out enough moisture from the grated radish. Next time, try using a cheesecloth or a clean kitchen towel to squeeze out even more liquid.
- Tough texture: Overmixing the batter can result in a tough radish cake. Be gentle when folding the ingredients together and stop mixing once they are evenly combined.
- Not cooked through: If the center of your radish cake is still gooey or undercooked, steam it for an additional 10-15 minutes and check again.
Storage and Reheating
- Storing: Leftover radish cake can be stored in an airtight container in the refrigerator for up to 3 days. To freeze, wrap individual pieces tightly in plastic wrap and place them in a freezer-safe bag. They can be frozen for up to 2 months.
- Reheating: To reheat, steam the radish cake for about 10 minutes or until heated through. Alternatively, you can microwave it for a few minutes, but be careful not to overcook it as it can become dry and tough.
Conclusion
Making radish cake at home may seem like a daunting task, but with this comprehensive guide, you’ll be able to create delicious, authentic radish cake that rivals any you’ve had in a restaurant. By following the steps outlined above, you’ll be able to customize the flavors and ingredients to your liking, resulting in a dish that is truly your own. Enjoy the process of making radish cake and the satisfaction of serving it to your family and friends!


0 comments