Introduction
Pickled carrot relish is a delightful and versatile condiment that can elevate the flavor of various dishes, from sandwiches and burgers to salads and hot dogs. This tangy, slightly sweet, and crunchy relish is not only a delightful addition to your meals but also a great way to preserve fresh carrots during their peak season. Making your own pickled carrot relish at home is a rewarding experience that allows you to control the ingredients and the level of seasoning, ensuring a perfect match for your taste preferences. In this guide, we’ll walk you through the step-by-step process of creating a delicious and authentic pickled carrot relish.
Ingredients
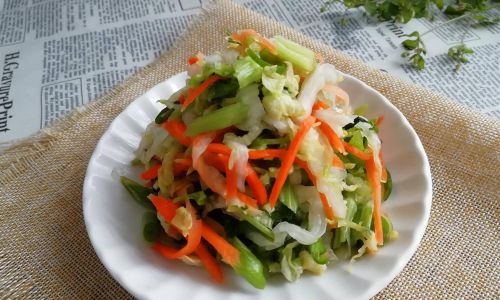
Before diving into the preparation, let’s gather all the necessary ingredients:
- Carrots: About 2 pounds of fresh, firm carrots. Choose carrots that are free from cracks, soft spots, and bruises.
- Onions: 1 medium-sized red onion or 2 small shallots, finely chopped.
- Garlic: 2-3 cloves, minced.
- Vinegar: 1 cup of apple cider vinegar or distilled white vinegar.
- Sugar: 1/2 cup, adjust to taste for sweetness.
- Salt: 1 tablespoon, plus extra for seasoning.
- Spices and Herbs:
- 1 teaspoon mustard seeds
- 1 teaspoon celery seeds
- 1/2 teaspoon turmeric powder (optional, for color and flavor)
- 1 teaspoon black peppercorns, crushed
- A few fresh dill sprigs or 1 teaspoon dried dill
- A few sprigs of fresh parsley or 1 teaspoon dried parsley
- Water: 1/2 cup, if needed to adjust consistency.
- Olive oil or vegetable oil: 1-2 tablespoons for sautéing.
Equipment
- A sharp knife for chopping.
- A large mixing bowl.
- A medium-sized saucepan.
- A wooden spoon or silicone spatula for stirring.
- Clean, sterile jars with tight-fitting lids for storing the relish.
- A ladle or spoon for transferring the relish into jars.
- A clean cloth or paper towels for wiping the jars.
Preparation Steps
Step 1: Preparing the Carrots
-
Washing and Peeling: Start by washing the carrots thoroughly under running water to remove any dirt or debris. Peel the carrots using a vegetable peeler.
-
Grating or Chopping: Depending on your preference, you can either grate the carrots using a cheese grater or chop them into fine pieces. Grating the carrots will yield a smoother relish, while chopping will give it a chunkier texture.
Step 2: Preparing the Aromatics and Spices
-
Chopping the Onions: Peel the onion and finely chop it. If using shallots, peel and finely chop them as well.
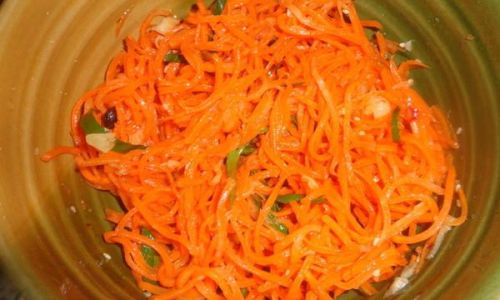
-
Mincing the Garlic: Peel the garlic cloves and mince them finely. The more finely you mince the garlic, the more evenly its flavor will distribute throughout the relish.
-
Toasting the Spices: In a small, dry skillet over medium heat, toast the mustard seeds, celery seeds, and black peppercorns until they become fragrant, about 1-2 minutes. Be careful not to burn them, as this will make the relish bitter. Remove from heat and let them cool slightly. Once cool, crush the black peppercorns using a mortar and pestle or the back of a spoon.
Step 3: Cooking the Base
-
Sautéing the Aromatics: In a medium-sized saucepan, heat 1-2 tablespoons of olive oil or vegetable oil over medium heat. Add the chopped onions and sauté until they become translucent and start to soften, about 5-7 minutes.
-
Adding Garlic and Spices: Add the minced garlic and toasted spices to the saucepan. Stir constantly to prevent the garlic from burning. Cook for another 1-2 minutes until the mixture is fragrant.
Step 4: Combining Ingredients
-
Adding Carrots: Add the grated or chopped carrots to the saucepan. Stir to combine with the onion-spice mixture.
-
Adding Vinegar, Sugar, and Salt: Pour in the vinegar, sugar, and salt. Stir well to ensure that all the ingredients are evenly distributed.
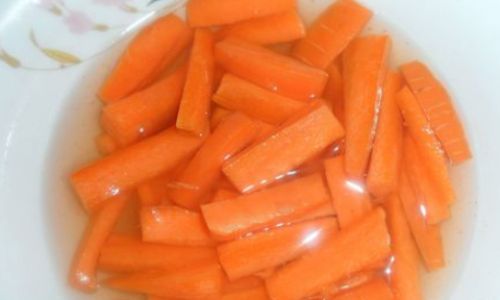
-
Simmering: Bring the mixture to a simmer over medium-low heat. Let it simmer gently, stirring occasionally, until the carrots soften and the mixture thickens slightly, about 10-15 minutes. If the relish becomes too thick, you can add a little water, a tablespoon at a time, to reach your desired consistency.
Step 5: Seasoning and Cooling
-
Taste and Adjust: Once the carrots are tender and the mixture has thickened, taste the relish and adjust the seasoning with more salt or sugar if needed.
-
Adding Fresh Herbs: If using fresh dill and parsley, chop them finely and stir them into the relish. The fresh herbs will add a burst of color and flavor.
-
Cooling: Remove the saucepan from heat and let the relish cool slightly. This will allow the flavors to meld together.
Step 6: Storing the Relish
-
Preparing Jars: While the relish is cooling, prepare your sterile jars by washing them thoroughly with hot, soapy water and rinsing them well. Dry the jars completely with a clean cloth or paper towels.
-
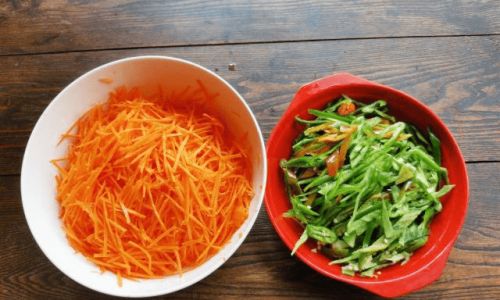
Ladding the Relish: Use a ladle or spoon to transfer the relish into the prepared jars, leaving about half an inch of headspace at the top to allow for expansion during storage.
-
Sealing and Labeling: Wipe the rims of the jars clean with a damp cloth to remove any relish residue. Secure the lids tightly and label the jars with the date and contents.
Step 7: Refrigeration and Serving
-
Refrigeration: Place the jars of pickled carrot relish in the refrigerator. The relish will continue to develop flavor as it sits, and it can be stored for up to 2-3 weeks in an airtight container in the fridge.
-
Serving: When ready to serve, use a clean spoon to scoop out the relish, ensuring you don’t double-dip to prevent contamination. Enjoy your homemade pickled carrot relish on burgers, sandwiches, salads, hot dogs, or as a topping for grilled meats and vegetables.
Conclusion
Making pickled carrot relish at home is a simple yet rewarding process that allows you to create a delicious, tangy, and crunchy condiment tailored to your taste preferences. With just a few basic ingredients and a bit of time, you can enjoy this versatile relish throughout the week, adding a burst of flavor to your favorite dishes. Whether you’re looking to preserve a bounty of fresh carrots or simply want to elevate your meal prep, this pickled carrot relish recipe is sure to become a staple in your kitchen. Happy cooking!




0 comments