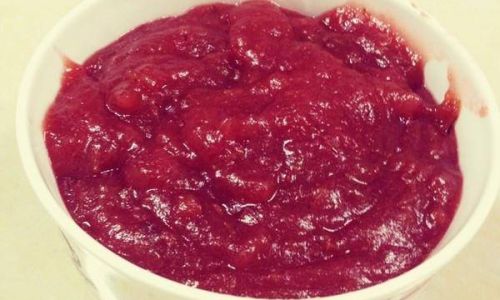
Making hawthorn jam is a delightful culinary endeavor that combines the tangy sweetness of hawthorn fruit with the comforting, preservative qualities of homemade jam. Hawthorn (Crataegus species), often known for its health benefits and vibrant red hue, transforms into a rich, flavorful spread when cooked down to a jam. This guide will walk you through the entire process, from selecting the perfect hawthorn fruit to bottling your finished jam, ensuring every step is clear and accessible for both novice and experienced home cooks.
Understanding Hawthorn Fruit
Before diving into the recipe, it’s essential to understand the unique characteristics of hawthorn fruit. Native to temperate regions of Asia, Europe, and North America, hawthorn trees produce small, edible fruits that are typically red, though some varieties can be yellow or orange. These fruits are known for their tartness, making them an excellent base for jams and jellies where their acidity aids in preservation.
When selecting hawthorn fruit for jam-making, look for firm, fully ripe berries with a deep, uniform color. Avoid any fruits that are moldy, bruised, or overly soft, as these can spoil the batch. If you’re picking your own, the best time to harvest is usually in the autumn when the fruits have fully matured.
Equipment and Ingredients
Before starting, gather the necessary equipment and ingredients:
-
Equipment:
- Large mixing bowls
- Food mill or potato ricer (optional, for a smoother texture)
- Large, heavy-bottomed saucepan or jam pan
- Wooden spoon or silicone spatula
- Candy thermometer
- Funnel
- Clean, sterile jars with lids (preferably glass)
- Ladle
- Clean kitchen towels or paper towels
- Pot for water bath canning (if not using sterile jars)
-
Ingredients:
- 2 pounds (about 900 grams) of fresh hawthorn fruit, stems and seeds removed
- 2 cups (480 milliliters) of water (approximately, adjust based on fruit juiciness)
- 3-4 cups (600-800 grams) of granulated sugar (adjust to taste preference)
- 1 tablespoon (15 milliliters) of lemon juice (optional, for added tang and preservation)
- A pinch of salt (optional, to enhance flavor)
Step-by-Step Instructions
Preparation of Hawthorn Fruit
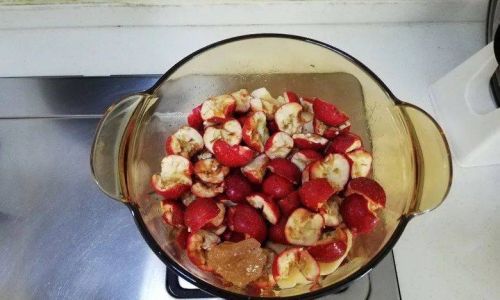
Begin by preparing the hawthorn fruit. This can be a labor-intensive step, as each fruit needs to be de-stemmed and de-seeded. Wearing gloves can help protect your hands from the fruit’s sharp thorns. Once cleaned, roughly chop the fruit to facilitate cooking and blending later.
Cooking the Hawthorn
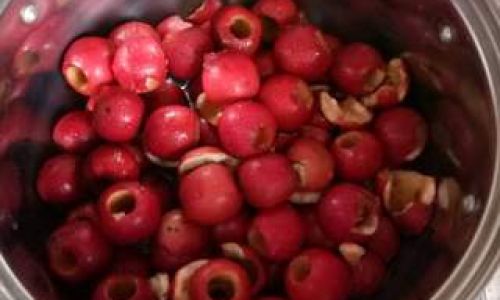
Place the prepared hawthorn fruit in a large saucepan and add enough water to barely cover the fruit. The exact amount of water may vary depending on the juiciness of your hawthorn. Bring the mixture to a boil over medium-high heat, stirring occasionally to prevent sticking.
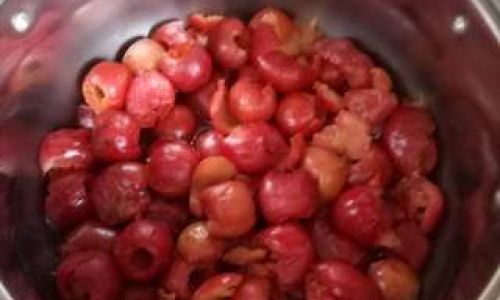
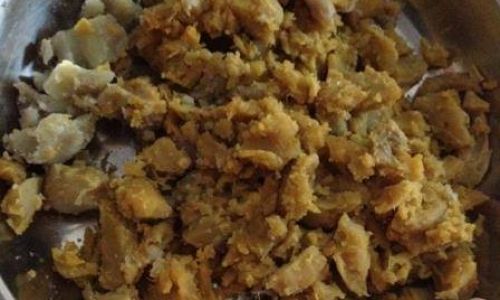
Reduce the heat to low and let the fruit simmer for about 30-45 minutes, or until the fruit is very soft and has broken down. You may need to mash the fruit with a potato masher or the back of a spoon to help release more juices.
Blending for Smoothness
For a smoother jam, pass the cooked hawthorn mixture through a food mill or use a potato ricer to remove the skins and larger pieces of fiber. Alternatively, you can blend the mixture using an immersion blender directly in the pot for a chunkier, more rustic texture.
Adding Sugar and Flavorings
Return the pureed hawthorn mixture to the saucepan. Add the sugar, lemon juice (if using), and a pinch of salt (if desired). Stir well to combine. The amount of sugar you use will affect both the sweetness and the jam’s setting ability; more sugar helps the jam gel.
Boiling to Set
Bring the mixture to a rolling boil over medium-high heat, stirring constantly to prevent scorching. Use a candy thermometer to monitor the temperature. You are aiming for a temperature of around 220°F (104°C), which is the approximate setting point for high-acid fruits like hawthorn.
If you don’t have a thermometer, you can test for doneness using the cold plate method. Place a small saucer in the freezer before starting this step. When you think the jam might be ready, spoon a small amount onto the chilled saucer and let it sit for a minute. Push the jam with your finger; if it wrinkles and forms a skin, it’s ready.
Skimming and Final Adjustments
While the jam is boiling, skim off any foam that rises to the surface with a slotted spoon. This will improve the jam’s appearance and texture. Once the jam reaches the desired setting point, remove it from the heat.
Jarring and Cooling
Prepare your jars by sterilizing them in a hot water bath or using the dishwasher’s sanitize cycle. Ladle the hot jam into the jars, leaving about 1/4 inch of headspace at the top to allow for expansion during cooling. Wipe the jar rims clean with a damp cloth to remove any jam residue, then secure the lids tightly.
Place the filled jars in a water bath canner or a large pot filled with enough water to cover the jars by at least 1-2 inches. Bring the water to a gentle boil and process the jars for 10 minutes (adjust time for altitude if necessary). Remove the jars from the water bath using a jar lifter and let them cool completely on a wire rack. You should hear a popping sound as the lids seal; this is normal.
Storage and Enjoyment
Once cooled, check the seals by pressing the center of each lid. If it doesn’t move, the jar is sealed. Store sealed jars in a cool, dark place for up to a year. Any jars that didn’t seal should be refrigerated and used within a few weeks.
Your homemade hawthorn jam is now ready to enjoy! Spread it on toast, use it as a filling for pastries, or mix it into yogurt and oatmeal for a burst of flavor and nutrition. The tangy sweetness of hawthorn jam makes it a versatile addition to many dishes, and the process of making it yourself adds a special touch of homemade charm.
Tips for Success
- Patience is Key: The process of making jam, especially from scratch, requires patience. Don’t rush the simmering or boiling stages; they are crucial for developing flavor and texture.
- Adjust Sweetness: Taste the jam frequently as you add sugar to find the perfect balance for your palate. Remember, the jam will taste less sweet once it cools.
- Experiment with Flavors: Feel free to add spices like cinnamon or vanilla for extra depth, or infuse the jam with herbs like rosemary or thyme for unique flavors.
- Safety First: Always follow proper canning procedures to ensure your jam is safe to eat. This includes using sterile jars, processing in a water bath, and checking seals carefully.
By following these steps and tips, you’ll be able to create delicious, homemade hawthorn jam that captures the essence of this unique fruit. Enjoy the process and the delicious results!




0 comments