Table of content
Making coconut jelly, or coconut juice cake as it’s sometimes known, is a delightful culinary endeavor that combines the tropical flavors of coconut with the silky texture of jelly. This dessert is perfect for warm weather, offering a refreshing and slightly sweet treat that can be enjoyed on its own or paired with fruits, whipped cream, or even a drizzle of honey. Whether you’re a seasoned chef or a home cook looking to impress, this guide will walk you through the process of creating homemade coconut jelly from scratch. By the end, you’ll have a batch of delicious, homemade coconut jelly that’s sure to become a favorite in your household.
Ingredients:
Before diving into the steps, let’s gather the necessary ingredients. You’ll need:
- 400 milliliters (ml) of coconut milk: Look for full-fat coconut milk for a richer flavor and creamier texture.
- 200 ml of coconut water: Fresh coconut water adds a natural sweetness and a hint of tropical freshness.
- 100 grams (g) of granulated sugar: Adjust the amount based on your taste preference.
- 60 g of gelatin powder: This is crucial for setting the jelly. Ensure it’s a good quality, unflavored gelatin.
- 1 teaspoon (tsp) of vanilla extract: Optional, but it enhances the coconut flavor beautifully.
- Pinch of salt: To balance the sweetness.
- Fresh fruits or toppings of your choice: For serving, such as mango, kiwi, berries, or mint leaves.
Equipment:
- Measuring cups and spoons
- Mixing bowls
- Whisk or electric mixer
- Sieve or fine-mesh strainer
- Steamer or a pot with a steaming rack
- Square or rectangular baking dish (about 8×8 inches or similar size)
- Plastic wrap or parchment paper
- Knife for cutting
Step-by-Step Instructions:
Step 1: Prepare the Coconut Mixture
Begin by combining the coconut milk, coconut water, and granulated sugar in a medium mixing bowl. Whisk thoroughly until the sugar is fully dissolved. If you prefer a less sweet jelly, reduce the sugar slightly. Add the vanilla extract and a pinch of salt, and mix well. The mixture should be smooth and free of any lumps.
Step 2: Bloom the Gelatin
In a separate small bowl, sprinkle the gelatin powder over 50 ml of cold water. Let it sit for about 5 minutes to “bloom,” which means the gelatin will absorb the water and soften. This step is crucial for the gelatin to dissolve evenly later.
Step 3: Heat the Coconut Mixture
Pour the coconut milk mixture into a saucepan and place it over medium heat. Stir constantly to prevent scorching. Once the mixture begins to warm up and small bubbles form around the edges, remove it from the heat immediately. Be careful not to let it boil, as this could curdle the coconut milk.
Step 4: Incorporate the Gelatin
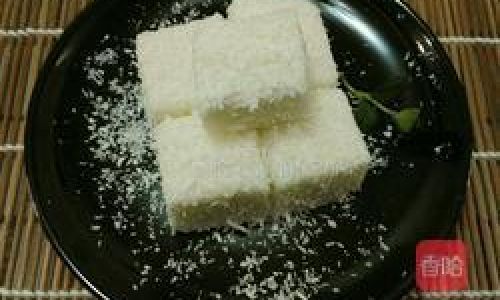
While the coconut mixture is still warm, slowly pour it over the bloomed gelatin, whisking constantly to ensure the gelatin dissolves completely. If there are any lumps, strain the mixture through a sieve to remove them. This will give your jelly a smooth, silky texture.
Step 5: Pour into the Baking Dish
Line your baking dish with plastic wrap or parchment paper, leaving some overlap on the sides to easily lift out the jelly later. Pour the coconut mixture into the prepared dish, spreading it out evenly with a spatula or the back of a spoon. Tap the dish gently on the counter to release any air bubbles.
Step 6: Steam the Jelly
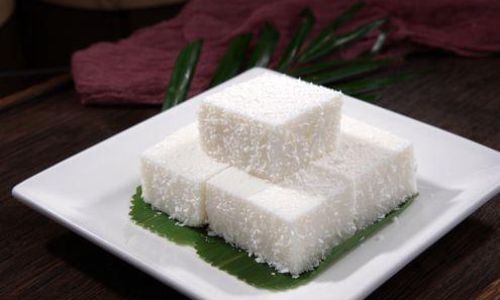
Set up a steamer or place a steaming rack in a large pot with enough water to reach just below the rack. Bring the water to a simmer. Place the baking dish on the rack, cover, and steam for about 20-25 minutes. The jelly should be set but still slightly jiggly when gently shaken. If you’re unsure, insert a toothpick into the center; it should come out clean.
Step 7: Cool and Chill
Remove the baking dish from the steamer and let it cool slightly at room temperature. Once cool enough to handle, transfer it to the refrigerator and let it chill for at least 4 hours or overnight. This ensures the jelly sets completely.
Step 8: Cut and Serve
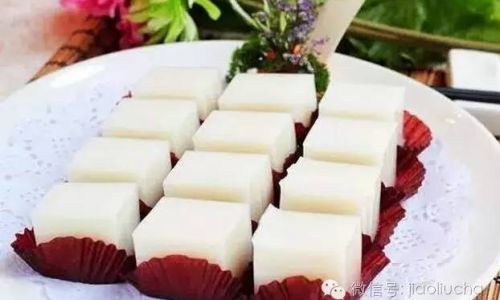
Once the jelly is fully set, lift it out of the dish using the plastic wrap or parchment paper. Place it on a cutting board and cut into squares or rectangles using a sharp knife. Arrange the pieces on a serving plate and garnish with fresh fruits, whipped cream, mint leaves, or any other toppings you prefer.
Tips for Perfect Coconut Jelly:
- Quality Ingredients: Use high-quality coconut milk and fresh coconut water for the best flavor.
- Gentle Heating: Avoid boiling the coconut mixture, as it can curdle the milk.
- Even Steaming: Ensure the jelly is steamed evenly to prevent it from setting unevenly.
- Chilling Time: Give the jelly plenty of time to chill in the refrigerator for the best texture.
- Creative Garnishes: Experiment with different fruits and toppings to suit your taste or the season.
Conclusion:
Making coconut jelly at home is a rewarding experience that yields a delicious, refreshing treat. With just a few simple ingredients and a bit of patience, you can create a beautiful, tropical dessert that’s perfect for any occasion. Whether you’re serving it at a summer barbecue, a family gathering, or just enjoying it on a lazy afternoon, coconut jelly is sure to delight your taste buds and bring a touch of the tropics to your table. So, gather your ingredients, follow these steps, and start making your own coconut jelly today!

0 comments