Pickled duck eggs are a delightful culinary treat that combines the rich, savory flavor of duck eggs with the tangy, briny notes of pickling. While many might assume that the process of pickling eggs is complex and time-consuming, it can actually be both simple and rewarding. In this guide, we’ll walk you through the steps to make delicious and easy-to-make pickled duck eggs, ensuring that you can enjoy this traditional delicacy at home with minimal effort.
Understanding Duck Eggs
Before diving into the pickling process, it’s essential to understand why duck eggs are often preferred for pickling. Duck eggs have a richer, creamier texture and a slightly larger yolk compared to chicken eggs. This makes them ideal for pickling as they absorb flavors more readily and offer a more indulgent eating experience.
When selecting duck eggs for pickling, look for fresh, uncracked eggs with a clean, uniform shell. Freshness is crucial as it affects both the texture and flavor of the final product. If possible, source your duck eggs from a local farm or reputable supplier to ensure quality.
Preparing the Eggs
-
Cleaning the Eggs: Start by gently cleaning the duck eggs under cold running water. Use a soft sponge or cloth to avoid scratching the shells. Pat the eggs dry with a clean paper towel.
-
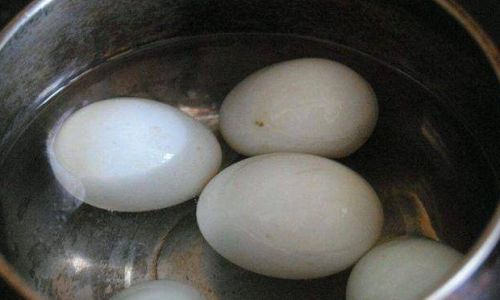
Boiling the Eggs: Place the cleaned eggs in a large pot and cover them with cold water. Add a teaspoon of vinegar to the water to help prevent the eggs from cracking during boiling. Bring the water to a rolling boil over high heat, then reduce the heat to medium-low and let the eggs simmer for about 9-11 minutes. The exact cooking time may vary depending on your preference for the yolk’s texture—9 minutes for a runny yolk, 11 minutes for a fully set yolk.
-
Cooling the Eggs: Once cooked, immediately transfer the eggs to an ice bath to stop the cooking process. This also helps to make peeling the eggs easier. Let the eggs sit in the ice bath for at least 10 minutes before proceeding.
-
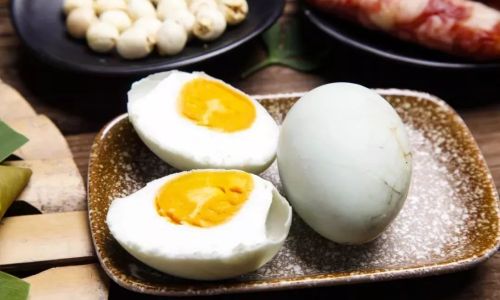
Peeling the Eggs: Peel the eggs carefully under cold running water. A small crack around the middle of the egg can help initiate the peeling process without damaging the egg white.
Preparing the Pickling Brine
The pickling brine is the key to flavoring your duck eggs. It should be a balance of acidity, saltiness, and aromatic spices that complement the rich taste of the duck eggs.
-
Gathering Ingredients: You’ll need the following ingredients for the brine:
- 2 cups of distilled white vinegar or apple cider vinegar
- 2 cups of water
- 1/4 cup of granulated sugar
- 1/4 cup of kosher salt
- 1 tablespoon of whole black peppercorns
- 1 tablespoon of whole coriander seeds
- 2 bay leaves
- 4 cloves of garlic, sliced thin
- 1 small onion, thinly sliced
- 1 piece of fresh ginger, sliced into thin rounds (optional for an Asian twist)
-
Making the Brine: In a large pot, combine the vinegar, water, sugar, and salt. Stir until the sugar and salt are fully dissolved. Add the peppercorns, coriander seeds, bay leaves, garlic, onion, and ginger (if using). Bring the mixture to a simmer over medium heat and let it cook for about 5 minutes to allow the flavors to meld.
-
Cooling the Brine: Remove the pot from heat and let the brine cool to room temperature. It’s important to let the brine cool before adding the eggs to prevent them from cooking further.
Pickling the Eggs
-
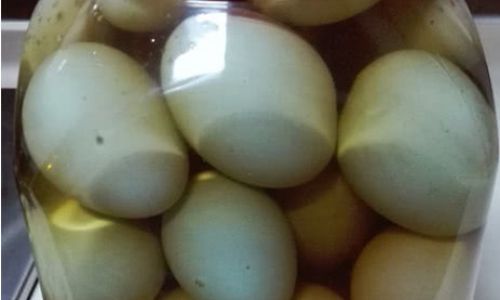
Jar Preparation: Choose a clean, glass jar with a tight-fitting lid that can accommodate all the peeled eggs and enough brine to fully submerge them. Sterilize the jar by running it through the dishwasher or rinsing it with boiling water.
-
Adding the Eggs: Carefully place the peeled duck eggs into the jar. Try to arrange them in a single layer if possible to ensure even pickling.
-
Pouring in the Brine: Once the brine has cooled, pour it over the eggs, ensuring they are fully submerged. If necessary, use a small weight or a piece of plastic wrap pressed against the surface of the eggs to keep them submerged (without letting it touch the eggs directly).
-
Sealing and Storing: Secure the lid tightly and label the jar with the date. Store the jar in the refrigerator for at least 7 days to allow the eggs to fully absorb the flavors of the brine. The longer they sit, the stronger the pickled flavor will be. For best results, let them pickle for 2-3 weeks.
Serving Your Pickled Duck Eggs
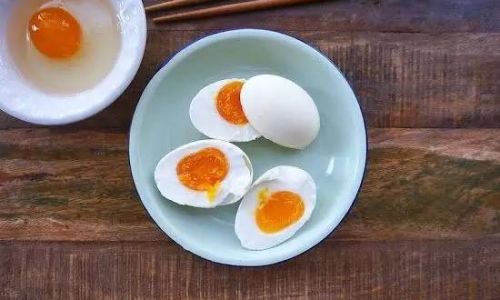
Once your pickled duck eggs are ready, you can enjoy them in various ways. They make a fantastic addition to salads, sandwiches, or even as a standalone snack. Their tangy, savory flavor pairs well with a variety of dishes, from light summer salads to hearty winter stews.
You can also experiment with different spices and flavors in your brine to create unique variations. For instance, adding a few red pepper flakes can give your pickled duck eggs a spicy kick, while a handful of fresh herbs like dill or parsley can add a refreshing note.
Conclusion
Making pickled duck eggs at home is a rewarding culinary endeavor that yields delicious, flavorful results. By following these simple steps, you can enjoy this traditional delicacy without the hassle of complex recipes or specialized equipment. Whether you’re a seasoned chef or a home cook looking to try something new, pickled duck eggs offer a delightful way to elevate your meals with minimal effort. So, why wait? Gather your ingredients, roll up your sleeves, and start pickling!



0 comments