Introduction
In the realm of baking, there are countless recipes that promise to delight the senses and warm the heart. Among these, cherry blossom butter cookies stand out as a delightful fusion of flavors and aesthetics. Combining the delicate aroma of cherry blossoms with the rich, creamy texture of butter cookies, this treat is not just a snack but an experience. As spring approaches and cherry blossoms begin to bloom, their ephemeral beauty inspires us to capture a bit of that magic in our kitchens. This guide will take you through the enchanting process of making cherry blossom butter cookies, from sourcing the right ingredients to achieving the perfect bake.
Section 1: Ingredients and Preparation
Before diving into the recipe, it’s crucial to gather all the necessary ingredients and tools. Here’s a comprehensive list of what you’ll need:
- Butter: 2 sticks (1 cup or 226 grams), unsalted and at room temperature
- Granulated Sugar: 1/2 cup (100 grams)
- Powdered Sugar: 1 cup (120 grams), sifted
- Egg Yolks: 2 large
- Vanilla Extract: 1 teaspoon
- All-Purpose Flour: 2 1/4 cups (280 grams)
- Salt: 1/4 teaspoon
- Cherry Blossom Essence: 1/2 teaspoon (optional but recommended for authenticity)
- Edible Cherry Blossom Petals: A handful, dried and food-safe
- Baking Powder: 1/2 teaspoon (optional, for a slight lift)
- Cookie Cutters: Various shapes, preferably spring-themed
- Parchment Paper or Silicone Baking Mat
- Mixing Bowls: 2 large
- Electric Mixer or Stand Mixer with paddle attachment
- Rubber Spatula
- Rolling Pin
- Baking Sheets
- Cooling Racks
Section 2: Understanding the Ingredients
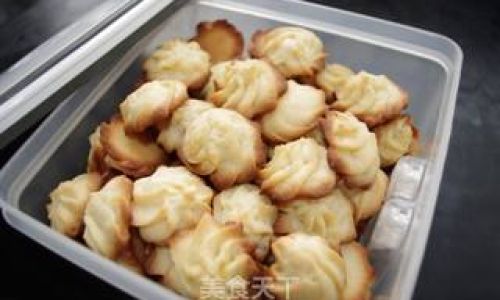
Each ingredient in this recipe plays a vital role in creating the perfect cherry blossom butter cookie. Let’s break them down:
- Butter: The star of the show, butter provides richness, flavor, and moisture. Using unsalted butter allows you to control the amount of salt in the recipe. Room temperature butter blends more evenly with the sugars.
- Granulated and Powdered Sugar: These sugars contribute to the sweetness and texture of the cookies. Granulated sugar adds crunch, while powdered sugar ensures a smooth, velvety dough.
- Egg Yolks: They enrich the dough, adding moisture and a tender crumb.
- Vanilla Extract: Enhances the overall flavor profile, providing a warm, inviting aroma.
- All-Purpose Flour: The foundation of the cookie, providing structure and helping the cookies hold their shape during baking.
- Salt: Balances the sweetness and enhances the flavors.
- Cherry Blossom Essence: Adds a subtle, floral note that complements the cherry blossom petals. If unavailable, you can substitute with a mild almond extract.
- Edible Cherry Blossom Petals: These not only add a beautiful visual element but also a hint of cherry flavor. Ensure they are dried and food-safe.
- Baking Powder (optional): Provides a slight lift to the cookies, making them a bit airier.
Section 3: Step-by-Step Recipe
Now, let’s dive into the recipe. Follow these steps carefully to ensure success:
-
Cream the Butter and Sugars:
In a large mixing bowl, combine the softened butter, granulated sugar, and powdered sugar. Using an electric mixer or stand mixer fitted with the paddle attachment, beat on medium speed until the mixture is light and fluffy, about 3-4 minutes. This process is called “creaming,” and it incorporates air into the butter, creating a lighter texture in the final cookies. -
Add the Egg Yolks and Vanilla:
Beat in the egg yolks one at a time, ensuring each is fully incorporated before adding the next. Then, mix in the vanilla extract and cherry blossom essence (if using). The mixture may look curdled at this stage, but don’t worry; it will come together when the flour is added.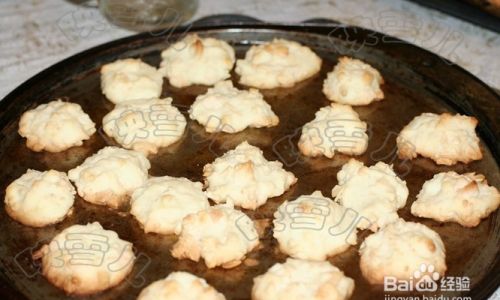
-
Combine Dry Ingredients:
In a separate bowl, whisk together the flour, salt, and baking powder (if using). Gradually add this mixture to the butter-sugar mixture, beating on low speed until just combined. Avoid overmixing, as this can lead to tough cookies. The dough should be soft and pliable. -
Fold in Cherry Blossom Petals:
Gently fold a handful of dried, edible cherry blossom petals into the dough using a rubber spatula. Be careful not to break the petals, as they add a lovely visual element to the cookies. -
Chill the Dough:
Transfer the dough to a piece of plastic wrap or parchment paper and shape it into a flat disc. Wrap tightly and refrigerate for at least 1 hour. Chilling the dough firms it up, making it easier to roll out and cut into shapes. -
Preheat the Oven and Prepare Baking Sheets:
Preheat your oven to 350°F (175°C). Line two baking sheets with parchment paper or silicone baking mats. -
Roll Out and Cut the Dough:
On a lightly floured surface, roll out the chilled dough to about 1/4-inch thickness. Use cookie cutters to cut out shapes. Re-roll any scraps of dough and continue cutting until all the dough is used.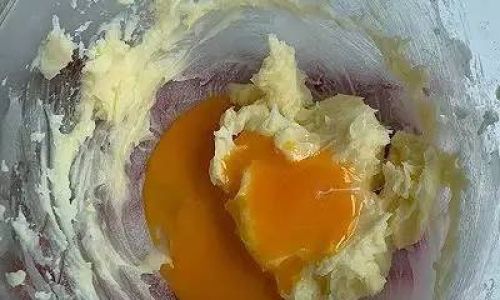
-
Arrange and Bake:
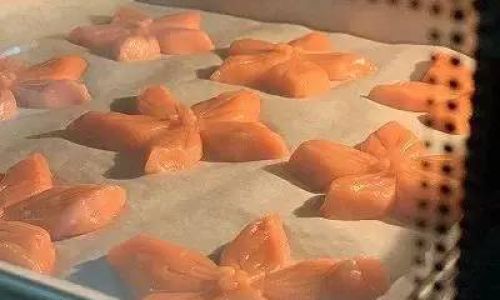
Place the cut-out cookies onto the prepared baking sheets, spacing them about 1 inch apart. Bake in the preheated oven for 10-12 minutes, or until the edges are just beginning to turn golden. The centers may still look pale, but they will continue to firm up as they cool. -
Cool and Decorate (Optional):
Allow the cookies to cool on the baking sheets for about 5 minutes before transferring them to cooling racks to cool completely. Once cool, you can decorate them with a light dusting of powdered sugar or additional edible cherry blossom petals for added beauty.
Section 4: Tips for Perfect Cookies
- Room Temperature Butter: Ensure your butter is at room temperature. Cold butter will not cream properly, and the cookies will be dense.
- Don’t Overmix: Overmixing the dough can develop gluten, making the cookies tough. Mix until just combined.
- Chill the Dough: Chilling the dough is crucial for achieving a tender texture. It also makes the dough easier to handle.
- Watch the Bake Time: Cookies continue to bake on the hot baking sheet after you remove them from the oven. Err on the side of slightly underbaking to avoid overcooked edges.
- Storage: Store the cookies in an airtight container at room temperature for up to a week. They can also be frozen for longer storage.
Section 5: The Art of Presentation
Cherry blossom butter cookies are not just about taste; they are a visual delight. Presenting them beautifully can elevate the experience. Consider the following tips:
- Arrange on a Platter: Display the cookies on a white porcelain platter or a colorful serving board. The contrast of the cookies’ golden hue against a neutral or bright background will enhance their appearance.
- Add Garnishes: Lightly dust the cookies with powdered sugar or arrange edible cherry blossom petals around them for an extra touch of elegance.
- Create a Theme: Serve the cookies during a cherry blossom-themed tea party or as part of a spring-inspired dessert table.
Conclusion
Making cherry blossom butter cookies is a delightful way to celebrate the arrival of spring. These cookies not only taste incredible but also bring a sense of whimsy and beauty to any gathering. By following this recipe and paying attention to the details, you can create cookies that are as visually stunning as they are delicious. So, gather your ingredients, roll up your sleeves, and embark on this culinary journey. Your taste buds and guests will thank you!
0 comments