Making cake doesn’t always require a fancy oven or elaborate baking equipment. With a simple frying pan, you can whip up a delightful and moist cake that will satisfy your sweet tooth in no time. Whether you’re an experienced baker or new to the kitchen, this guide will walk you through the process of making a delicious cake using a frying pan. From gathering your ingredients to perfecting your baking technique, we’ve covered everything you need to know to create a scrumptious treat.
Ingredients:
Before you start, ensure you have all the necessary ingredients on hand. Here’s a basic recipe for a single-serving cake in a frying pan:
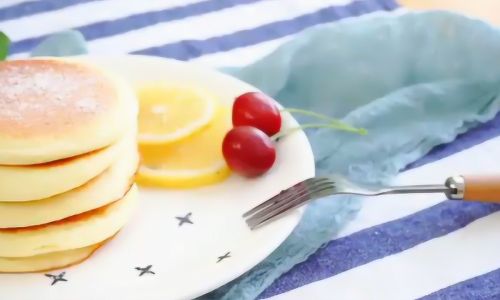
- 1/2 cup all-purpose flour
- 1/4 cup granulated sugar
- 1/4 teaspoon baking powder
- A pinch of salt
- 1/4 cup milk (you can use whole milk, almond milk, or any other type you prefer)
- 1 tablespoon vegetable oil (or melted butter)
- 1/2 teaspoon vanilla extract
- 1 large egg
Optional Ingredients for Flavor Variations:
- 1/4 teaspoon ground cinnamon
- A handful of chocolate chips
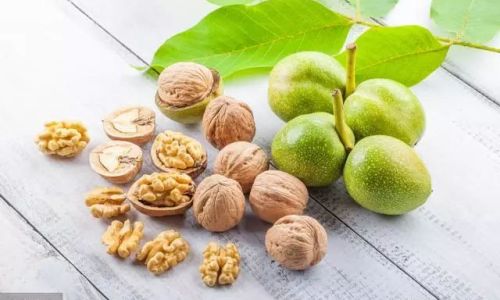
- A tablespoon of chopped nuts (like walnuts or pecans)
- A tablespoon of dried fruit (like cranberries or raisins)
Equipment:
- A non-stick frying pan with a lid (preferably one that can withstand moderate oven temperatures)
- A mixing bowl
- A whisk or fork for mixing
- A spatula for flipping and removing the cake
- Measuring cups and spoons
- Oven mitts for handling the hot pan
Step-by-Step Instructions:
-
Preheat Your Pan:
Begin by placing your non-stick frying pan over medium heat. Let it warm up for a couple of minutes. This step isn’t strictly necessary, but it can help ensure an even cooking surface when you pour in the batter. However, be cautious not to let the pan get too hot, as you don’t want to scorch the batter once you add it. -
Prepare Your Dry Ingredients:
In your mixing bowl, combine the flour, sugar, baking powder, and a pinch of salt. Mix these dry ingredients together until they are well combined. This ensures that the baking powder is evenly distributed throughout the batter, which is crucial for proper rising. -
Mix Your Wet Ingredients:
In a separate small bowl or measuring cup, whisk together the milk, vegetable oil, and vanilla extract. Add the egg and whisk until the mixture is smooth and fully combined. The egg acts as a binder, helping the cake to hold its shape and rise evenly. -
Combine Wet and Dry Ingredients:
Pour the wet ingredients into the bowl with the dry ingredients. Use your whisk or a fork to mix everything together until just combined. Be careful not to overmix; overmixing can result in a denser cake. You want the batter to be thick but pourable. -
Add Optional Ingredients:
If you’re adding any optional ingredients like ground cinnamon, chocolate chips, nuts, or dried fruit, fold them into the batter now. Make sure they are evenly distributed throughout the mixture. -
Prepare the Frying Pan:
Once your frying pan has warmed up slightly, remove it from the heat. Lightly grease the bottom and sides of the pan with a bit of vegetable oil, butter, or a non-stick cooking spray. This will prevent the cake from sticking to the pan. -
Pour in the Batter:
Carefully pour the batter into the prepared frying pan. Spread it out evenly with your spatula to ensure it covers the bottom of the pan in a thin, even layer. The thickness of the batter will determine the thickness of your cake, so adjust accordingly based on your preference. -
Cook on the Stovetop:
Place the frying pan back over medium heat. Let the batter cook undisturbed for about 2-3 minutes, or until the edges start to set and you see small bubbles forming on the surface. This indicates that the bottom of the cake is starting to firm up. -
Transfer to the Oven (if applicable):
If your frying pan is oven-safe, you can transfer it to the oven to finish baking. Preheat your oven to 350°F (175°C). Once preheated, place the frying pan in the oven and bake for about 10-12 minutes, or until the cake is golden brown and a toothpick inserted into the center comes out clean.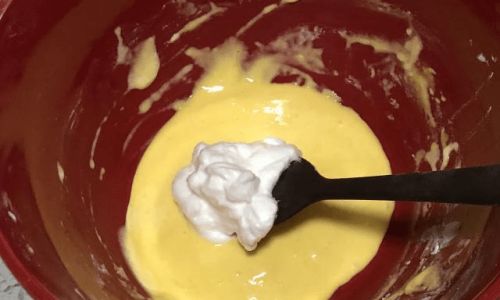
If your frying pan is not oven-safe, continue cooking on the stovetop. Reduce the heat to low and cover the pan with a lid. Let the cake cook for an additional 7-10 minutes, or until it is fully set and cooked through. Be careful not to let the bottom burn.
-
Check for Doneness:
Regardless of whether you baked the cake in the oven or on the stovetop, you’ll need to check for doneness. Carefully remove the pan from the heat (using oven mitts if necessary) and insert a toothpick or a clean knife into the center of the cake. It should come out clean or with just a few crumbs attached. If the toothpick has wet batter on it, the cake needs to cook a bit longer. -
Cool Slightly:
Once the cake is done, remove the pan from the heat or oven and let it cool slightly. This will give the cake time to set and firm up, making it easier to remove from the pan without breaking. -
Remove the Cake:
Run a spatula around the edges of the pan to loosen the cake. Carefully lift the cake out and place it on a plate or cutting board. If you’re having trouble removing it, you can gently invert the pan onto the plate and tap it lightly to release the cake. -
Serve and Enjoy:
Your cake is now ready to enjoy! Slice it into pieces and serve warm or at room temperature. You can top it with a scoop of ice cream, a drizzle of honey, or a sprinkle of powdered sugar for added sweetness.
Tips for Perfect Results:
-
Use Room Temperature Ingredients: Make sure your eggs and milk are at room temperature before you start. This helps the batter to mix more evenly and results in a smoother texture.
-
Measure Flour Correctly: When measuring flour, spoon it into the measuring cup and level it off with a knife. This prevents you from using too much flour, which can make the cake dry.
-
Don’t Overmix: Overmixing the batter can cause the cake to be dense and tough. Mix until just combined, and then stop.
-
Use a Non-Stick Pan: A non-stick pan makes it much easier to remove the cake without it sticking or breaking.
-
Adjust Cooking Time: Cooking times can vary depending on the size of your pan, the thickness of the batter, and the heat source. Keep a close eye on the cake and adjust the cooking time as needed.
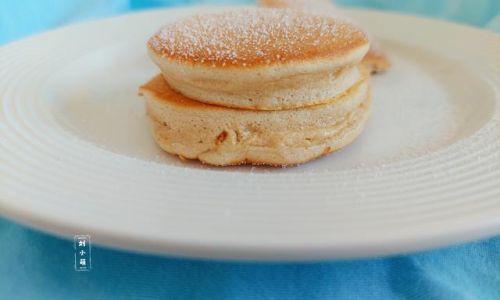
-
Experiment with Flavors: Feel free to add your favorite mix-ins to the batter, such as chocolate chips, nuts, dried fruit, or spices. This will allow you to customize the cake to your taste preferences.
Storage:
If you have leftovers, you can store the cake in an airtight container at room temperature for up to 2 days. For longer storage, wrap it tightly and place it in the refrigerator for up to a week. To reheat, simply warm it up in the microwave or on the stovetop until it’s warm and soft again.
Variations:
-
Chocolate Cake: Add 2 tablespoons of cocoa powder to the dry ingredients and increase the sugar to 1/3 cup for a chocolate version.
-
Fruit Cake: Fold in 1/2 cup of chopped fresh or dried fruit (like berries, apples, or cranberries) for a fruity twist.
-
Nut Cake: Add 1/4 cup of chopped nuts (like walnuts, pecans, or almonds) to the batter for a crunchy texture.
-
Savory Cake: For a savory twist, try adding herbs, cheese, or vegetables to the batter. For example, you could add chopped rosemary, grated Parmesan, and sun-dried tomatoes for a unique and delicious savory cake.
Conclusion:
Making cake in a frying pan is a quick, easy, and delicious way to satisfy your sweet tooth without needing a lot of equipment. With just a few simple ingredients and a non-stick pan, you can whip up a moist and flavorful cake in no time. Whether you’re making it for yourself or for a small gathering, this method is perfect for anyone who loves baking but doesn’t have a lot of kitchen gadgets. So, the next time you’re in the mood for cake, give this stovetop method a try and enjoy a delicious treat made with love and minimal effort. Happy baking!
0 comments