Introduction
Growing sprouts at home is a rewarding and nutritious endeavor that can provide you with fresh, organic greens year-round. Sprouts are packed with vitamins, minerals, and enzymes that are essential for good health. They are also easy to cultivate, requiring minimal space, time, and resources. Whether you’re a seasoned gardener or a beginner looking to dip your toes into the world of homegrown food, learning how to grow sprouts is a skill worth acquiring. This comprehensive guide will walk you through the entire process, from selecting the right seeds to harvesting and storing your sprouts.
Section 1: Understanding Sprouts

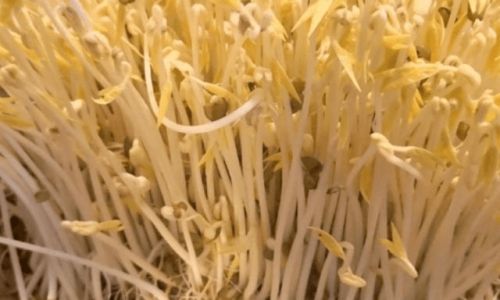
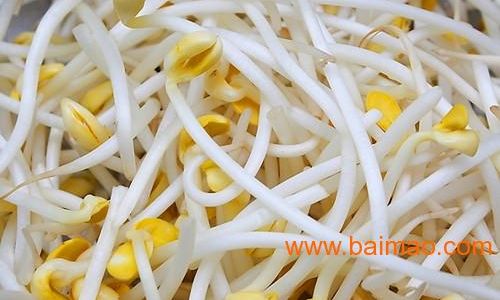
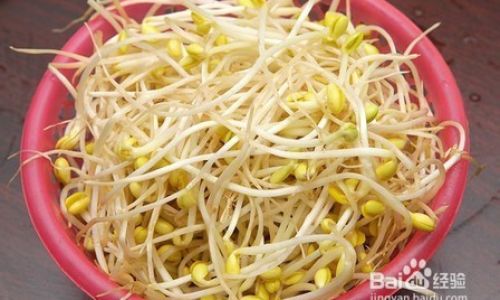
Before diving into the specifics of growing sprouts, it’s crucial to understand what sprouts are and their nutritional benefits. Sprouts are the young, tender shoots of various plants, typically grown from seeds, beans, or grains. They are rich in vitamins A, C, E, and K, as well as minerals like iron, calcium, and magnesium. Sprouts are also a great source of antioxidants, fiber, and protein, making them an excellent addition to any diet.
Some popular types of sprouts include alfalfa, broccoli, radish, mung bean, lentil, chickpea, and sunflower. Each type has its unique flavor, texture, and nutritional profile. For instance, alfalfa sprouts are mild and slightly sweet, while radish sprouts have a peppery taste. Experimenting with different types of sprouts can help you discover which ones you prefer and which nutrients you want to prioritize.
Section 2: Selecting the Right Seeds
The first step in growing sprouts is selecting high-quality seeds. Look for seeds that are organic, non-GMO, and free from pesticides and herbicides. Organic seeds are more likely to sprout successfully and produce healthier sprouts. You can purchase seeds from health food stores, online retailers, or local farmers’ markets.
When choosing seeds, pay attention to their freshness. Older seeds may have a lower germination rate, meaning fewer seeds will sprout. Check the packaging for a “best before” date or ask the seller about the seed’s shelf life. It’s also a good idea to test a small batch of seeds before committing to a larger purchase to ensure they sprout as expected.
Section 3: Preparing Your Sprouting Equipment

Growing sprouts at home doesn’t require fancy equipment. You can use simple, inexpensive materials to create a sprouting setup. Here’s a list of what you’ll need:
- A clean, airtight container with a lid (mason jars are a popular choice)
- A sprouting lid or cheesecloth to cover the jar
- A rubber band or elastic to secure the lid or cloth
- A strainer or colander for rinsing
- A dark, warm place to store the sprouting jar
If you plan to grow sprouts regularly, you may want to invest in a sprouting kit, which includes everything you need in one convenient package. However, even with a basic setup, you can still enjoy fresh sprouts at home.
Section 4: The Sprouting Process
Now that you have your seeds and equipment ready, it’s time to start sprouting. Here’s a step-by-step guide to the sprouting process:
-
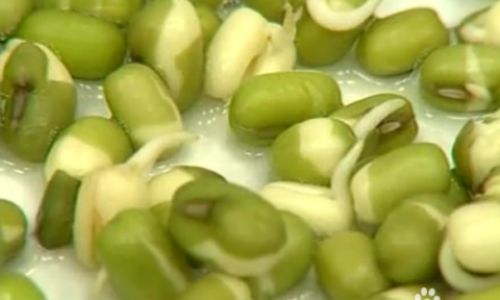
Soaking the Seeds: Begin by rinsing your seeds under cold running water to remove any dust or debris. Place the seeds in your sprouting jar and fill it with water. Let the seeds soak for 6-12 hours, depending on the type. Soaking helps soften the seed coat and prepare the seed for sprouting.
-
Draining and Rinsing: After soaking, drain the water from the jar and rinse the seeds thoroughly. Use a strainer or colander to ensure all the water is removed. Place the jar back in its upright position, cover it with the sprouting lid or cheesecloth, and secure it with a rubber band.

-
Rinsing Daily: From this point on, rinse the sprouts at least once a day. This helps provide the necessary oxygen and removes any metabolic waste produced by the sprouting seeds. Continue to drain and rinse the sprouts each day until they reach your desired length.
-
Monitoring Growth: Keep an eye on your sprouts daily to monitor their growth. Depending on the type of seed, sprouts can be ready to harvest in 3-7 days. Look for signs of mold or rot, which can occur if the sprouts are not rinsed properly or if they are stored in too humid conditions.
-
Harvesting: Once your sprouts have reached the desired length, it’s time to harvest them. Rinse them thoroughly one final time and then transfer them to a clean container. You can eat them immediately or store them in the refrigerator for later use.
Section 5: Storing Sprouts
Properly stored sprouts can last for several days in the refrigerator. Place them in a clean, airtight container lined with paper towels to absorb any excess moisture. Make sure the sprouts are dry before storing them to prevent mold growth. Eat them within a few days for the best flavor and nutrition.
Section 6: Troubleshooting Common Issues

Even with the best intentions, growing sprouts can sometimes present challenges. Here are some common issues and how to troubleshoot them:
- Mold: Mold can occur if sprouts are not rinsed properly or if they are stored in too humid conditions. Ensure you rinse and drain the sprouts daily and store them in a dry, airtight container.
- Slow Growth: Slow growth can be caused by old seeds, insufficient rinsing, or cold temperatures. Use fresh seeds, rinse daily, and keep the sprouts in a warm, dark place.
- Off Flavors: Off flavors can result from using treated seeds or storing sprouts for too long. Always use organic, non-GMO seeds and eat sprouts within a few days of harvesting.
Conclusion
Growing sprouts at home is a simple, rewarding way to add fresh, nutritious greens to your diet. With a few basic supplies and a bit of patience, you can enjoy fresh sprouts year-round. Experiment with different types of seeds to discover your favorites and explore the many culinary uses for sprouts. Whether you’re adding them to salads, sandwiches, or smoothies, sprouts are a versatile, healthy addition to any meal. So, why wait? Start sprouting today and enjoy the benefits of fresh, homegrown greens!


0 comments