Introduction
In the realm of homemade beverages, brewing fresh fruits into wine stands as a timeless tradition that combines the art of fermentation with the delight of natural flavors. Among the myriad of fruits that lend themselves well to this process, mulberries (Morus alba or Morus nigra) hold a special place. These sweet and slightly tart berries, often associated with ancient wisdom and health benefits, transform into a rich, velvety wine that captures both the essence of summer and the promise of a well-aged libation. This guide delves into the intricacies of how to brew fresh mulberries into wine, from selecting the perfect berries to bottling your final creation.
Section 1: Understanding Mulberries and Their Wine-Making Potential
Mulberries are small, drupaceous fruits that grow on mulberry trees, native to warm temperate and subtropical regions of Asia, Africa, and parts of Europe. They come in various colors, including white, red, and black, each variety offering a unique flavor profile that ranges from subtly sweet to deeply tangy. Their high sugar content and natural acidity make them ideal candidates for fermentation, resulting in wines that are both aromatic and balanced.

Before embarking on your mulberry wine-making journey, it’s crucial to understand the basic principles of fermentation. Fermentation is a biological process where yeast converts the sugars in fruit into alcohol and carbon dioxide. In wine-making, this process is carefully controlled to ensure optimal flavor development and preservation.
Section 2: Preparing for the Brew: Equipment and Ingredients
Equipment:
- Large, Sterile Fermentation Vessel: A food-grade plastic bucket or glass carboy capable of holding at least 5 gallons (19 liters) is ideal.
- Secondary Fermentation Container: Another clean, sterile vessel for aging the wine.
- Siphoning Equipment: A racking cane and tubing for transferring the wine without disturbing sediment.
- Funnel and Bottling Equipment: For bottling the final product.
- Hydrometer: To measure the specific gravity of the must (unfermented juice) and track fermentation progress.
- pH Meter: To ensure the wine maintains an optimal pH level.
- Thermometer: To monitor fermentation temperatures.
- Cheesecloth or Fine Mesh Strainer: For filtering out fruit pulp and seeds.
- Clean Cloths and Rubber Gloves: To maintain hygiene during the process.
Ingredients:
- Fresh Mulberries: At least 4-5 pounds (1.8-2.3 kilograms) for a 5-gallon batch.
- Sugar: Approximately 2-3 pounds (0.9-1.4 kilograms), depending on the natural sweetness of the mulberries and desired alcohol content.
- Water: Enough to bring the total volume to 5 gallons (19 liters).
- Wine Yeast: A specialized wine yeast strain such as EC-1118 or Montrachet, which is resilient and produces clean flavors.
- Yeast Nutrient: Optional but recommended, to provide essential nutrients for yeast growth.
- Pectic Enzyme: To break down pectin in the fruit, improving juice extraction and clarity.
- Campden Tablets (Potassium Metabisulfite): To sterilize equipment and preserve the wine.
- Acid Blend: To adjust the acidity if necessary.
Section 3: Step-by-Step Guide to Brewing Mulberry Wine
Step 1: Sanitization
Begin by sanitizing all equipment using a solution of water and potassium metabisulfite (Campden tablets). This step is crucial to prevent contamination by wild yeasts and bacteria that could ruin your wine.
Step 2: Harvesting and Preparing the Mulberries
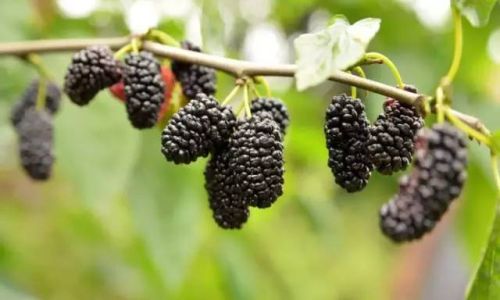
Select fresh, ripe mulberries without blemishes or mold. If possible, pick them on a dry day to minimize moisture content. Remove any stems or leaves and gently rinse the berries under cold water. Pat them dry using a clean cloth to avoid introducing extra moisture into the must.
Step 3: Crushing the Berries
In a large, clean bowl or directly in your fermentation vessel, crush the mulberries using a potato masher or your hands. The goal is to break the fruit open and release its juices without turning it into a puree.
Step 4: Mixing the Must
Combine the crushed mulberries with water to reach your desired batch size (5 gallons). Add the sugar, stirring until fully dissolved. The amount of sugar will affect the final alcohol content; generally, 1 pound of sugar per gallon will yield approximately 7% ABV.
Step 5: Adjusting pH and Adding Enzymes
Measure the pH of the must and adjust it to between 3.0 and 3.5 if necessary using an acid blend. Add pectic enzyme according to the manufacturer’s instructions to break down pectin and improve juice clarity.
Step 6: Pitching the Yeast
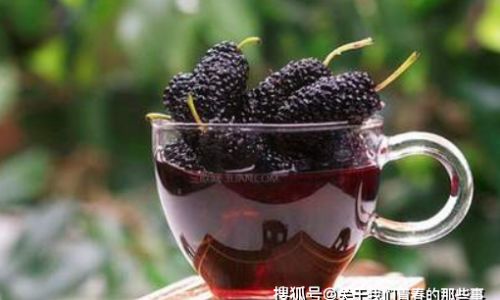
Activate the wine yeast in a small amount of warm water (around 100°F or 38°C) with a pinch of sugar. Allow it to sit for about 15 minutes until it becomes frothy. Once activated, add the yeast to the must, stirring gently to distribute it evenly.
Step 7: Primary Fermentation
Cover the fermentation vessel with a loose-fitting lid or cheesecloth to allow gas exchange while preventing contaminants from entering. Place the vessel in a cool, dark place where temperatures remain consistent between 65°F and 75°F (18°C to 24°C). Fermentation will begin within 24-48 hours, evidenced by bubbling and a foamy head (krausen) forming on the surface.
Step 8: Monitoring and Stirring
Use a hydrometer to measure the specific gravity of the must before and during fermentation. Stir the must daily for the first few days to ensure even fermentation and to prevent the formation of a hard cap that could trap gases and cause the vessel to explode. As fermentation progresses, the specific gravity will drop, indicating the conversion of sugar into alcohol.
Step 9: Racking and Secondary Fermentation
Once primary fermentation slows (usually after 7-10 days), rack the wine into a clean, sterile secondary fermentation vessel, leaving behind the sediment (lees). Use a siphoning kit to avoid disturbing the lees. In the secondary vessel, fit an airlock to allow the release of carbon dioxide while preventing oxygen from entering.
Step 10: Aging and Clarification
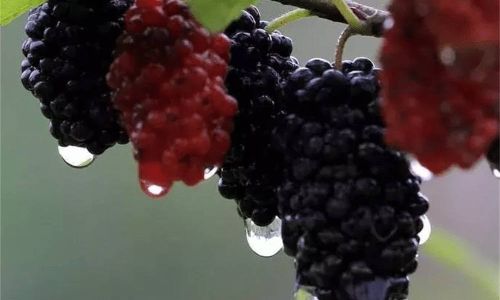
Allow the wine to age in the secondary vessel for at least 3-6 months, preferably in a cool, dark place. During this time, the wine will clarify naturally as particles settle to the bottom. You can also add fining agents like bentonite or gelatin to speed up the process.
Step 11: Bottling
When the wine has reached your desired clarity and flavor profile, rack it again into a clean vessel, leaving behind any remaining sediment. Use a siphoning kit to fill clean, sterile bottles, leaving some headspace to allow for carbon dioxide release during bottle conditioning. If desired, add a small amount of potassium metabisulfite to each bottle to preserve the wine.
Step 12: Labeling and Storage
Label your bottles with the date, batch number, and any other relevant information. Store the bottles upright in a cool, dark place. Mulberry wine can be enjoyed immediately but often benefits from additional aging, developing more complex flavors over time.
Conclusion
Brewing fresh mulberries into wine is a rewarding endeavor that combines the art of fermentation with the joy of creating something uniquely your own. By following this comprehensive guide, you’ll be able to craft a delicious, aromatic mulberry wine that captures the essence of the fruit and the magic of fermentation. Remember, patience and attention to detail are key to success in wine-making. Enjoy the process and savor the fruits of your labor!

0 comments