Introduction
The explosion of molten cheese paired with the crunch of golden-brown fried chicken is a culinary sensation that has taken the world by storm. Known as “爆浆炸鸡排” in Mandarin, this dish translates to “explosive juice-filled fried chicken cutlet,” a name that perfectly captures its essence. Originating from street food stalls in Taiwan, this indulgent treat has evolved into a global phenomenon, beloved for its contrasting textures and irresistible flavor combination. In this comprehensive guide, we will delve into the science and art of crafting the perfect explosive molten cheese-stuffed chicken cutlet, from selecting the finest ingredients to mastering the frying technique. Whether you’re a novice cook or a seasoned chef, this tutorial will equip you with the knowledge to recreate this crowd-pleasing dish in your own kitchen.
The Anatomy of Perfection: Key Components
To achieve the coveted “explosive” effect, every element of the dish must be meticulously prepared. The dish comprises three primary layers:
- The Chicken Cutlet: A thin, tenderized chicken breast acting as the vessel.
- The Molten Core: A blend of melted cheeses and flavorful fillings.
- The Crispy Coating: A golden armor of seasoned breadcrumbs and batter.
Ingredients You’ll Need
For 4 servings:

- Chicken Breasts: 4 boneless, skinless pieces (approximately 600g total)
- Cheese: 150g mozzarella (for stretch) + 50g cheddar (for flavor)
- Breading Ingredients:
- 1 cup all-purpose flour
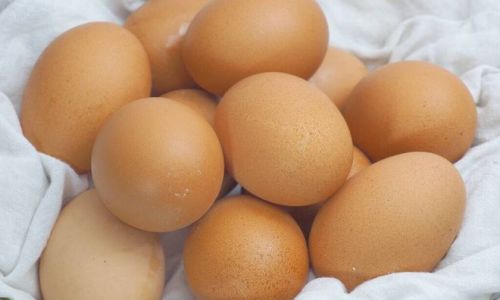
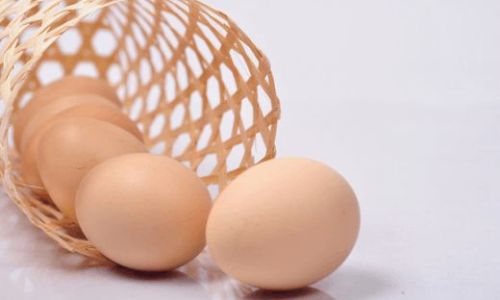
- 2 large eggs (beaten with 2 tbsp milk)
- 2 cups panko breadcrumbs (or regular breadcrumbs)
- Seasonings:
- 1 tsp garlic powder
- 1 tsp onion powder
- 1 tsp smoked paprika
- 1 tsp salt
- 1 tsp black pepper
- 1/2 tsp cayenne pepper (optional)
- Cooking Oil: Neutral oil (e.g., vegetable or canola) for frying
- Optional Fillings:
- 2 tbsp cream cheese
- 1/4 cup cooked bacon bits
- 1 tbsp fresh herbs (parsley/chives)
Equipment Checklist
- Meat mallet or rolling pin
- 3 shallow bowls (for breading station)
- Kitchen thermometer
- Tongs or slotted spoon
- Paper towels
- Baking sheet with wire rack
Step-by-Step Preparation
Butterflying and Tenderizing the Chicken
The foundation of a great chicken cutlet lies in its thickness and tenderness.
- Butterflying Technique:
- Place each chicken breast on a cutting board.
- Using a sharp knife, slice horizontally into the thickest part, stopping ½ inch from the edge.
- Open the breast like a book, creating a uniform thickness.
- Pounding Process:
- Cover the chicken with plastic wrap to prevent splattering.
- Use a meat mallet or rolling pin to flatten to ¼-inch thickness.
- Aim for even thickness to ensure consistent cooking.
Pro Tip: Over-pounding can tear the meat. Stop when the chicken feels pliable but intact.
Creating the Molten Cheese Core
The cheese filling must melt uniformly without leaking during frying.
- Cheese Blend Preparation:
- Grate mozzarella and cheddar into a mixing bowl.
- Add 1 tbsp cornstarch (optional, for stabilization).
- Mix gently to combine.
- Filling Variations:
- For spicy kick: Mix in 1 tsp chili flakes.
- For herby notes: Add 1 tbsp finely chopped basil.
- For decadence: Fold in 2 tbsp softened cream cheese.
Assembling the Cutlet
Proper sealing techniques prevent cheese leakage.
- Stuffing Method:
- Place 2-3 tbsp cheese mixture in the center of each flattened breast.
- Fold the sides inward, then roll tightly like a burrito.
- Secure with toothpicks if necessary.
- Edge Sealing Technique:
- Brush the edges with beaten egg white.
- Press firmly to seal seams.
Setting Up the Breading Station
A three-step breading process ensures maximum crunch.
- Bowl 1 (Flour Mix): Combine flour, ½ tsp salt, ½ tsp pepper.
- Bowl 2 (Egg Wash): Whisk eggs with milk until smooth.
- Bowl 3 (Breadcrumb Mix): Toss panko with garlic powder, onion powder, paprika, and remaining salt/pepper.
Pro Tip: For extra crunch, add 2 tbsp grated Parmesan to the breadcrumbs.
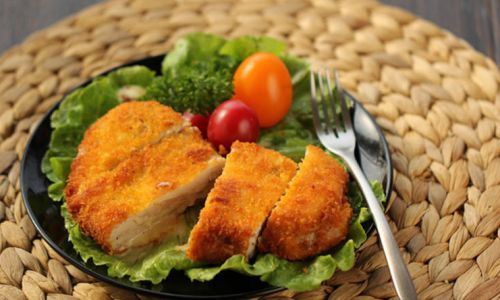
The Breading Ritual
Follow this sequence for even coating:
- Dredge chicken in flour (shake off excess).
- Dip in egg wash (ensure full coverage).
- Coat in breadcrumbs (press gently to adhere).
- Double-dip optional: Repeat egg wash and breadcrumb coating for thicker crust.
The Science of Frying
Achieving a crispy exterior and molten interior requires precise temperature control.
- Oil Temperature:
- Heat oil to 175°C (347°F) in a deep skillet or fryer.
- Use a kitchen thermometer – too hot burns crusts; too cool causes sogginess.
- Frying Process:
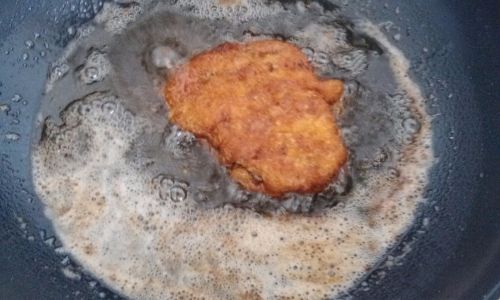
- Gently lower 1-2 cutlets into hot oil (avoid overcrowding).
- Fry for 4-5 minutes per side until golden brown.
- Drain on wire rack (not paper towels) to maintain crispness.
Pro Tip: Double-frying technique – initial fry at 160°C, rest for 5 minutes, then final fry at 180°C for ultra-crispy results.
The Final Flourish: Serving Suggestions
Presentation elevates the eating experience:
- Sauce Pairings:
- Sweet chili dipping sauce
- Honey mustard glaze
- Spicy mayo (mix 3:1 mayo to Sriracha)
- Garnish Ideas:
- Fresh arugula salad
- Pickled vegetables
- Lemon wedges
Troubleshooting Common Issues
-
Cheese Leakage:
- Cause: Insufficient sealing or thin chicken.
- Fix: Reinforce seams with egg wash; use thicker chicken pieces.
-
Soggy Coating:
- Cause: Low frying temperature or overcrowding.
- Fix: Maintain oil at 175°C; fry in batches.
-
Dry Chicken:
- Cause: Overcooking or inadequate brining.
- Fix: Marinate chicken in buttermilk for 30 minutes before breading.
Advanced Techniques for Enthusiasts
-
Sous-Vide Pre-Cooking:
- Vacuum-seal stuffed chicken and cook sous-vide at 63°C for 1 hour before frying.
- Results: Perfectly cooked meat with minimal frying time.
-
Beer Batter Variation:
- Replace egg wash with a mix of 120ml cold beer and 100g flour.
- Benefits: Lighter, airier crust with beer-infused flavor.
-
Gluten-Free Adaptation:
- Substitute flour with rice flour.
- Use crushed gluten-free cereal as breading.
Cultural Context and Modern Twists
The explosive chicken cutlet’s popularity stems from its perfect harmony of textures – a concept deeply rooted in Asian street food philosophy. Modern variations include:
- Korean Gochujang Glaze: Brush with spicy-sweet sauce post-frying.
- Japanese Matcha Dust: Finish with powdered green tea for earthy notes.
- Mexican Chorizo Filling: Mix cheese with cooked chorizo for a smoky twist.
Nutritional Considerations
While this dish is indulgent, mindful modifications can reduce calories:
- Air-frying at 200°C for 15 minutes (spray with oil).
- Using low-fat cheese blends.
- Serving with fiber-rich sides like roasted vegetables.
Conclusion
The explosive molten cheese-stuffed chicken cutlet is more than a meal – it’s a sensory experience. By mastering the techniques of tenderizing, sealing, and frying, you unlock a dish that delights both the eye and palate. Whether enjoyed as a late-night snack or the star of a dinner party, this recipe guarantees memorable moments. Experiment with fillings, sauces, and presentations to make it uniquely yours. Remember, the key to perfection lies not just in following steps, but in understanding the alchemy of ingredients under heat. Now, preheat that oil, and let the sizzle begin!

0 comments