Introduction
In the realm of natural sweeteners and fruit-based delicacies, mulberries (Morus nigra or Morus alba) stand out with their unique flavor, vibrant color, and an array of health benefits. These small, sweet-tart berries have been cherished for centuries across Asia, Europe, and parts of North America, not only for their taste but also for their nutritional value, which includes antioxidants, vitamins, minerals, and fiber. One delightful way to preserve and enjoy mulberries is by transforming them into a rich, syrupy goodness that can be used to sweeten drinks, bake goods, or simply enjoyed by the spoonful. This article delves into the art of making mulberry syrup, from selecting the perfect berries to bottling the finished product, ensuring every step is filled with care and precision.

Selecting the Right Mulberries
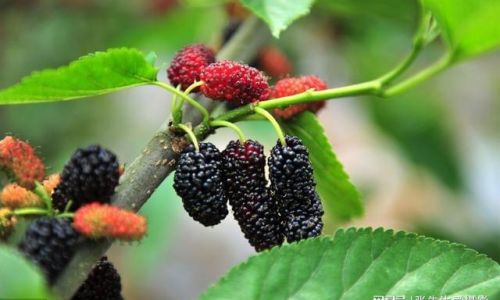
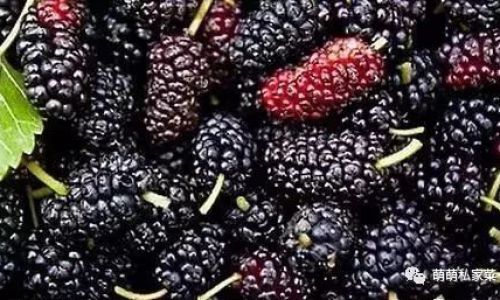
The journey of crafting mulberry syrup begins with sourcing the finest berries. Ideally, opt for fresh, organically grown mulberries to avoid pesticides and ensure the purest flavor. Both black (Morus nigra) and white (Morus alba) mulberries can be used, though black mulberries tend to be sweeter and more deeply colored, contributing to a richer syrup. Look for firm, plump berries with a deep, uniform color and a slight give when gently pressed. Avoid berries that are soft, moldy, or overly ripe, as these will affect the final texture and taste of your syrup.
Harvesting and Preparation
Once you’ve gathered your mulberries, it’s crucial to handle them gently to prevent bruising. Rinse the berries under cold running water, being careful not to soak them, as this could wash away their natural sweetness and color. Pat them dry using a clean kitchen towel or let them air-dry on a paper towel-lined tray. Removing any stems or leaves is also essential to ensure a smooth syrup.
The Syrup-Making Process
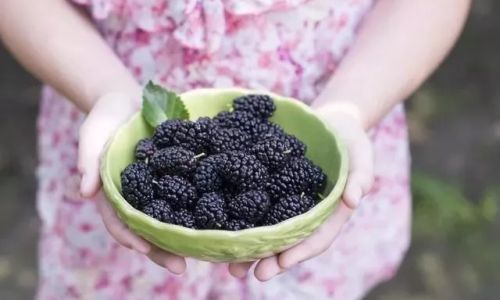
Step 1: Measuring Ingredients
To make approximately 2 cups of mulberry syrup, you’ll need:
- 4 cups of fresh mulberries
- 1 cup of granulated sugar (or honey for a more natural sweetness)
- 1 cup of water
- A pinch of salt (optional, to enhance flavor)
- A vanilla bean or a teaspoon of vanilla extract (optional, for added depth)
Step 2: Combining Ingredients
In a heavy-bottomed saucepan, combine the mulberries, sugar, water, and salt (if using). If you’re incorporating a vanilla bean, slice it lengthwise, scrape out the seeds, and add both the seeds and the pod to the pot. This step is crucial as it allows the flavors to meld together gently over heat.
Step 3: Simmering
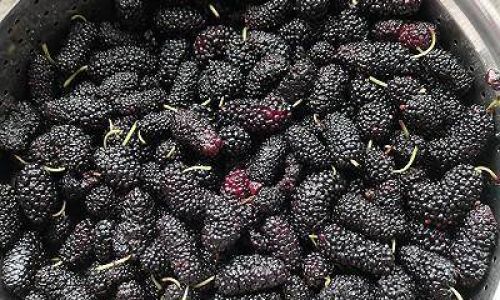
Place the saucepan over medium heat and stir occasionally until the sugar dissolves completely. Once the mixture begins to simmer, reduce the heat to low and let it cook uncovered, stirring frequently to prevent sticking and burning. The cooking process can take anywhere from 30 minutes to an hour, depending on the heat intensity and the type of mulberries used.
Step 4: Mashing and Straining
As the mulberries cook, they will soften and release their juices. Use a potato masher or the back of a spoon to gently mash the berries, helping to release more flavor and color into the syrup. Once the mixture has thickened slightly and the berries have broken down completely, it’s time to strain.
Set a fine-mesh sieve over a large bowl and pour the syrup through it, using a spatula or the back of a spoon to press on the solids to extract as much liquid as possible. Discard the pulp and seeds left in the sieve. If you prefer a smoother syrup, you can pass the strained liquid through a cheesecloth for an additional layer of clarity.
Step 5: Adjusting Sweetness and Flavor
Taste the syrup at this stage. If it’s not sweet enough for your liking, you can add a bit more sugar and gently reheat until dissolved. Conversely, if it’s too sweet, you can add a splash of water and simmer for a few more minutes to balance the flavors. Remember, the syrup will continue to thicken as it cools, so aim for a slightly thinner consistency while it’s still warm.
Step 6: Bottling and Storing
Once you’re satisfied with the sweetness and texture, remove the syrup from heat and let it cool slightly. If you used a vanilla bean, remove and discard it now. Pour the syrup into clean, sterile glass bottles or jars, leaving a bit of headspace to allow for expansion as it cools. Seal the containers tightly and let the syrup cool completely before refrigerating.
Preservation and Enjoyment
Properly stored in an airtight container in the refrigerator, mulberry syrup can last for several weeks to a month. For longer-term preservation, consider canning the syrup using a water-bath canning method, which extends its shelf life to up to a year when stored in a cool, dark place.
Conclusion
Making mulberry syrup is not just a culinary endeavor; it’s a journey that connects you to the earth’s bounty and allows you to harness the natural sweetness of these underappreciated berries. From the initial selection of berries to the final pour into a jar, each step is a testament to patience, precision, and a love for simple, wholesome ingredients. Whether drizzled over ice cream, mixed into yogurt, or used as a sweetener in your morning coffee, mulberry syrup adds a burst of color, flavor, and nutrition to your everyday meals. So, the next time you stumble upon a mulberry tree, remember that a world of sweet possibilities awaits just a few simple steps away. Happy crafting!


0 comments