Table of content
Introduction
Mulberry honey, or mulberry syrup, is a sweet and tangy delight that combines the rich, fruity flavor of mulberries with the natural sweetness of honey. This delightful syrup can be used in various ways, from topping pancakes and waffles to adding a unique twist to your morning tea or coffee. While store-bought versions are available, nothing beats the homemade version made with love and care. In this comprehensive guide, we’ll walk you through the entire process of making mulberry honey, from selecting the perfect mulberries to bottling your final product. By the end, you’ll have a jar of delicious, homemade mulberry honey that you can enjoy and share with friends and family.
Understanding Mulberries
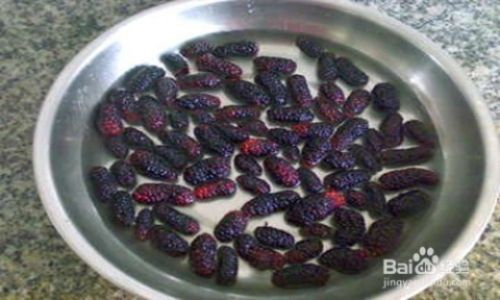
Before diving into the recipe, it’s essential to understand the star ingredient: mulberries. Mulberries are the edible fruits of the mulberry tree, which belongs to the genus Morus. These fruits are typically dark purple or red, with a sweet-tart flavor that varies depending on the species and ripeness. Mulberries are rich in antioxidants, vitamins, and minerals, making them a nutritious addition to your diet.
When choosing mulberries for your syrup, look for firm, ripe fruits that are free from bruises and mold. Fresh mulberries are best, but if you can’t find them, frozen mulberries can also be used. Just make sure to thaw them before starting the recipe.
Gathering Equipment and Ingredients
Before beginning the mulberry honey-making process, you’ll need to gather a few essential pieces of equipment and ingredients. Here’s a list of what you’ll need:
Equipment:
- Large mixing bowl
- Fine-mesh strainer
- Cheesecloth or a nut milk bag
- Large saucepan
- Wooden spoon or silicone spatula
- Measuring cups and spoons
- Funnel
- Clean, sterile glass jars with lids
- Labels and a permanent marker (optional)
Ingredients:
- 4 cups fresh or frozen mulberries
- 2 cups water
- 2-3 cups honey (adjust sweetness to taste)
- 1/4 cup fresh lemon juice (optional, for added tang and preservation)
Note: The quantities above will yield approximately 3-4 cups of mulberry honey, depending on the concentration and how much liquid you reduce during cooking.
Step-by-Step Recipe
Now that you have all your equipment and ingredients ready, let’s dive into the recipe. Follow these steps carefully to ensure a smooth and successful mulberry honey-making experience.
Step 1: Prepare the Mulberries
- Rinse and Drain: If using fresh mulberries, rinse them gently under cold running water to remove any dirt or debris. Pat them dry with a clean kitchen towel or let them air-dry on a paper towel-lined plate. If using frozen mulberries, thaw them in the refrigerator overnight or on the countertop until they are soft but not completely melted.
Step 2: Cook the Mulberries
- Combine Ingredients: In a large mixing bowl, combine the prepared mulberries, water, and lemon juice (if using). Stir well to combine.
- Transfer to Saucepan: Pour the mulberry mixture into a large saucepan. Place the saucepan over medium heat and bring the mixture to a gentle boil, stirring occasionally to prevent sticking.
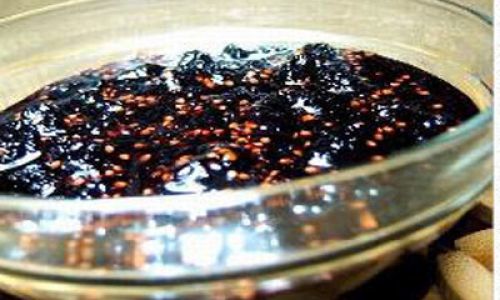
- Simmer: Reduce the heat to low and let the mixture simmer, uncovered, for about 30-45 minutes. Stir frequently to break down the mulberries and release their juices. The mixture will become thicker and darker as it cooks.
Step 3: Strain the Mixture
- Prepare Straining Setup: Place a fine-mesh strainer over a large mixing bowl. Line the strainer with cheesecloth or a nut milk bag to catch the mulberry pulp and seeds while allowing the liquid to pass through.
- Strain the Mixture: Carefully pour the simmered mulberry mixture into the prepared strainer. Use the back of a wooden spoon or a silicone spatula to press down on the pulp, extracting as much liquid as possible. Let the mixture drip through naturally; avoid forcing it through, as this can cause the pulp to clog the strainer.
Step 4: Reduce the Liquid
- Transfer to Saucepan: Once all the liquid has been strained, pour it back into the clean saucepan.
- Reduce: Place the saucepan over medium-high heat and bring the liquid to a boil. Reduce the heat to medium-low and let it simmer, stirring occasionally, until it reaches your desired consistency. This can take anywhere from 30 minutes to an hour, depending on how much liquid you started with and how thick you want your syrup to be.
Step 5: Add Honey and Finish
- Test Consistency: Before adding honey, taste the reduced mulberry liquid to check its sweetness. Mulberries can vary in their natural sweetness, so you may need to adjust the amount of honey accordingly.
- Add Honey: Once you’ve determined the right sweetness level, remove the saucepan from the heat and let it cool slightly. Stir in the honey, a little at a time, until fully incorporated. Be careful not to let the mixture boil again after adding the honey, as this can damage its natural enzymes and flavor.
- Final Taste: Taste the mulberry honey and adjust the sweetness if necessary by adding more honey or a touch of lemon juice for balance.
Step 6: Bottle and Store
- Prepare Jars: While the mulberry honey is still warm, prepare your clean, sterile glass jars by washing them in hot, soapy water and rinsing them well. Dry them completely to prevent any condensation.
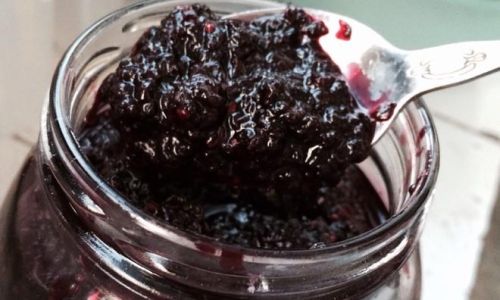
- Pour and Seal: Use a funnel to pour the mulberry honey into the prepared jars, leaving about 1/2 inch of headspace at the top to allow for expansion. Wipe the jar rims clean with a damp cloth to remove any drips, then seal the jars with lids.
- Label: If desired, label the jars with the date and contents using a permanent marker and labels.
Step 7: Enjoy and Preserve
- Cool: Let the mulberry honey cool to room temperature before storing it in a cool, dark place. For best results, store it in the refrigerator, where it will keep for up to 3 months.
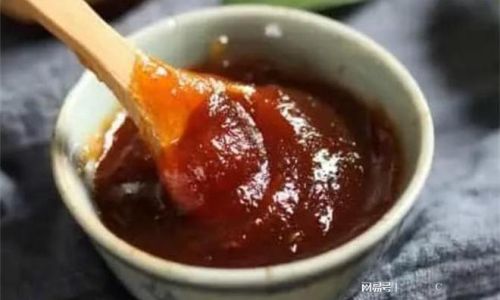
- Serve: Enjoy your homemade mulberry honey on pancakes, waffles, yogurt, ice cream, or use it as a sweetener in your tea or coffee. It also makes a wonderful gift for friends and family who appreciate homemade treats.
Troubleshooting and Tips
Troubleshooting:
- Too Thin: If your mulberry honey is too thin, you can return it to the saucepan and simmer it for a bit longer to reduce it further.
- Too Sweet: If it’s too sweet, consider adding a bit more lemon juice or water to balance the flavor.
- Crystallization: Honey has a natural tendency to crystallize over time. If your mulberry honey crystallizes, you can gently warm the jar in a water bath (be careful not to let it get too hot) and stir until the crystals dissolve.
Tips:
- Flavor Variations: Experiment with different types of mulberries (such as white, red, or black) to see how they affect the final flavor.
- Infusions: You can also infuse your mulberry honey with herbs or spices like vanilla beans, cinnamon sticks, or rosemary for added flavor complexity.
- Gift-Giving: Package your mulberry honey in attractive jars with ribbon and a handwritten note for a thoughtful, homemade gift.
Conclusion
Making mulberry honey at home is a rewarding experience that allows you to control the ingredients and customize the flavor to your liking. With this comprehensive guide, you’ll have all the knowledge and tools you need to create delicious, nutritious mulberry honey that you can enjoy throughout the year. Whether you’re topping your morning toast or giving it as a gift, this homemade syrup is sure to delight anyone who tries it. So, gather your ingredients, roll up your sleeves, and start crafting your own batch of mulberry honey today!
0 comments