Introduction
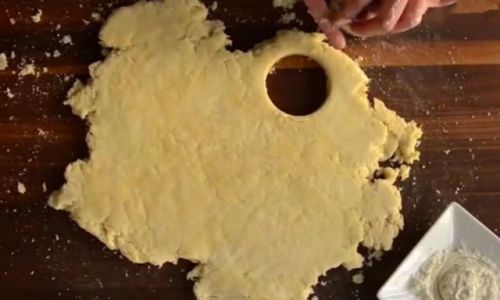
Compressed biscuits, often referred to as “survival biscuits” or “emergency biscuits,” are a staple in the realm of outdoor adventuring, military rations, and disaster preparedness kits. These compact, high-energy snacks are designed to be lightweight, non-perishable, and packed with nutrients to sustain energy levels over extended periods. While commercial versions are readily available, crafting your own compressed biscuits allows for customization in terms of ingredients, flavor profiles, and nutritional content. This guide delves into the art and science of making compressed biscuits at home, providing a step-by-step process that ensures you end up with delicious, nutritious, and long-lasting snacks.
Understanding the Basics
Before diving into the recipe, it’s crucial to grasp the fundamental principles behind making compressed biscuits. These biscuits are characterized by their dense, solid structure, achieved through a combination of precise ingredient ratios, thorough mixing, and high-pressure compression. The key ingredients typically include flour, sugar, fats, leavening agents, and various additives for texture and flavor. The absence of moisture and the use of stabilizers ensure that the biscuits remain shelf-stable for months or even years.
Ingredients and Their Roles
-
Flour: Acts as the primary structural component, providing the necessary gluten for binding. Whole wheat, all-purpose, or a blend can be used, depending on desired nutritional profile and texture.
-
Sugar: Adds sweetness and acts as a preservative by reducing moisture content. Honey or maple syrup can be substituted for a more natural sweetness.
-
Fats: Enhance flavor, mouthfeel, and shelf life. Butter, shortening, or coconut oil are common choices.
-
Leavening Agents: Such as baking powder or baking soda, create a slight rise in the biscuits, improving their texture.
-
Salt: Enhances flavor and aids in preserving the biscuits.
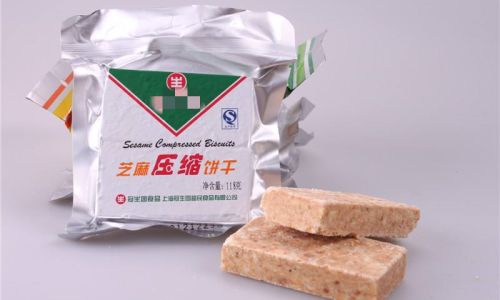
-
Milk Powder: Adds protein and enhances the overall nutritional profile. It also helps in binding and texture.
-
Dried Fruits and Nuts: Optional but recommended for added nutrition, flavor, and texture.
-
Stabilizers and Preservatives: Like calcium carbonate or sodium bicarbonate, these help maintain the biscuit’s structure and extend shelf life. Commercial-grade stabilizers may be necessary for long-term storage.
Equipment Needed
- Food processor or mixing bowl
- Rolling pin or equivalent for flattening dough
- Baking tray lined with parchment paper
- Heavy-duty plastic or silicone molds (optional but recommended for shaping)
- Press or heavy object for compressing the dough
- Oven (for initial baking, if desired, to set the shape and slightly cook the exterior)
- Vacuum sealer or airtight containers for storage
Step-by-Step Recipe
Preparation and Mixing
Begin by preheating your oven to a low temperature (around 150°F or 65°C), though this step is optional and depends on whether you wish to partially bake your biscuits for initial shaping and firmness. Gather all ingredients and measure them accurately.
In a food processor, combine the dry ingredients (flour, sugar, milk powder, leavening agents, and salt). Pulse to mix evenly. Add the fats in small chunks and pulse until the mixture resembles coarse crumbs. If using a mixing bowl and whisk, rub the fats into the dry ingredients with your fingertips until well combined.
Gradually add a small amount of water or another liquid (like milk or egg whites for added protein) until the dough starts to come together. Be cautious with liquid; too much will make the dough too soft and difficult to compress. The dough should be firm and slightly crumbly but hold together when pressed.
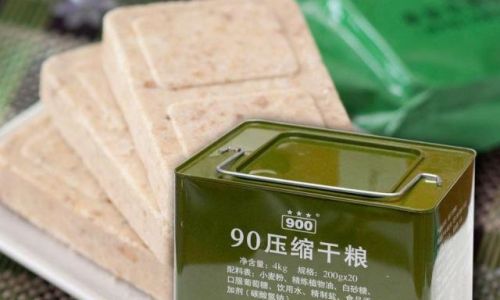
Forming and Compressing
Transfer the dough onto a lightly floured surface. Use a rolling pin to flatten it to about 1/4-inch thickness. If desired, cut the dough into uniform shapes using cookie cutters or a knife. Alternatively, you can form the dough into logs and slice into rounds.
Place the dough pieces into molds if using, or directly onto the prepared baking tray. If opting for the oven step, bake for about 10-15 minutes, just until the edges start to firm up but the center remains soft. Remove from the oven and let cool slightly.
Now, it’s time to compress. Place a piece of parchment paper over the dough pieces and use a heavy object (like a book or a small press) to apply even pressure. The goal is to compress the dough into a dense, solid form. Repeat this process for all dough pieces.
Final Baking (Optional)
If you skipped the initial baking step, you can now bake the compressed biscuits at a lower temperature (around 250°F or 120°C) for about 30-45 minutes, or until they are thoroughly dried out but not browned. This step helps to further set the shape and ensure long-term stability.
Cooling and Storage
Allow the biscuits to cool completely on a wire rack. Once fully cooled, they should be hard and dense, with no moisture pockets. To ensure maximum shelf life, vacuum seal the biscuits in individual portions or store them in airtight containers with desiccant packets to absorb any residual moisture.
Customizing Your Compressed Biscuits
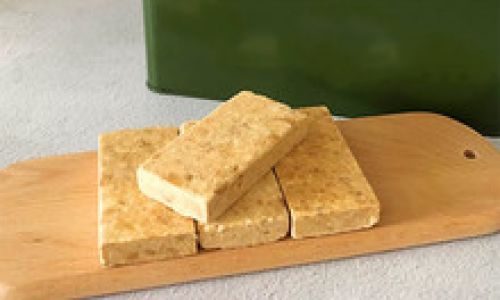
The beauty of making your own compressed biscuits lies in the ability to customize them to your liking. Here are a few ideas:
-
Flavor Variations: Add spices like cinnamon, nutmeg, or cardamom for a warm, aromatic twist. Incorporate cocoa powder for chocolate-flavored biscuits.
-
Nutritional Boosts: Mix in protein powder, chia seeds, or flaxseeds for added nutrients. Dried fruits and nuts can be folded into the dough for texture and extra vitamins.
-
Herbal Infusions: Create herbal-infused biscuits by steeping dried herbs like lavender or rosemary in hot water and using that liquid instead of plain water.
-
Gluten-Free Options: Substitute gluten-free flours like almond, oat, or rice flour to cater to dietary restrictions.
Conclusion
Making compressed biscuits at home is not only a rewarding culinary endeavor but also a practical skill for those who value preparedness and self-sufficiency. By understanding the basic principles and experimenting with different ingredients and techniques, you can create customized, nutritious, and long-lasting snacks that are perfect for outdoor adventures, emergency kits, or simply as a unique treat to share with friends and family.
Remember, the key to successful compressed biscuits lies in precise ingredient measurement, thorough mixing, and effective compression. With patience and practice, you’ll soon master the art of crafting these versatile and enduring snacks. Happy baking!




0 comments