Introduction
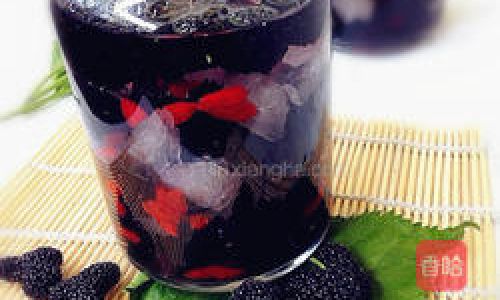
In the realm of homemade beverages, mulberry wine stands out as a unique and delightful treat. The deep purple hue of mulberries, coupled with their naturally sweet and slightly tart flavor, makes them an ideal candidate for fermentation into a rich, aromatic wine. While there are various methods to create mulberry wine, one particularly enchanting approach involves mashing the mulberries to release their juices before initiating the fermentation process. This article delves into the intricacies of crafting mulberry wine through the traditional method of mashing mulberries for a flavorful and satisfying result.
Choosing the Right Mulberries
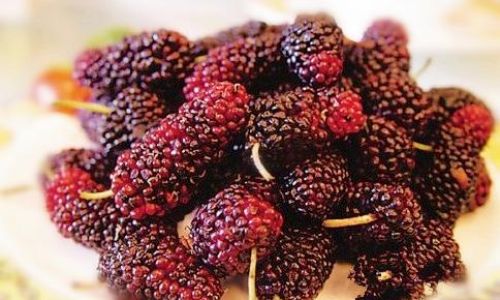
The first step in making mulberry wine is selecting the right mulberries. Ideally, you should opt for fresh, ripe mulberries that are deeply colored and free from blemishes. The riper the mulberries, the sweeter and more flavorful your wine will be. If you have access to mulberry trees, harvesting your own fruit is ideal. However, you can also purchase mulberries from farmers’ markets or specialty stores.
When selecting mulberries, keep in mind that different varieties can yield wines with distinct flavors. For instance, black mulberries tend to be sweeter and more aromatic, while red mulberries may have a slightly tart edge. Experimenting with different varieties can add layers of complexity to your wine.
Preparing the Mulberries
Once you’ve gathered your mulberries, it’s essential to prepare them properly before mashing. Begin by sorting through the berries, discarding any that are moldy, bruised, or underripe. Rinse the mulberries gently under cold running water to remove any dirt or debris. Be careful not to soak them, as this could wash away some of their natural sugars and flavors.
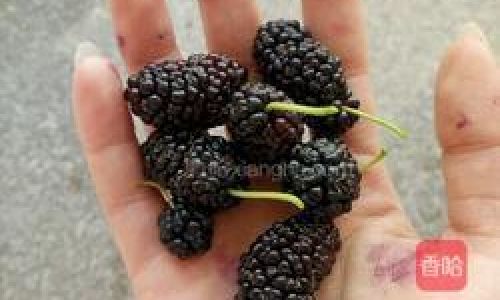
After rinsing, pat the mulberries dry using a clean kitchen towel or paper towels. Excess moisture can interfere with the fermentation process, leading to unwanted bacteria or mold growth.
Mashing the Mulberries
Now, it’s time to mash the mulberries. This step is crucial as it helps to release the juices and natural sugars contained within the berries, which will serve as the foundation for your wine. There are several ways to mash mulberries, from using a potato masher to blending them in a food processor.
For a more rustic, hands-on approach, place the mulberries in a large, non-reactive bowl (such as stainless steel or glass). Use a potato masher to gently crush the berries, working in batches if necessary to avoid overflow. Aim for a consistency that is neither too chunky nor too smooth; you want to retain some texture to add body to your wine.
Alternatively, you can use a food processor to puree the mulberries. Pulse the berries in short intervals until they reach a desired consistency. Be cautious not to over-process, as this can lead to a overly smooth mixture that may lack the desired body and texture in the final wine.
Adding Sugar and Yeast
Once the mulberries are mashed, it’s time to add sugar and yeast. Sugar serves as a food source for the yeast, which will convert it into alcohol during fermentation. The amount of sugar you add will depend on your personal preference for sweetness and the natural sugar content of the mulberries. As a general guideline, start with about 1 to 1.5 pounds of sugar per gallon of mulberry mash.
Next, incorporate the yeast. Wine yeast, specifically designed for fermentation, is available in most homebrewing supply stores or online. Follow the manufacturer’s instructions for activating the yeast, which may involve rehydrating it in warm water before adding it to the mulberry mash.
Fermentation
Transfer the mulberry mash, sugar, and yeast into a clean, sanitized fermentation vessel. This could be a glass carboy, a food-grade plastic bucket, or any other container that can hold the mixture and allow for carbon dioxide release during fermentation.
Cover the vessel with a loose-fitting lid or cloth to allow gases to escape while preventing contaminants from entering. Place the vessel in a cool, dark place with a consistent temperature between 65°F and 75°F (18°C and 24°C). This optimal temperature range encourages yeast activity and promotes healthy fermentation.
During the first few days of fermentation, you may notice bubbles forming and a foamy head developing on the surface of the mash. This is a sign that the yeast is actively consuming sugar and producing alcohol and carbon dioxide. Stir the mash daily for the first week to ensure even fermentation and to prevent the formation of a hard cap that could hinder gas exchange.
Racking and Aging
After about two weeks, fermentation should slow down significantly. At this point, it’s time to rack the wine. Racking involves transferring the wine from the primary fermentation vessel to a secondary vessel, leaving behind the sediment (lees) that has settled at the bottom. Use a siphoning hose or racking cane to avoid disturbing the lees.
Once racked, the wine will continue to ferment slowly and clarify over time. It’s important to monitor the wine regularly, skimming off any surface yeast or other impurities that may form. Depending on your preferences and the specific characteristics of your mulberry wine, aging can last anywhere from a few months to several years.
Bottling and Enjoying
When your mulberry wine has reached its desired flavor profile and clarity, it’s ready to be bottled. Choose clean, sterile bottles with tight-fitting corks or screw caps to prevent oxidation. Use a bottling wand or funnel to carefully transfer the wine into the bottles, leaving some headspace to allow for carbon dioxide release during storage.
Allow the bottled wine to rest for at least a week before enjoying to allow any remaining yeast or sediment to settle. With each sip, savor the rich, fruity flavors and the subtle notes of mulberry that have been carefully nurtured through the mashing and fermentation process.
Conclusion
Crafting mulberry wine through the method of mashing mulberries is a rewarding endeavor that combines the art of fermentation with the joy of creating something delicious from nature’s bounty. By following these steps—from selecting the right mulberries to bottling the finished wine—you can enjoy a unique and flavorful beverage that captures the essence of the mulberry fruit. Whether you’re a seasoned homebrewer or a novice looking to dip your toes into the world of winemaking, mulberry wine offers a delightful and fulfilling project that’s sure to impress your friends and family. So, gather your ingredients, roll up your sleeves, and embark on the journey of crafting your own mulberry wine today.

0 comments