Introduction
In the realm of homemade beverages, mulberry wine stands out as a unique and delightful treat. The deep purple hue of mulberries, coupled with their sweet and slightly tart flavor, makes them an excellent choice for creating a rich, aromatic, and flavorful liquor. Whether you’re a seasoned winemaker or a novice looking to experiment with new recipes, crafting mulberry wine at home can be a rewarding endeavor. This guide will walk you through the entire process of making mulberry-infused liquor, from selecting the perfect mulberries to bottling your final product. By following these steps, you’ll be able to enjoy a glass of your very own mulberry wine, filled with the essence of summer and the promise of a delightful sensory experience.
Section 1: Understanding Mulberries and Their Wine-Making Potential
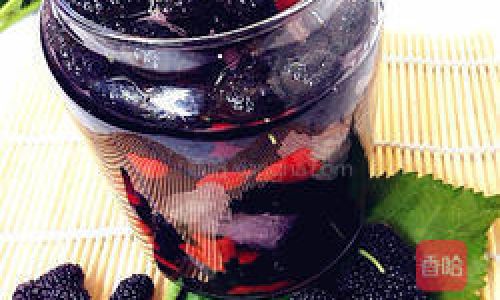
Mulberries (Morus nigra, Morus alba, or Morus rubra) are the edible fruits of mulberry trees, native to warm temperate regions of Asia, Africa, and parts of Europe. These fruits are known for their nutritional benefits, rich in vitamins, minerals, and antioxidants. Their flavor ranges from sweet to slightly tart, depending on the variety and ripeness. Mulberries are particularly well-suited for wine-making due to their high sugar content and natural acidity, which contribute to the wine’s body, sweetness, and balance.
When choosing mulberries for wine-making, look for firm, fully ripe fruits with a deep purple or black color. Avoid overripe or moldy berries, as they can spoil the batch. If you’re picking your own mulberries, ensure you have permission to harvest from the tree and wear gloves to protect your hands from any thorns or pests.
Section 2: Gathering Equipment and Ingredients
Before you begin the wine-making process, you’ll need to assemble a few essential pieces of equipment and ingredients. Here’s a list of what you’ll need:
-
Equipment:
- Large mixing bowl
- Food-grade plastic or glass fermentation vessel (at least 1-gallon capacity)
- Cheesecloth or fine-mesh strainer
- Siphon hose or turkey baster
- Airlock and stopper
- Hydrometer (optional, for measuring specific gravity)
- Bottles with tight-fitting lids (sterilized)
- Funnel
- Clean cloth or paper towels
-
Ingredients:
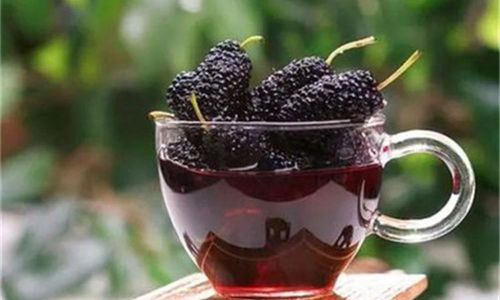
- 2-3 pounds of fresh mulberries
- 1-1/2 to 2 pounds of granulated sugar (adjust based on desired sweetness)
- 1 packet of wine yeast (such as Montrachet or Lalvin EC-1118)
- Water (distilled or non-chlorinated tap water)
- Campden tablets (optional, for sanitizing equipment)
- Acid blend or lemon juice (optional, for adjusting acidity)
Section 3: Preparing the Mulberries and Must
-
Sanitizing Equipment: Begin by sanitizing all equipment using a Campden tablet solution or a commercial sanitizer. This step is crucial to prevent contamination by wild yeasts, bacteria, or molds.
-
Crushing the Mulberries: In a large mixing bowl, gently crush the mulberries using a potato masher or your hands. You want to break up the berries but avoid mashing them into a puree, as some texture helps with fermentation.
-
Mixing the Must: Add the crushed mulberries to your fermentation vessel. Measure out the sugar and dissolve it in warm water (about 1 gallon). Pour the sugar solution over the mulberries, stirring gently to combine. The mixture, known as the must, should have a specific gravity of around 1.080-1.100, which you can check using a hydrometer. If necessary, adjust the sugar content to achieve the desired specific gravity.
-
Adjusting Acidity: Mulberries naturally have a moderate acidity, but you may want to adjust it slightly for balance. Use an acid blend or lemon juice to increase acidity if needed. Taste a small sample of the must and adjust accordingly.
Section 4: Inoculating the Must and Fermentation
-
Activating the Yeast: Sprinkle the yeast packet into a small bowl of lukewarm water (about 100°F or 38°C). Stir gently and let it sit for about 10 minutes until it becomes frothy and active.
-
Pitching the Yeast: Once the yeast is activated, pour it into the must, stirring gently to distribute it evenly. Cover the fermentation vessel with a cheesecloth or fine-mesh strainer to allow gas exchange while preventing contaminants from entering.
-
Initial Fermentation: Place the vessel in a cool, dark place (ideally between 65-75°F or 18-24°C). The fermentation process will begin within 24-48 hours, evidenced by bubbles forming and a foamy head developing on the surface. Stir the must daily for the first few days to ensure even fermentation.
-
Monitoring Fermentation: Use a hydrometer to monitor the specific gravity of the must over time. When the specific gravity drops to around 1.000-1.010, fermentation is nearly complete. This can take anywhere from 7 to 14 days, depending on temperature and yeast activity.
Section 5: Racking, Aging, and Bottling
-
Racking: Once fermentation has slowed significantly, siphon the wine off the sediment (called racking) into a clean, sanitized vessel. Use a cheesecloth or fine-mesh strainer to filter out any remaining fruit particles. Repeat this process every few weeks, transferring the wine to a new vessel each time, until it clears.
-
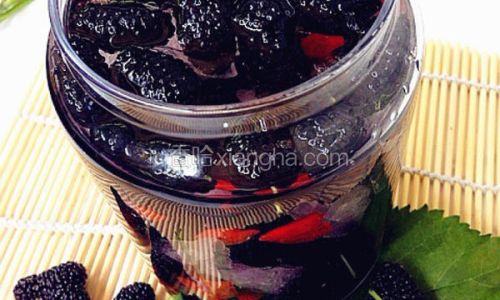
Aging: Allow the wine to age for at least 3-6 months in a cool, dark place. During this time, the wine will continue to mature and develop its flavor. You may rack the wine again if sediment forms.
-
Sweetening and Stabilizing (Optional): If you prefer a sweeter wine, you can add a small amount of sugar or a non-fermentable sweetener like potassium sorbate during the aging process. To prevent re-fermentation in the bottles, add a campden tablet to stabilize the wine before bottling.
-
Bottling: Once the wine has aged to your liking, it’s ready to bottle. Use a siphon hose to transfer the wine into clean, sanitized bottles, leaving some headspace to allow for carbon dioxide release if you’ve added sugar. Seal the bottles tightly and store them in a cool, dark place.
Conclusion
Crafting mulberry wine at home is a rewarding and enjoyable process that allows you to create a unique and delicious beverage tailored to your taste preferences. By following the steps outlined in this guide, you’ll be able to transform fresh mulberries into a rich, aromatic, and flavorful liquor that you can enjoy now or share with friends and family. Remember, patience is key in wine-making – allowing the wine to ferment and age properly will result in a smoother, more complex final product. So, gather your ingredients, sanitize your equipment, and embark on your mulberry wine-making journey today!


0 comments