Introduction
Vegetable pancakes, a beloved street food and home-cooked delight across Asia and beyond, owe much of their appeal to their crispy, golden-brown exterior and soft, flavorful filling. Yet, the foundation of this iconic dish lies in the pancake skin—a delicate balance of texture, flavor, and structural integrity. Mastering the art of creating the ideal pancake skin requires precision, patience, and an understanding of traditional techniques. This article delves into the intricacies of making pancake skin from scratch, exploring the science behind each ingredient, the nuances of preparation, and expert tips to achieve restaurant-quality results at home.
The Role of the Pancake Skin
Before diving into the recipe, it’s essential to grasp why the pancake skin matters. Unlike Western pancakes, which are often fluffy and sweet, vegetable pancake skins are thin, savory, and designed to encapsulate a medley of shredded vegetables, eggs, and sometimes meat or tofu. The skin must be sturdy enough to hold the filling without tearing yet tender enough to melt in the mouth. Achieving this duality hinges on the dough’s composition, hydration, and cooking method.
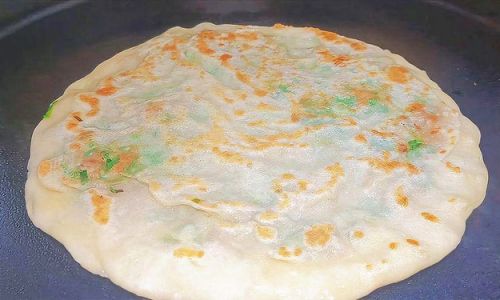
Ingredients: Simplicity Meets Science
The beauty of pancake skin lies in its humble ingredients, which, when combined correctly, transform into a culinary masterpiece. Here’s a breakdown of the key components:
-
Flour: All-purpose flour is the standard choice, offering a neutral flavor and reliable gluten development. Gluten, a protein network formed when flour meets liquid, provides the elasticity needed to stretch the dough thin without breaking. For a gluten-free alternative, rice flour or a blend of rice and tapioca flour can be used, though the texture will differ.
-
Water: The liquid that binds the dough. Cold water is preferred to prevent overactivation of gluten, which can make the dough tough. The ratio of water to flour is critical—too little, and the dough will be dry and crumbly; too much, and it will become sticky and hard to handle.
-
Salt: A pinch enhances flavor and tightens the gluten structure, improving the dough’s elasticity.
-
Optional Additives: Some recipes call for a touch of baking powder for extra flakiness or a spoonful of oil to enrich the dough. However, traditionalists often omit these to preserve the skin’s pure, clean taste.
The Dough Preparation Process
Creating the perfect pancake dough is a dance between mixing, resting, and kneading. Follow these steps for optimal results:
Mixing the Dough
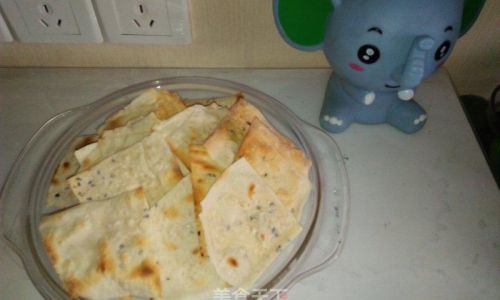
- In a large mixing bowl, combine 2 cups of all-purpose flour with ½ teaspoon of salt.
- Gradually add 1 cup of cold water, stirring with a wooden spoon or chopsticks until a shaggy dough forms. Avoid overmixing at this stage, as gluten development occurs primarily during kneading.
- Transfer the dough to a lightly floured surface and knead for 8–10 minutes. The dough should feel smooth, springy, and slightly tacky but not sticky. If it sticks to your hands, add flour one tablespoon at a time.
Resting the Dough
- Wrap the dough in plastic wrap or place it in a lightly oiled bowl covered with a damp cloth. Let it rest for 30–60 minutes at room temperature. Resting allows the gluten to relax, making the dough easier to roll out and reducing shrinkage during cooking.
Portioning the Dough
- After resting, divide the dough into golf ball-sized portions (about 40 grams each). Keep the unused portions covered to prevent drying.
Rolling the Skins: Technique is Key
The hallmark of a great pancake skin is its thinness and uniformity. Achieving this requires practice and the right tools:
Rolling Pin and Surface
- Use a slender, tapered rolling pin for precision. A marble or wooden surface dusted lightly with flour prevents sticking.
The Rolling Technique
- Flatten a dough portion into a small disc with your palm.
- Roll from the center outward, applying even pressure. Rotate the disc frequently to maintain a round shape.
- Aim for a thickness of 1–2 millimeters—thin enough to see light through but thick enough to handle the filling.
Troubleshooting Common Issues
- Sticking: Dust the surface and rolling pin with flour.
- Uneven Thickness: Roll in a circular motion, occasionally lifting the dough to check for thin spots.
- Tearing: If the dough tears, gently press the edges together. Over-kneading can cause tears, so handle gently.
Cooking the Pancake Skin: A Delicate Balance
The cooking method—whether pan-frying, griddle-cooking, or baking—significantly impacts the skin’s texture. Here’s a focus on the traditional stovetop method:
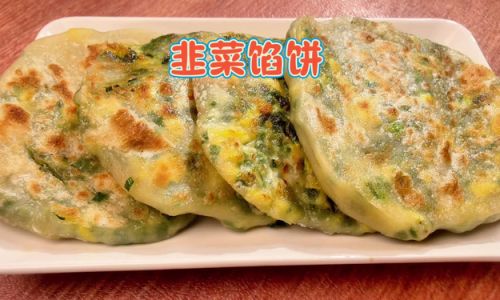
Preparing the Pan
- Use a non-stick or cast-iron skillet. Heat it over medium-low heat to ensure even cooking without burning.
Cooking Process
- Lightly brush the pan with oil (or use a paper towel to spread a thin layer).
- Place the rolled skin in the pan. Cook for 30–45 seconds until bubbles form, then flip.
- Cook the second side for 20–30 seconds until light golden spots appear. Avoid overcooking, as the skin will crisp further when filled and fried again.
Stacking and Storing
- Layer cooked skins between parchment paper to prevent sticking. They can be refrigerated for up to 3 days or frozen for a month.
Variations and Expert Tips
-
Texture Adjustments:
- For a crispier skin, add 1 tablespoon of cornstarch to the flour.
- For a chewier texture, use boiling water to partially cook the flour (a technique called “tangzhong”).
-
Flavor Enhancements:
- Infuse the dough with herbs like cilantro or scallions, or spices like cumin.
- Brush the cooked skin with sesame oil for added aroma.
-
Filling Pairings:
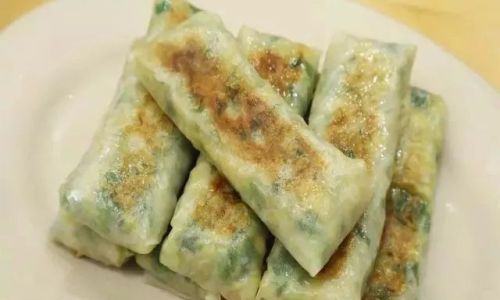
- Traditional fillings include cabbage, carrots, and mung bean sprouts, but experiment with spinach, zucchini, or mushrooms.
- Season the filling with soy sauce, garlic, and a pinch of five-spice powder for depth.
Common Mistakes to Avoid
- Overworking the Dough: Leads to tough, rubbery skins. Knead until smooth, then rest.
- Inconsistent Heat: High heat burns the skin before it cooks through, while low heat dries it out.
- Overstuffing: Filling should be generous but not overflowing, as it can cause tears during cooking.
The Cultural Significance of Pancake Skins
Beyond culinary technique, the pancake skin carries cultural weight. In China, for example, the dish jianbing guozi—a street food staple—features a crepe-like skin folded around a crispy fritter. Similarly, Korean bindaetteok uses a mung bean pancake skin to encase a savory filling. The skin’s adaptability reflects regional tastes and agricultural availability, making it a canvas for culinary creativity.
Conclusion
Crafting the perfect pancake skin is a blend of science and art. By understanding the role of each ingredient, mastering the dough’s preparation, and honing your rolling and cooking techniques, you can elevate this humble dish into a gourmet experience. Whether you’re a novice cook or a seasoned chef, the journey to pancake skin perfection is rewarding—and delicious. So, roll up your sleeves, embrace the process, and savor the crispy, golden results of your labor. After all, in the world of vegetable pancakes, the skin is more than just a wrapper—it’s a testament to tradition, innovation, and the joy of sharing a meal.


0 comments