Table of content
- Rinsing and Soaking: The Preparatory Phase
- Toasting the Rice: A Flavor-Enhancing Technique
- Liquid Ratios: The Goldilocks Principle
- Simmering: Low and Slow Wins the Race
- Stirring and Adjusting: The Final Touch
- Seasoning and Serving: Elevating the Basics
- Problem: Gummy or Mushy Texture
- Problem: Undercooked Grains
- Problem: Lack of Flavor
- Oven Method: Hands-Off Cooking
- Pressure Cooker: Speed Without Sacrifice
- Overnight Refrigeration: The “Risotto Effect”
- Korean-Style Juk (죽)
- Congee (Chinese Rice Porridge)
- Indian Ven Pongal
Brown rice porridge, often hailed as a wholesome alternative to its refined white rice counterpart, is a dish that marries simplicity with profound nutritional benefits. Often overlooked in favor of quicker-cooking grains, brown rice requires a bit more patience and technique to transform into a creamy, comforting porridge. This article delves into the intricacies of preparing brown rice porridge, exploring everything from ingredient selection to advanced cooking methods, ensuring even novice cooks can achieve a velvety, flavorful result.
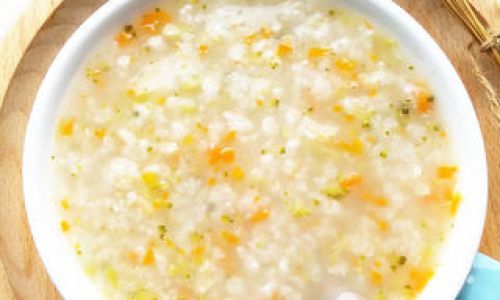
Understanding Brown Rice: The Foundation of Your Porridge
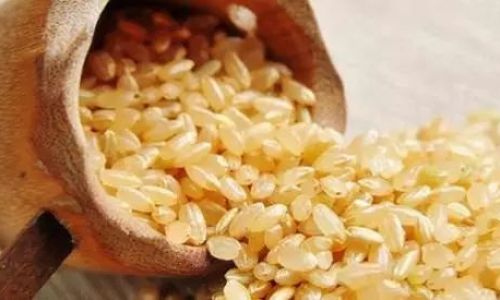
Before diving into the cooking process, it’s essential to grasp why brown rice is a superior choice for porridge. Unlike white rice, which has had its bran and germ layers removed, brown rice retains these nutrient-dense components. This means it’s rich in fiber, B vitamins, magnesium, and antioxidants, making it a powerhouse of slow-digesting carbohydrates and essential nutrients. The bran layer also imparts a subtle nutty flavor and a chewier texture, which, when cooked correctly, lends depth to the porridge.
However, these same qualities that make brown rice nutritious also make it trickier to cook. The bran acts as a protective barrier, requiring longer cooking times and precise liquid ratios to soften without becoming mushy. Mastering the balance between hydration and heat is key to unlocking its potential.
Ingredients: Less Is More, But Quality Matters
The beauty of brown rice porridge lies in its minimalist ingredient list, which allows the rice’s natural flavors to shine. Here’s what you’ll need:
- 1 cup of short-grain or medium-grain brown rice: Short-grain varieties yield a creamier texture, while medium-grain offers a slightly chewier consistency.
- 6–8 cups of liquid: Water is classic, but vegetable broth, bone broth, or coconut milk can add complexity.
- 1/2 teaspoon of salt: To enhance flavors without overshadowing the rice.
- Optional add-ins: Fresh ginger, garlic, turmeric, or a splash of soy sauce for umami depth.
For a complete meal, consider toppings like soft-boiled eggs, sautéed greens, sesame seeds, or a drizzle of toasted sesame oil. These additions not only elevate the dish’s visual appeal but also introduce layers of texture and flavor.
The Cooking Process: Step-by-Step Mastery
Rinsing and Soaking: The Preparatory Phase
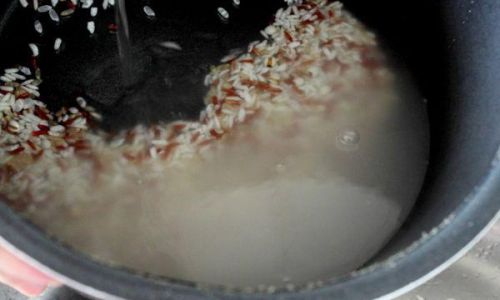
Rinsing brown rice under cold water removes excess starch and debris, preventing clumping. Place the rice in a fine-mesh strainer and rinse until the water runs clear. While optional, soaking the rice for 30 minutes to 2 hours can significantly reduce cooking time and soften the grains. Drain thoroughly before proceeding.
Toasting the Rice: A Flavor-Enhancing Technique
For added depth, toast the rice in a dry pot over medium heat for 2–3 minutes, stirring constantly until it emits a nutty aroma. This step caramelizes the natural sugars in the rice, intensifying its flavor profile.
Liquid Ratios: The Goldilocks Principle
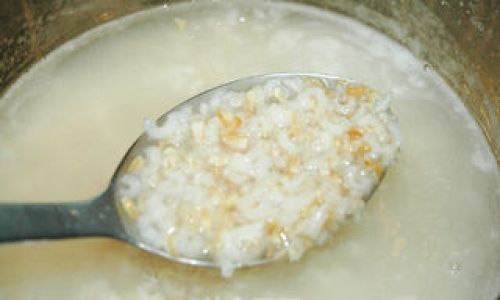
The ideal liquid-to-rice ratio for porridge hovers between 6:1 and 8:1, depending on desired thickness. Start with 6 cups of liquid for a thicker consistency, reserving an additional 1–2 cups to adjust later. Broths or coconut milk will thicken more than water, so adjust accordingly.
Simmering: Low and Slow Wins the Race
Bring the liquid and rice to a boil in a heavy-bottomed pot, then reduce the heat to the lowest setting. Cover with a tight-fitting lid and simmer undisturbed for 30–45 minutes. Resist the urge to lift the lid, as this releases steam and disrupts the cooking process.
Stirring and Adjusting: The Final Touch
After the initial simmer, check the rice. If it’s still firm, add splashes of hot liquid and continue cooking, covered, for 10–15-minute intervals. Once the grains are tender, increase the heat to medium-low and stir vigorously to break down any remaining starch, creating a creamy texture. This final stir-off phase is crucial for achieving porridge-like consistency.
Seasoning and Serving: Elevating the Basics
Stir in the salt and any aromatic additions (ginger, garlic, etc.) during the last 5 minutes of cooking. Taste and adjust seasoning as needed. Serve hot, garnished with fresh herbs, a fried egg, or a sprinkle of chili flakes for a kick.
Troubleshooting Common Pitfalls
Problem: Gummy or Mushy Texture
Solution: Reduce the liquid ratio next time. Alternatively, cook uncovered for the last 10 minutes to evaporate excess moisture.
Problem: Undercooked Grains
Solution: Add hot liquid in 1/4-cup increments and extend cooking time. Ensure the heat is low enough to prevent scorching.
Problem: Lack of Flavor
Solution: Introduce umami-rich ingredients like miso paste, nutritional yeast, or a splash of tamari. Roasted vegetables or caramelized onions also add complexity.
Advanced Techniques: From Stovetop to Slow Cooker
Oven Method: Hands-Off Cooking
Preheat the oven to 350°F (175°C). Combine the rice, liquid, and seasonings in an oven-safe dish, cover tightly, and bake for 1.5–2 hours. This method ensures even cooking without stirring.
Pressure Cooker: Speed Without Sacrifice
Using an Instant Pot, cook soaked rice on high pressure for 15 minutes, followed by a natural release. This slashes cooking time by half while preserving nutrients.
Overnight Refrigeration: The “Risotto Effect”
Cooked brown rice porridge thickens significantly when chilled. Reheat gently with additional liquid to restore creaminess, or embrace the thicker texture for fried rice dishes.
Cultural Variations: Exploring Global Flavors
Korean-Style Juk (죽)
Infuse the porridge with kombu dashi, gochujaru (chili flakes), and a soft-boiled egg. Top with kimchi and sesame seeds for a spicy, umami-rich bowl.
Congee (Chinese Rice Porridge)
Add sliced ginger, garlic, and chicken broth. Serve with thousand-year-old eggs, pickled vegetables, and a drizzle of sesame oil.
Indian Ven Pongal
Cook the rice with split yellow mung beans, cumin, black pepper, and ghee. Serve with coconut chutney for a hearty breakfast.
Nutritional Powerhouse: Beyond the Bowl
Brown rice porridge isn’t just comfort food—it’s a nutritional powerhouse. A single serving provides:
- Fiber: Supports digestion and promotes satiety.
- Manganese: Essential for bone health and metabolism.
- Selenium: A potent antioxidant that reduces inflammation.
Pair it with protein-rich toppings like eggs or tofu, and leafy greens for a balanced meal that fuels the body and mind.
Sustainability Tip: Reducing Food Waste
Leftover porridge can be repurposed into fritters, stuffed peppers, or even vegan “crab cakes.” Freeze portions in muffin tins for quick, individual servings.
Conclusion: The Ritual of the Bowl
Cooking brown rice porridge is an act of mindfulness—a dance between fire, water, and grain that rewards patience with nourishment. Whether enjoyed as a soothing breakfast, a post-workout recovery meal, or a canvas for culinary creativity, this dish transcends its humble ingredients. By mastering the techniques outlined here, you’ll not only elevate your kitchen skills but also connect with a timeless tradition of turning simple grains into sustenance. So boil, stir, and savor—the perfect bowl of brown rice porridge awaits.


0 comments