Introduction
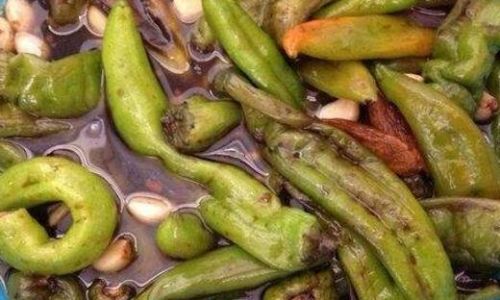
Pickling fresh chili peppers is an age-old tradition that not only preserves the fiery essence of these peppers but also enhances their flavor, creating a delightful and versatile condiment. Whether you enjoy the fiery kick of jalapenos, the earthy depth of habaneros, or the fruity sweetness of bell peppers, pickling can transform them into a tangy, crunchy delight that complements a wide array of dishes. This guide delves into the intricacies of pickling fresh chili peppers, offering tips, tricks, and recipes to ensure your pickled peppers are not only tasty but also safe to consume.
Understanding the Basics of Pickling
Before diving into specific recipes, it’s crucial to understand the fundamental principles of pickling. Pickling involves preserving food in an acidic environment, typically vinegar or brine, to inhibit the growth of harmful bacteria. This process not only extends the shelf life of food but also adds layers of flavor. When pickling chili peppers, the goal is to balance the heat of the peppers with the tang of vinegar and the crunch of the pickled vegetable, creating a harmonious and addictive taste.
Choosing the Right Chili Peppers
The first step in pickling chili peppers is selecting the right variety. Different types of peppers offer unique flavors and heat levels, so choose based on your personal preference and the dishes you plan to pair them with. Here are some popular options:
- Jalapenos: Known for their bright green color and moderate heat, jalapenos are a great choice for beginners.
- Serranos: Similar in appearance to jalapenos but slightly longer and hotter, serranos add a nice kick to pickled dishes.
- Habaneros: For those who love extreme heat, habaneros are among the hottest peppers available, with a fruity, tropical flavor that balances their fiery nature.
- Bell Peppers: Though not traditionally hot, bell peppers can be pickled for their sweet, crunchy texture, making them a great addition to salads and sandwiches.
- Cherry Peppers: These small, round peppers offer a moderate heat and a slightly sweet flavor, making them ideal for pickling.
Preparing the Peppers
Once you’ve chosen your peppers, it’s time to prepare them for pickling. Here’s a step-by-step guide:
-
Inspection and Cleaning: Inspect the peppers for any signs of damage or rot. Rinse them thoroughly under cold running water to remove any dirt or pesticides.
-
Stemming and Seeding: Remove the stems from the peppers. If you prefer less heat, you can also remove the seeds and membranes, which contain most of the capsaicin (the compound that gives peppers their heat). However, leaving the seeds and membranes intact will result in a fierier pickled product.
-
Slicing or Whole: Decide whether you want to slice the peppers into rings, strips, or leave them whole. Slicing them can help the pickling liquid penetrate more evenly, but whole peppers retain their crunch and are visually appealing.
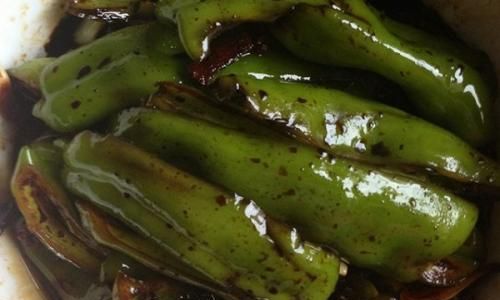
Creating the Pickling Liquid
The pickling liquid is the heart of the pickling process, providing the tangy, acidic environment that preserves the peppers. Here’s a basic recipe for a classic pickling liquid:
-
Ingredients:
- 2 cups distilled white vinegar (5% acidity)
- 1 cup water
- 1/4 cup sugar or honey (optional, for balance)
- 2 tablespoons pickling salt or kosher salt
- 1-2 teaspoons whole spices (such as mustard seeds, coriander seeds, peppercorns, or bay leaves)
- 1 clove garlic, sliced (optional)
- 1 small onion, thinly sliced (optional)
-
Instructions:
- In a medium saucepan, combine the vinegar, water, sugar (or honey), and salt. Stir until the sugar and salt are fully dissolved.
- Add the whole spices, garlic, and onion (if using). Bring the mixture to a boil over medium-high heat.
- Reduce the heat to low and simmer for about 5 minutes to allow the flavors to meld.
- Remove the saucepan from the heat and let the pickling liquid cool slightly before using.
Pickling the Peppers
Now that you have your prepared peppers and pickling liquid, it’s time to combine them. Here’s a step-by-step guide:
-
Sterilizing Jars: Ensure your pickling jars are clean and sterile. You can sterilize them by boiling them in water for 5 minutes or running them through the dishwasher’s hot cycle.
-
Packing the Peppers: Pack the prepared peppers tightly into the sterilized jars. You can add additional vegetables like cucumbers, carrots, or cauliflower for a mixed pickled vegetable jar.
-
Pouring the Liquid: Carefully pour the hot pickling liquid over the peppers, ensuring they are fully submerged. Use a chopstick or a small ladle to remove any air bubbles and press the peppers down if necessary.
-
Sealing the Jars: Wipe the rims of the jars clean with a damp cloth to remove any vinegar residue. Secure the lids tightly and let the jars cool to room temperature.
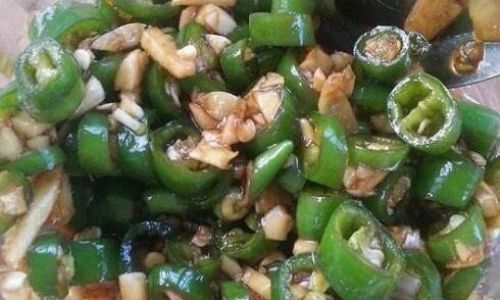
-
Processing (Optional): For long-term storage, you can process the jars in a boiling water canner. Submerge the jars in boiling water, ensuring they are fully covered by at least 1 inch of water. Boil for 10 minutes (adjust the time based on your altitude). Remove the jars from the canner and let them cool completely. You should hear a popping sound as the lids seal.
Storing and Serving Pickled Peppers
Properly pickled peppers can be stored in a cool, dark place for several months. Once opened, store them in the refrigerator to slow the growth of any bacteria that may have survived the pickling process.
Pickled peppers are incredibly versatile and can be used in a variety of dishes. Here are some ideas:
- Appetizers: Serve them as a tangy, crunchy accompaniment to cheese, crackers, or charcuterie boards.
- Salads: Add them to salads for a burst of flavor and crunch.
- Sandwiches and Wraps: Use them to spice up sandwiches, burgers, or wraps.
- Cooking: Incorporate them into stir-fries, soups, or stews for an extra layer of heat and tang.
- Condiments: Use them as a condiment for tacos, burritos, or any dish that could benefit from a spicy, tangy kick.
Troubleshooting Common Issues
Pickling can sometimes present challenges, but with a few tips, you can troubleshoot common issues:
- Soft Peppers: If your pickled peppers become soft, it may be due to improper sealing or not enough vinegar in the pickling liquid. Ensure the jars are tightly sealed and use the correct ratio of vinegar to water.
- Discoloration: Discoloration can occur due to exposure to oxygen or improper storage. Always submerge the peppers fully in the pickling liquid and store them in a cool, dark place.
- Mold: Mold is a sign of improper sealing or contamination. Discard any jars that show signs of mold and ensure your jars and lids are clean and sterile before use.
Conclusion
Pickling fresh chili peppers is a rewarding culinary endeavor that combines the art of preservation with the joy of creating delicious, versatile condiments. By following the steps outlined in this guide, you can transform fresh chili peppers into tangy, crunchy pickles that enhance the flavor of countless dishes. Whether you’re a seasoned pickler or a beginner, the key to success lies in selecting the right peppers, preparing them properly, and creating a balanced pickling liquid. With patience and practice, you’ll soon be enjoying the fruits of your labor, one fiery, tangy bite after another. Happy pickling!

0 comments