Introduction
Mulberry jam, or mulberry paste as it is known in some regions, is a delightful and nutritious treat derived from the fruit of the mulberry tree. This sweet, tangy condiment is not only a delightful addition to your morning toast or afternoon tea but also boasts a range of health benefits, thanks to the antioxidants, vitamins, and minerals present in mulberries. Making mulberry jam at home is a rewarding endeavor that allows you to control the ingredients and the sweetness level, ensuring a product that is both delicious and healthy. In this comprehensive guide, we will walk you through the process of making mulberry jam from scratch, from selecting the right mulberries to bottling your final product.
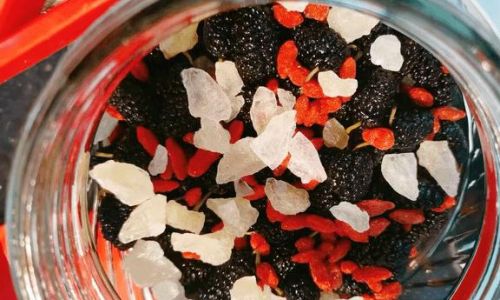
Selecting the Right Mulberries
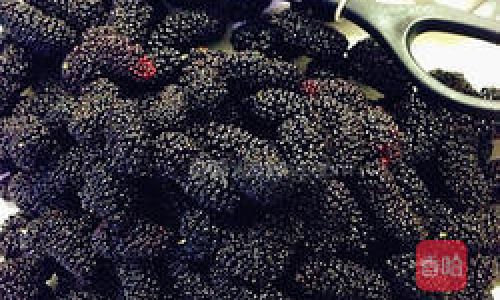
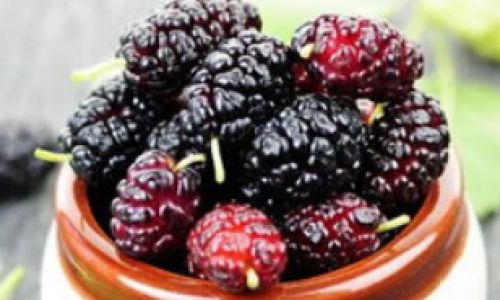
The first step in making mulberry jam is to source fresh, ripe mulberries. Ideally, you should pick mulberries that are fully ripe, dark in color (whether red, purple, or black, depending on the variety), and free from blemishes or mold. If you don’t have mulberry trees in your area, you can often find mulberries at farmers’ markets or specialty grocery stores during their seasonal peak.
When selecting mulberries, keep in mind that the riper the fruit, the sweeter your jam will be. If you can, taste a few mulberries before purchasing to ensure they are sweet and flavorful. Additionally, try to choose mulberries that are firm but give slightly when pressed, indicating they are ripe but not overripe.
Preparing Your Equipment and Ingredients
Before you begin making mulberry jam, you will need to gather all the necessary equipment and ingredients. Here’s a list of what you’ll need:
- Fresh mulberries (about 4-5 pounds for a standard batch)
- Granulated sugar (about 3-4 cups, depending on your taste preference)
- Lemon (1-2, for acidity and freshness)
- Water (as needed)
- A large, heavy-bottomed pot or saucepan
- A wooden spoon or silicone spatula
- A fine-mesh strainer or cheesecloth
- A candy thermometer (optional but recommended for precise temperature control)
- Sterilized jars and lids (for storing the jam)
- A large pot or canning kettle (for water bath canning, if desired)
- Jar lifter and tongs (for handling hot jars and lids)
- Clean cloths or paper towels (for wiping jars and lids)
Once you have all your equipment and ingredients ready, it’s time to start making mulberry jam.

Washing and Preparing the Mulberries
Begin by rinsing the mulberries under cold running water. Be gentle when washing to avoid bruising the fruit. Once washed, drain the mulberries well in a colander, shaking off any excess water. You can pat them dry with a clean cloth or paper towel if necessary.
Removing the Stems and Any Imperfections
Next, you’ll need to remove the stems and any imperfections from the mulberries. This can be done by gently pinching the stem end of each mulberry and pulling it away from the fruit. Discard any mulberries that are moldy, overly soft, or damaged.
Mashing the Mulberries
Once the mulberries are cleaned and prepped, you’ll need to mash them to release their juices. You can do this using a potato masher, a fork, or even your hands. The consistency you aim for is somewhat chunky, with some whole mulberry pieces remaining for texture. If you prefer a smoother jam, you can use a blender or food processor to puree the mulberries, but be careful not to over-blend, as this can make the jam too thin.
Combining Ingredients and Cooking
Transfer the mashed mulberries to your large, heavy-bottomed pot or saucepan. Add the sugar, lemon juice (squeezed from the lemons), and a small amount of water if needed to prevent sticking (usually about 1/4 cup is sufficient). Stir the mixture well to combine.
Place the pot over medium-high heat and bring the mixture to a boil, stirring frequently to prevent scorching. Once the mixture reaches a rolling boil, reduce the heat to medium-low and continue to cook, stirring occasionally, until the jam reaches the desired consistency.

Testing for Doneness
There are several ways to test for doneness when making mulberry jam. One common method is to use a candy thermometer to monitor the temperature of the jam. For mulberry jam, you are looking for a temperature of around 220°F (105°C), which is the stage known as “soft ball” in candy-making terms.
Another method is to use the spoon test. Drop a small amount of jam onto a cold spoon and let it cool for a few seconds. If the jam forms a gel-like consistency that holds its shape and doesn’t run off the spoon, it is ready.
A third method is to use the freezer test. Place a small amount of jam on a plate and put it in the freezer for a minute or two. If the jam has thickened and holds its shape when you touch it, it is done.
Skimming and Straining (Optional)
If you prefer a clearer jam with fewer impurities, you can skim off any foam that forms on the surface of the jam during cooking. Additionally, you can strain the jam through a fine-mesh strainer or cheesecloth to remove any remaining seeds or pulp. However, keep in mind that this will result in a smoother, but potentially less flavorful, jam.
Bottling and Storing the Jam
Once the jam has reached the desired consistency, remove the pot from the heat and let it cool for a few minutes. While the jam is still hot, ladle it into your sterilized jars, leaving about 1/4 inch of headspace at the top to allow for expansion during cooling. Wipe the rims of the jars clean with a cloth or paper towel to remove any jam that may have spilled over.

If you plan to store the jam for an extended period, you can process the jars in a water bath canner. Place the filled jars in the canner, making sure they are fully submerged in water. Bring the water to a boil and process the jars for about 10 minutes (adjust the time based on your altitude). Once done, remove the jars from the canner using a jar lifter and let them cool completely on a wire rack. As the jars cool, you should hear a popping sound, indicating that the lids have sealed.
If you don’t plan to can the jam, you can store it in the refrigerator for up to a month. Just make sure the jars are tightly sealed and keep them in a cool, dark place.
Conclusion
Making mulberry jam at home is a rewarding and delicious endeavor that allows you to enjoy the fresh, natural flavors of mulberries year-round. By following the steps outlined in this guide, you can create a batch of mulberry jam that is both nutritious and delicious, perfect for spreading on toast, using as a filling for pastries, or simply enjoying on its own. With a little practice, you’ll soon be able to perfect your own unique recipe, adjusting the sweetness, texture, and flavor to suit your personal preferences. So, why wait? Gather your ingredients and equipment, and start making your own mulberry jam today!


0 comments