Table of content
In the realm of culinary arts, preserving the essence of nature’s bounty through homemade preserves is a timeless tradition. Among the myriad of fruits that lend themselves beautifully to this practice, mulberries stand out with their unique sweetness, vibrant color, and rich nutritional profile. This article embarks on a journey to unravel the art of making mulberry jam, a delightful delicacy that captures the essence of summer in every spoonful. By following a meticulous yet rewarding process, you can transform fresh mulberries into a versatile, long-lasting spread that enhances both sweet and savory dishes.
The Charm of Mulberries
Mulberries (Morus species), native to temperate regions of Asia, Europe, and America, are small, drupe-like fruits that grow on the mulberry tree. Their skin can range from deep purple-black to bright red, with a flesh that is juicy, slightly tart, and incredibly sweet. These fruits are not only a delight to eat fresh but also pack a nutritional punch, being rich in antioxidants, vitamins, minerals, and fiber. Their brief seasonal availability makes preserving them in the form of jam an excellent way to extend their enjoyment throughout the year.
Preparing for the Jam-Making Adventure
Before diving into the recipe, it’s crucial to gather all necessary ingredients and equipment. Here’s a checklist to ensure a smooth jam-making experience:
- Ingredients: Fresh mulberries (about 4 cups, preferably stemmed and washed), granulated sugar (about 2 cups, adjust according to taste preference), lemon juice (freshly squeezed, about 2 tablespoons for added tang and preservation), and a pinch of salt to enhance flavor.
- Equipment: A large, heavy-bottomed saucepan to prevent scorching, a wooden spoon or silicone spatula for stirring, a fine-mesh strainer for removing any impurities, a jam thermometer to monitor temperature accurately, sterile jars with lids for storing the jam, and a ladle for easy pouring.
Step-by-Step Guide to Making Mulberry Jam
Step 1: Preparing the Mulberries
Start by inspecting and sorting through your mulberries. Discard any that are moldy, overly ripe, or damaged. Gently rinse the berries under cold running water and drain them thoroughly on a clean kitchen towel or paper towels. Removing excess moisture is essential to prevent the jam from being too watery.
Step 2: Combining Ingredients
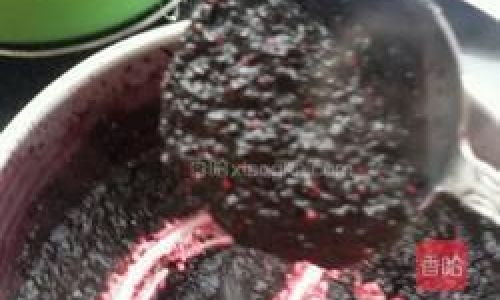
Place the prepared mulberries into your saucepan. Add the sugar, lemon juice, and a pinch of salt. Stir gently to combine, ensuring the sugar begins to coat the berries evenly. Allow the mixture to sit for about 30 minutes. This resting period allows the sugar to draw out natural juices from the mulberries, creating a syrupy base for your jam.
Step 3: Cooking the Jam
Set the saucepan over medium-high heat, stirring occasionally to prevent the mixture from sticking to the bottom. As the mulberries begin to soften and release their juices, increase your stirring frequency to avoid scorching. The jam should reach a rolling boil, which is characterized by continuous, vigorous bubbles across the entire surface.
Step 4: Testing for Set
One of the most critical steps in jam-making is determining when the jam has reached the perfect consistency, known as the “set.” This can be done using a few methods:
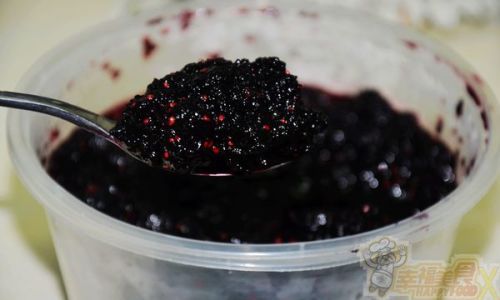
- Cold Plate Test: Place a small saucer in the freezer before starting the cooking process. Once the jam has been boiling for about 10-15 minutes (timing may vary depending on the stove and quantity), spoon a small amount onto the chilled saucer. Allow it to cool for a minute, then push the jam with your finger. If it wrinkles and forms a skin, it’s ready.
- Jam Thermometer: Alternatively, use a jam thermometer to reach a temperature of around 220°F (105°C) for a firm set or slightly lower for a softer consistency.
Step 5: Skimming and Skimming Again
Throughout the cooking process, foam may form on the surface of the jam. Use a spoon to skim this off and discard it. Foam can contain impurities and affect the final appearance and texture of your jam.
Step 6: Ladling and Jarring
Once the jam has reached the desired set, remove the saucepan from heat. Allow it to sit for a couple of minutes to slightly cool and thicken further. Meanwhile, prepare your sterile jars by wiping them dry and ensuring the lids are clean. Use a ladle to carefully pour the hot jam into the jars, leaving about a half-inch of headspace to prevent bulging when sealed.
Step 7: Sealing and Cooling
Wipe the rims of the jars clean to remove any jam residue, then secure the lids tightly. Place the jars on a rack in a hot water canner or a large pot filled with a few inches of simmering water (ensure the water does not touch the lids). Process the jars for about 10 minutes to sterilize and create a vacuum seal. Remove them from the canner, let them cool completely, and check for proper sealing by pressing the center of each lid. It should not flex up and down.
Storing and Enjoying Your Mulberry Jam
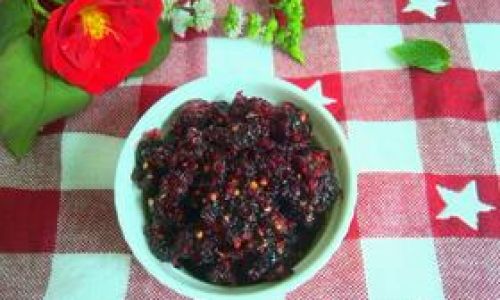
Properly sealed and stored in a cool, dark place, your homemade mulberry jam can last for up to a year. Once opened, refrigerate it to maintain freshness. This versatile jam pairs beautifully with toast, yogurt, ice cream, and even as a glaze for meats or a filling for pastries. Its unique flavor and deep purple hue add a touch of elegance to any dish, making it a cherished addition to your pantry.
In conclusion, making mulberry jam is not just a culinary endeavor but a journey that connects you with the seasons, preserves nature’s bounty, and satisfies your sweet tooth with a homemade treat. With patience, attention to detail, and a love for cooking, you can create a jar of mulberry jam that will bring a smile to your face and warmth to your heart every time you open it. Happy jam-making!
0 comments